


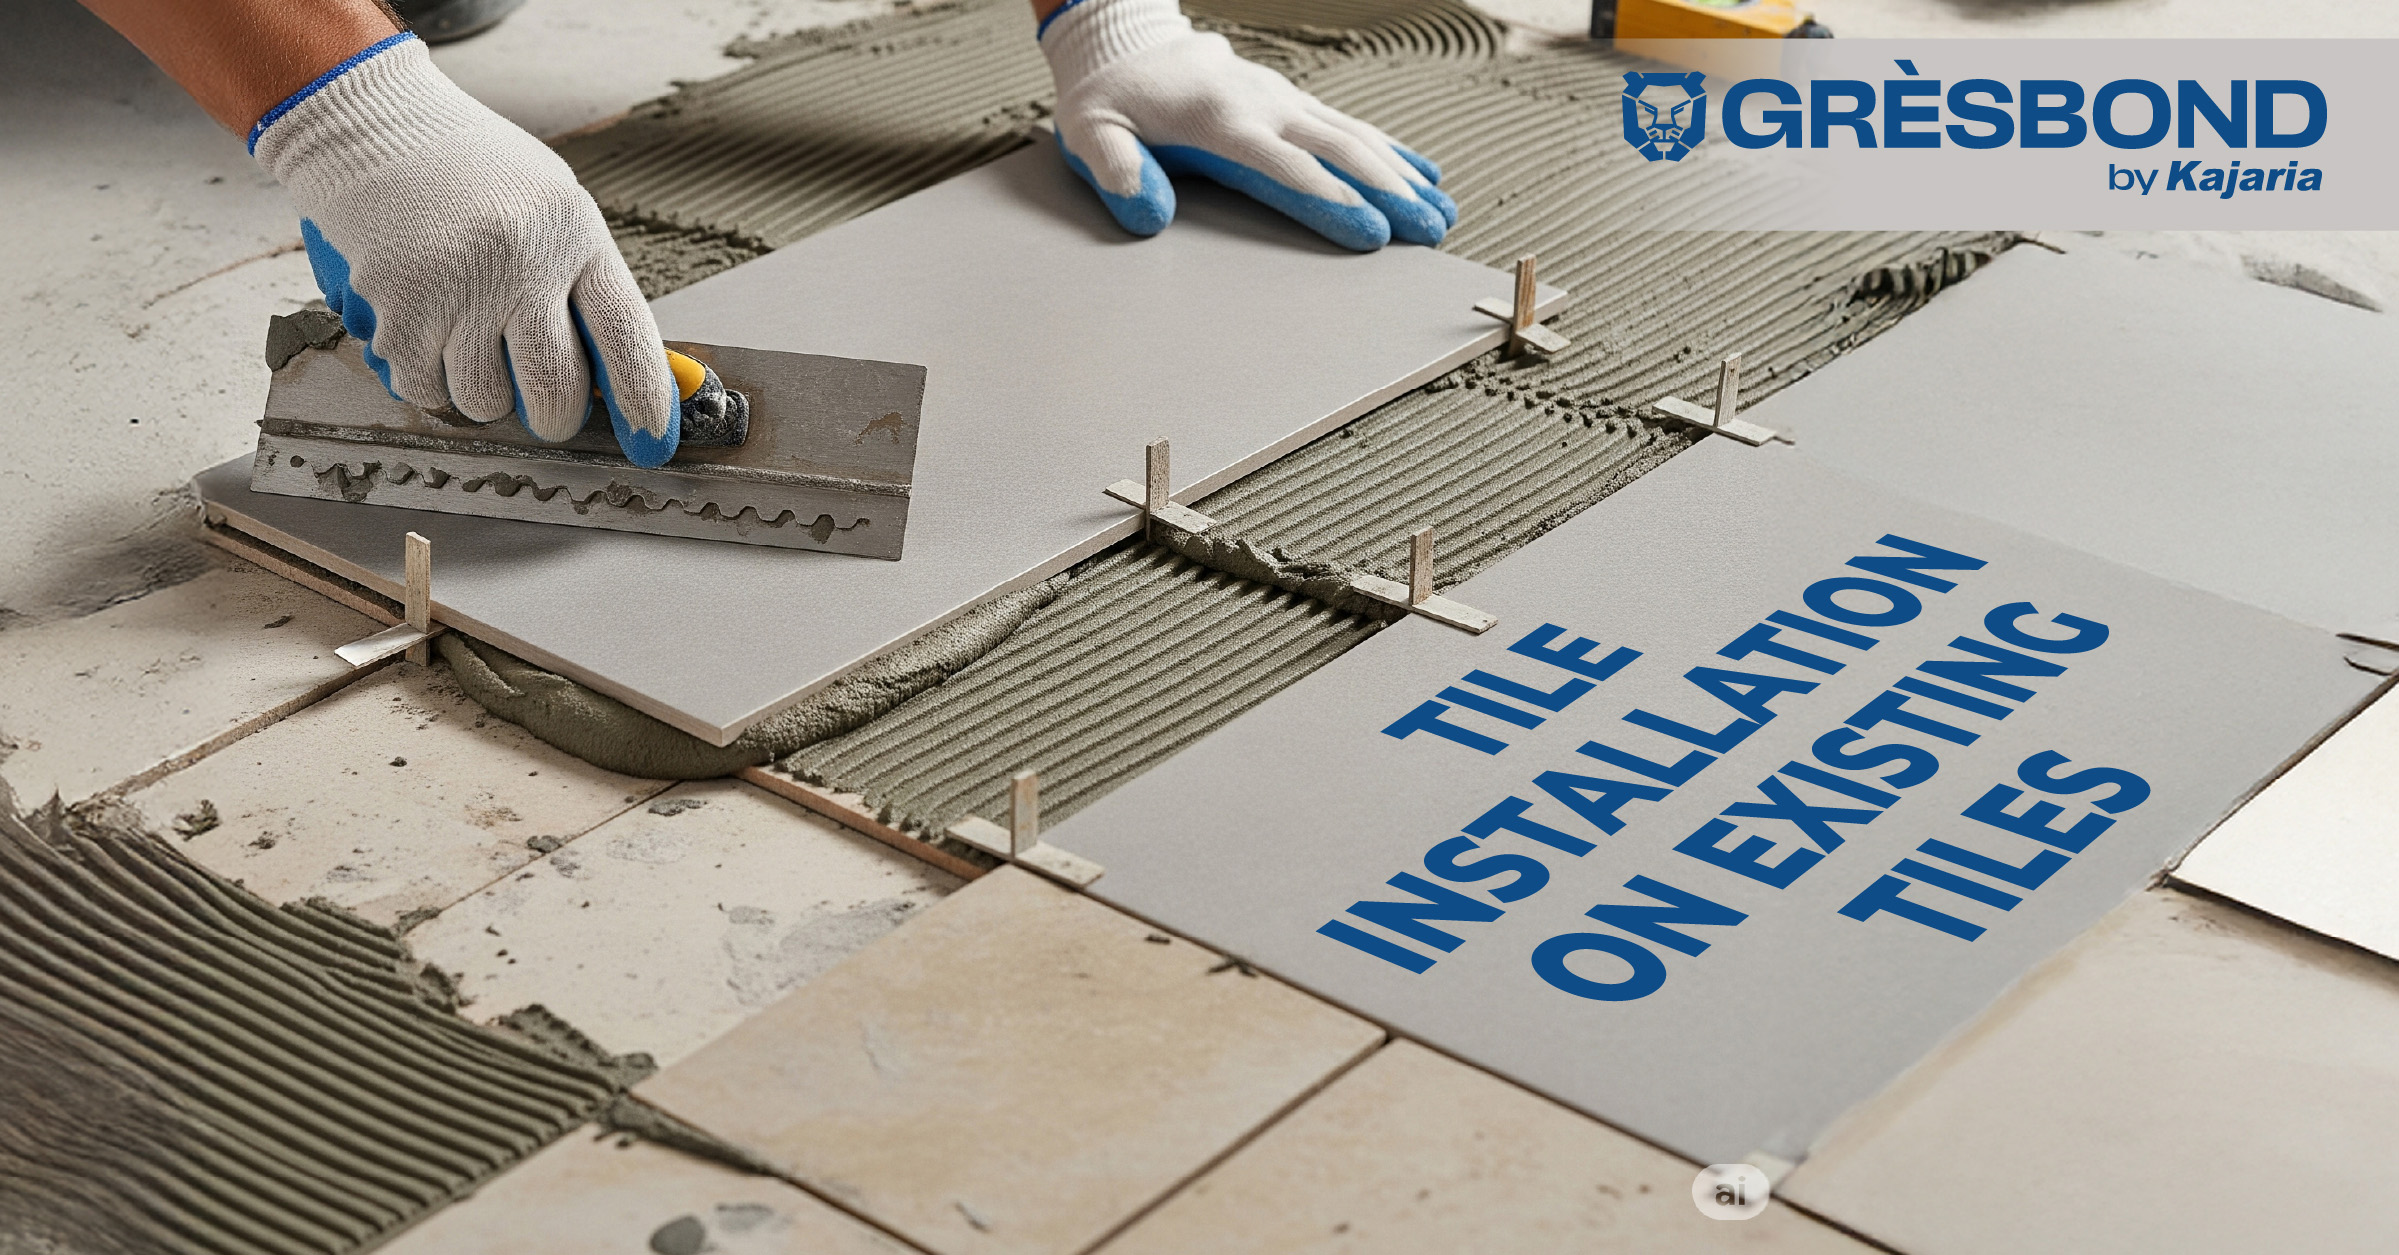
Tile Installation On Existing Tiles
04
Aug 2025
Are your old floor tiles looking dirty, old, and broken? Do not worry you do not have to break or remove them. You can simply put new tiles on top of the old ones!
It’s an easy and smart way to make your home look fresh again. No need to call many workers. You can even do it yourself if you follow some easy steps.
Let me show you how. We’ll also talk about simple tools like Trowel and Carbide Tile Grout Saw, and helpful items like ex-5, kGA-01, and TC-1.
Can You Really Do Tile Over Tiles?
Yes, you can! But only if:
- Your old tiles are not broken or loose
- The surface is flat and not bumpy
- The floor is clean and dry
If your old floor is strong and neat, you can start right away.

What You Need Before You Start? Here’s a short list of tools and materials:
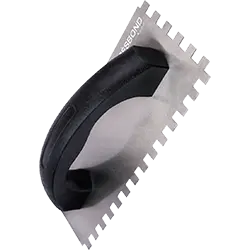
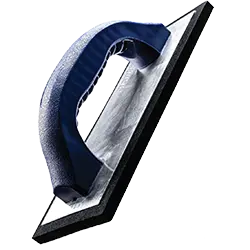
- Trowel – a flat tool to spread glue
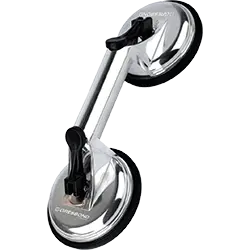
- Carbide Tile Grout Saw – a small tool to clean between old tiles
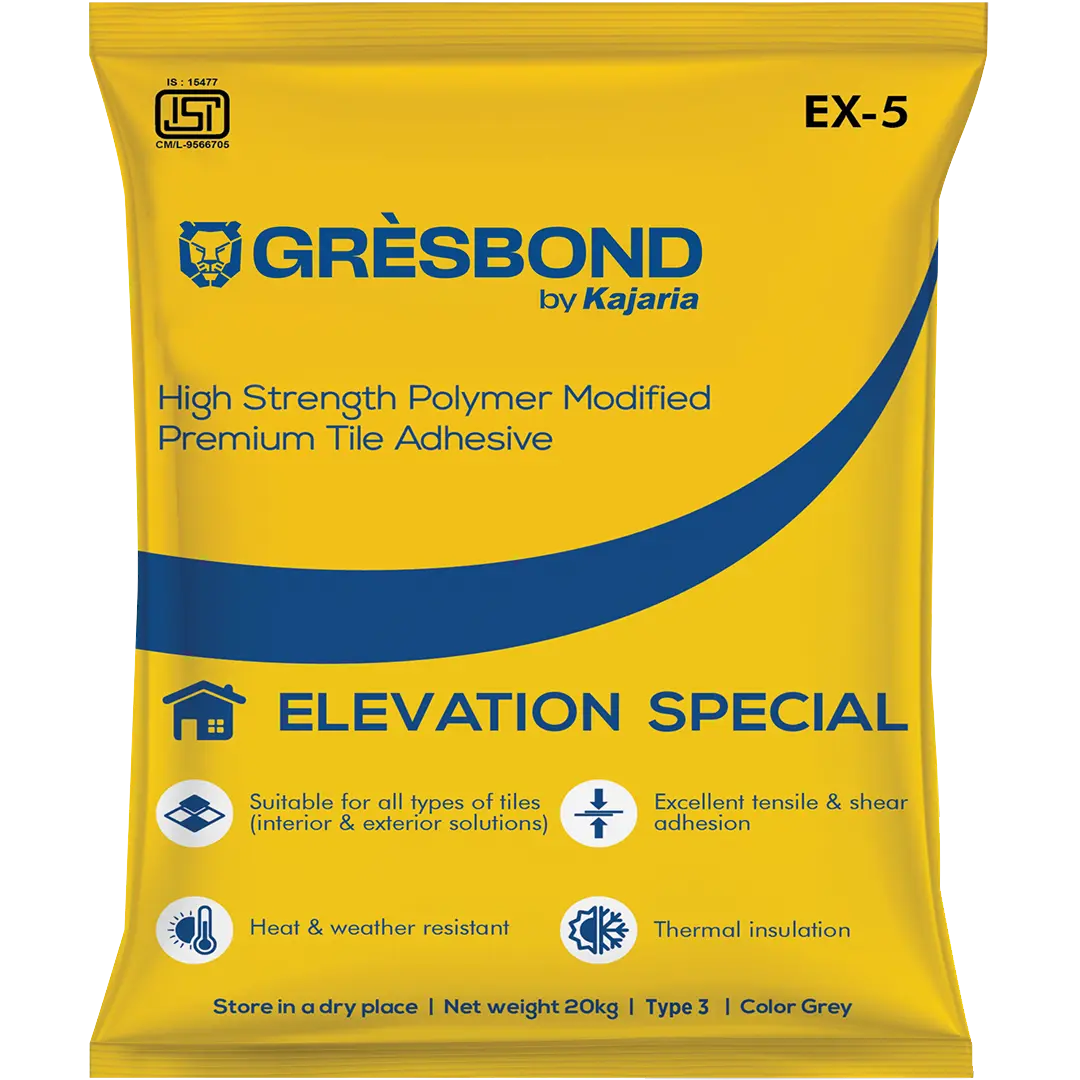
- ex-5 – strong glue made for tiles
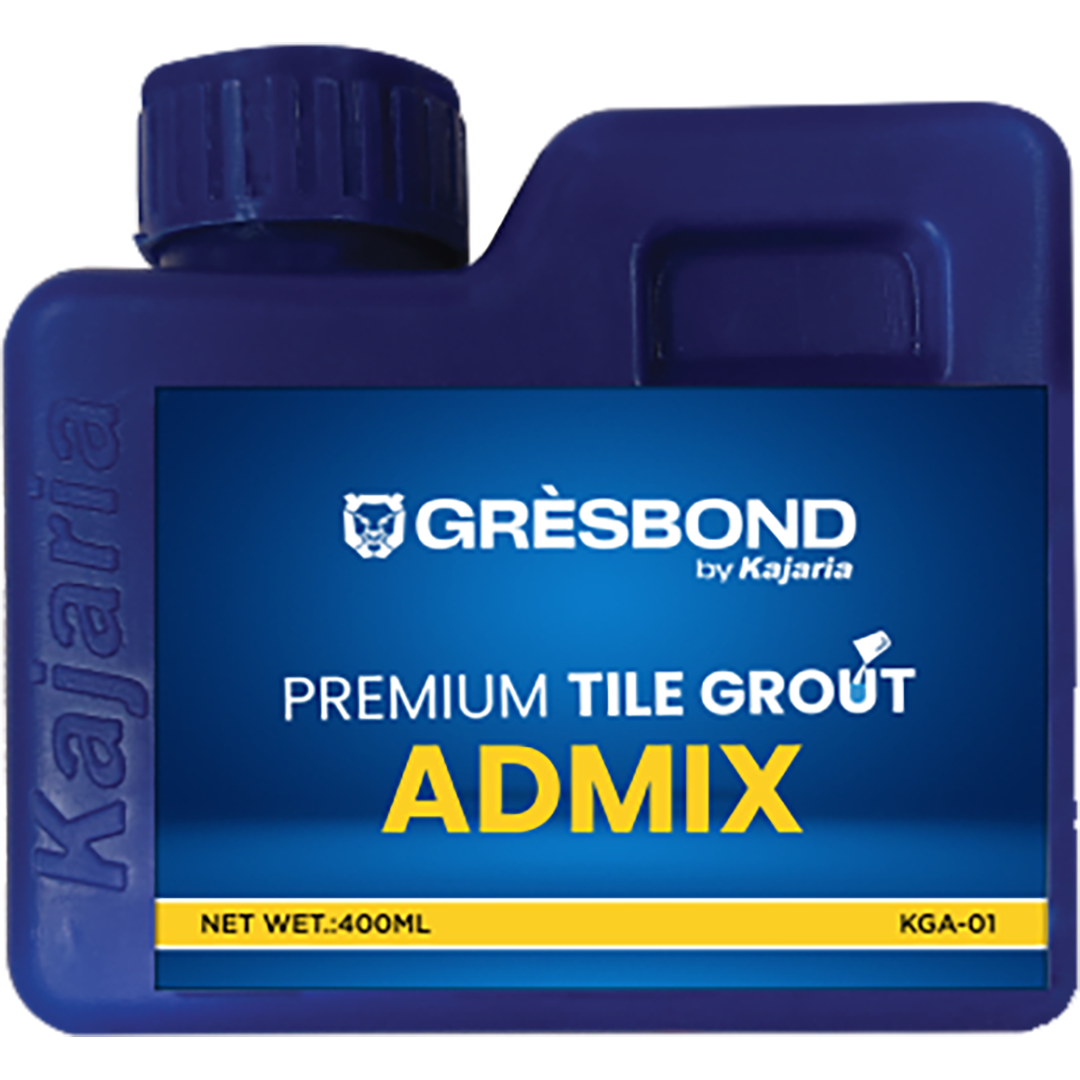
- kGA-01 – a special liquid that helps glue stick better on smooth tiles
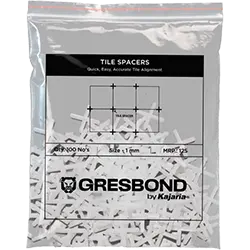
- Tile spacers – small pieces to keep space between tiles
- Rubber hammer – to press the tile down gently
- Tile cutter – to cut tiles at edges or corners
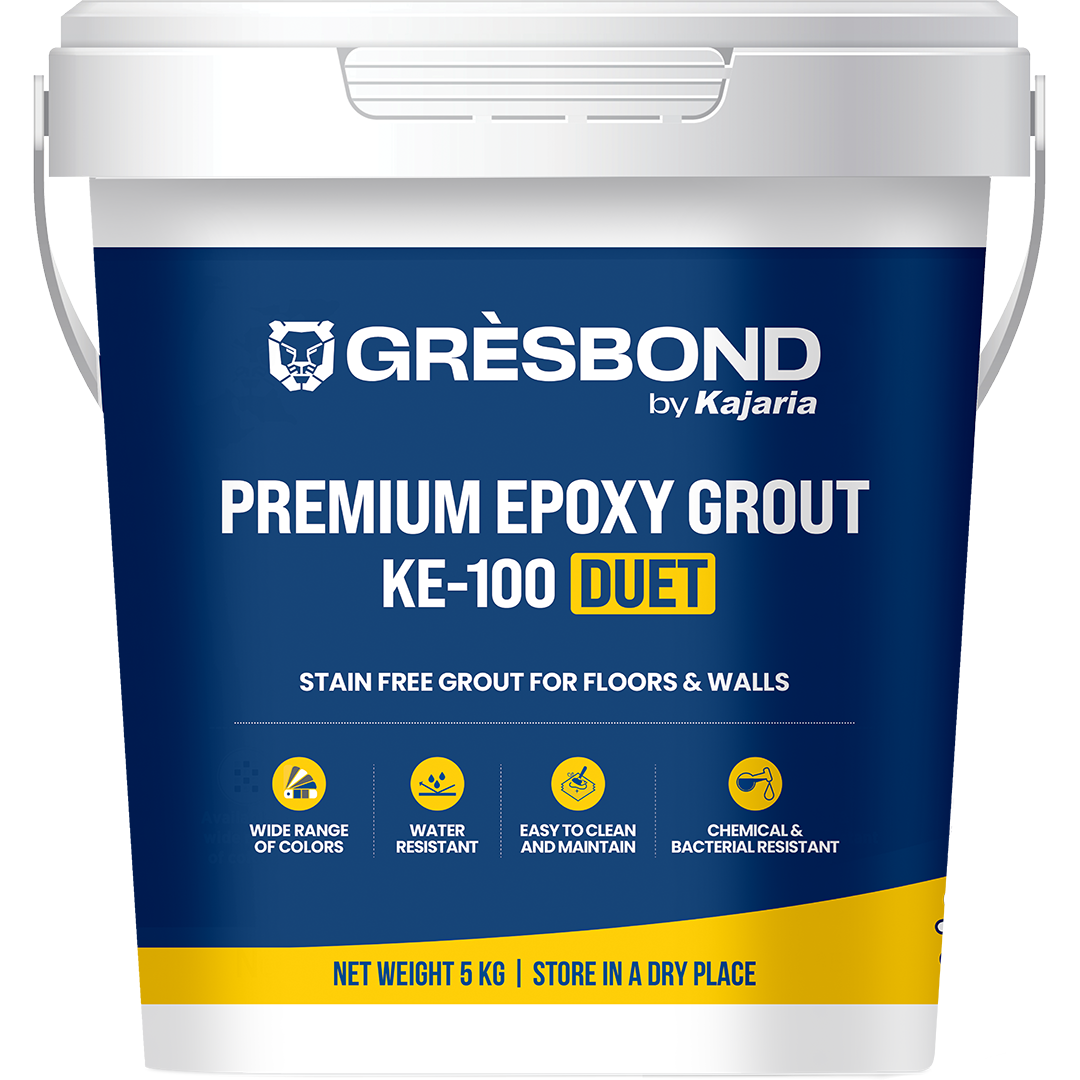
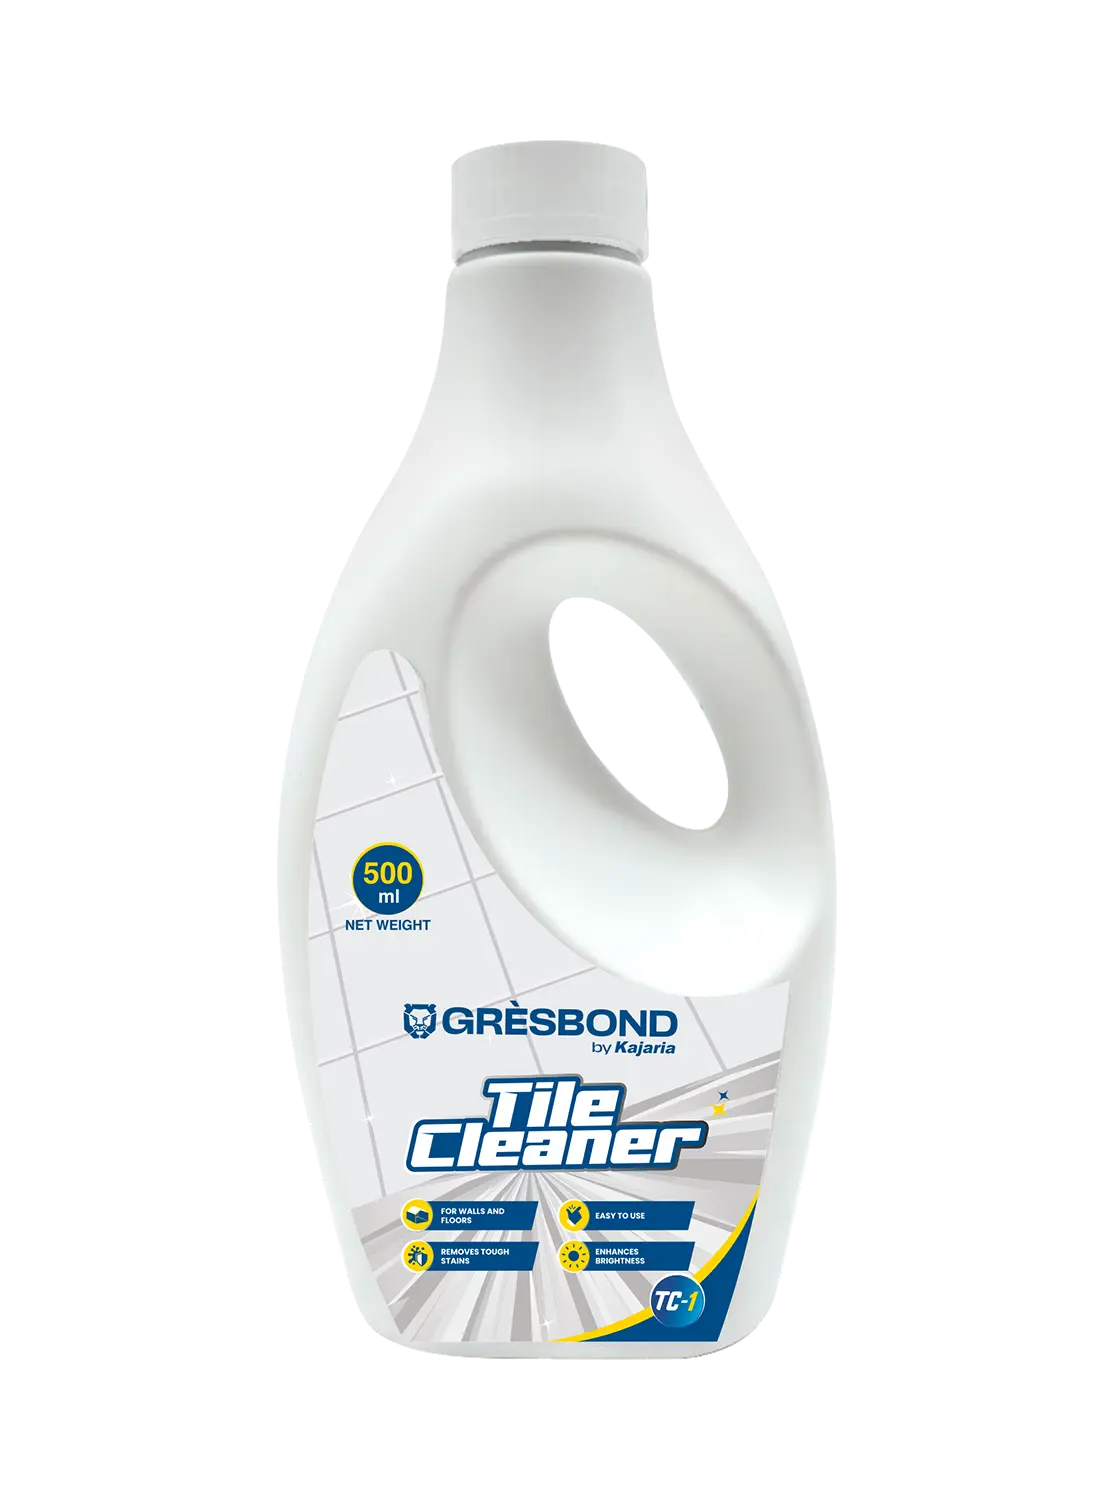
- TC-1 – grout to fill the gaps after tiling
- Cloth and sponge – to clean the tiles
These are simple things you can find at any hardware or tile shop.
Follow These 10 Easy Steps

Let’s go step by step:
- Check Your Old Tiles
Tap the old tiles with your hand. If they move or sound hollow, they may need to be fixed first. - Clean the Tiles
Use water and some cleaner to wash away dirt, oil, or dust. - Scratch the Grout Lines
Use the Carbide Tile Grout Saw to scratch the lines between tiles. This helps the glue stick better. If tiles are shiny, apply kGA-01 first. - Spread the Glue
Take the Trowel and spread ex-5 glue over a small part of the floor. Don’t spread too much at once—it can dry fast. - Place the New Tiles
Gently press the new tiles over the glue. Use tile spacers to keep equal space between each one. Tap them softly with the rubber hammer. - Cut Tiles Where Needed
Use the tile cutter to cut tiles for corners or sides. - Wait for It to Dry
Leave the tiles for at least 24 hours. Don’t walk on them. - Fill the Gaps
After it dries, remove the spacers. Fill the gaps between tiles using TC-1 grout. - Clean Extra Grout
Wipe tiles with a wet sponge. When it dry and clean again with dry cloth. - Seal the Gaps Between Tiles (Optional)
If you want extra safety from water or stains Then you can use grout.
Why This Method Is Great
Here’s why this way of tiling is so good:
- No need to break or remove old tiles
- Less dust and less mess
- Saves time and money
- Makes your floor look new again
- It’s strong and lasts long
Helpful Tips to Remember

- Always clean the old tiles first
- Use ex-5 glue—it works well
- Use kGA-01 if your old tiles are smooth or glossy
- Keep your Trowel and tools clean while working
- Check that the tiles are straight using a level tool
Things You Should Not Do
- Don’t tile over broken or shaky tiles
- Don’t skip cleaning the floor
- Don’t walk on the new tiles too early
- Don’t forget to fill the gaps between tiles
- Don’t use weak glue
Doing it right will make new tiles last for many years.
Final Thoughts
Putting new tiles over old tiles is great idea. It is easy, clean and saves you a lot of trouble. Just make sure your old tiles are in good shape follow the simple steps.
Use helpful tool like Trowel and Carbide Tile Grout Saw, and good products like ex-5, kGA-01, and TC-1. They make job simple and neat.
Whether it is your kitchen, bathroom and hallway—you can make any room look fresh or new without breaking the floor.
So go ahead and try it. You will be proud of new tiles!