Product Variants
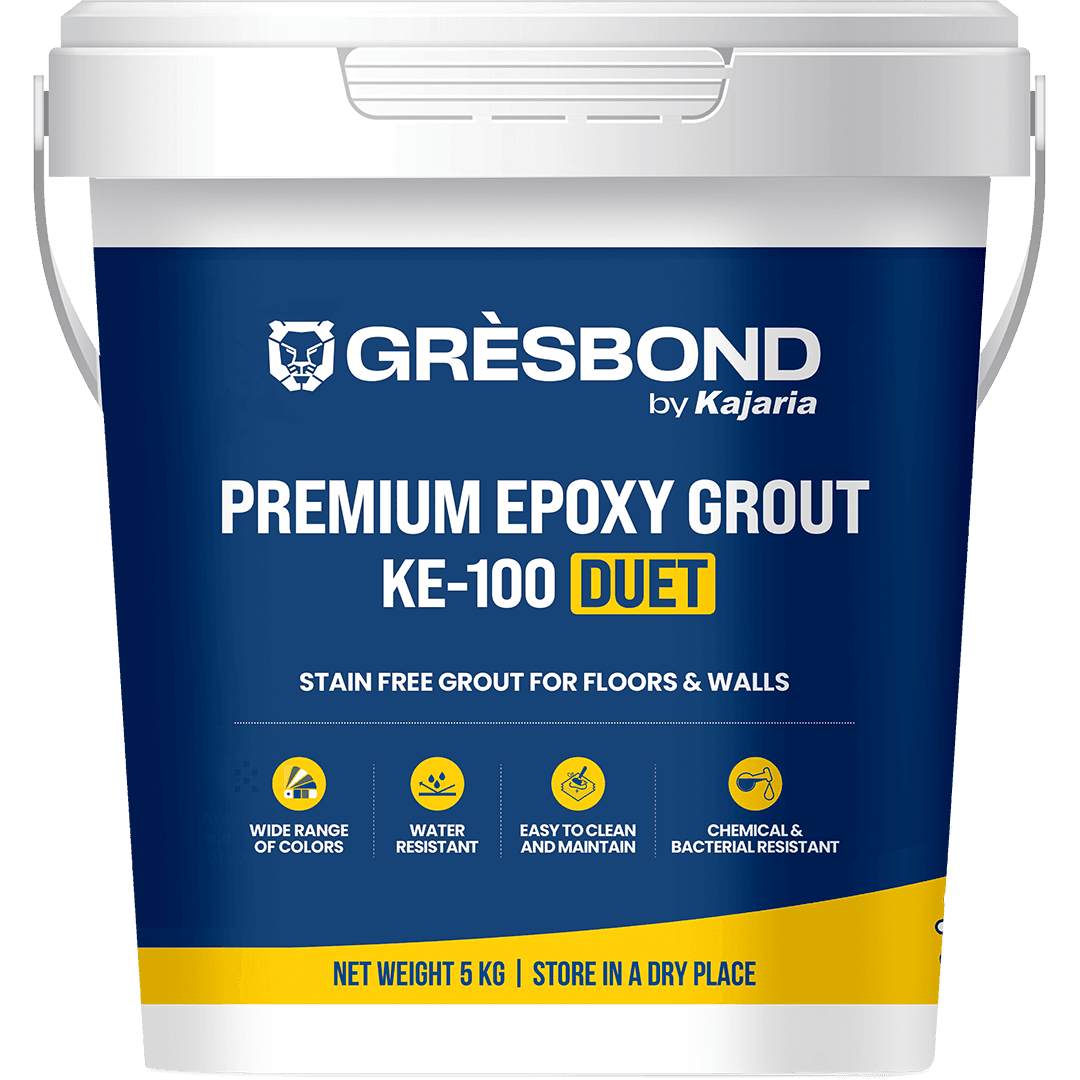
KE-100 DUET
ke-100-duetGRESBOND KE-100 DUET is a premium stain-resistant epoxy grout designed for both floors and walls. Suitable for all types of tiles, including marble and natural stone, this grout offers high resistance to chemicals and abrasion, ensuring durable and long-lasting joints. It produces hygienic joints that require minimal maintenance, making it perfect for kitchens and bathrooms. With its non-shrinking, fast-curing, and efflorescence-free formula, GRESBOND KE-100 DUET is ideal for installations requiring high-strength, mildew-resistant joints. Available in 1kg and 5kg packs.
View Product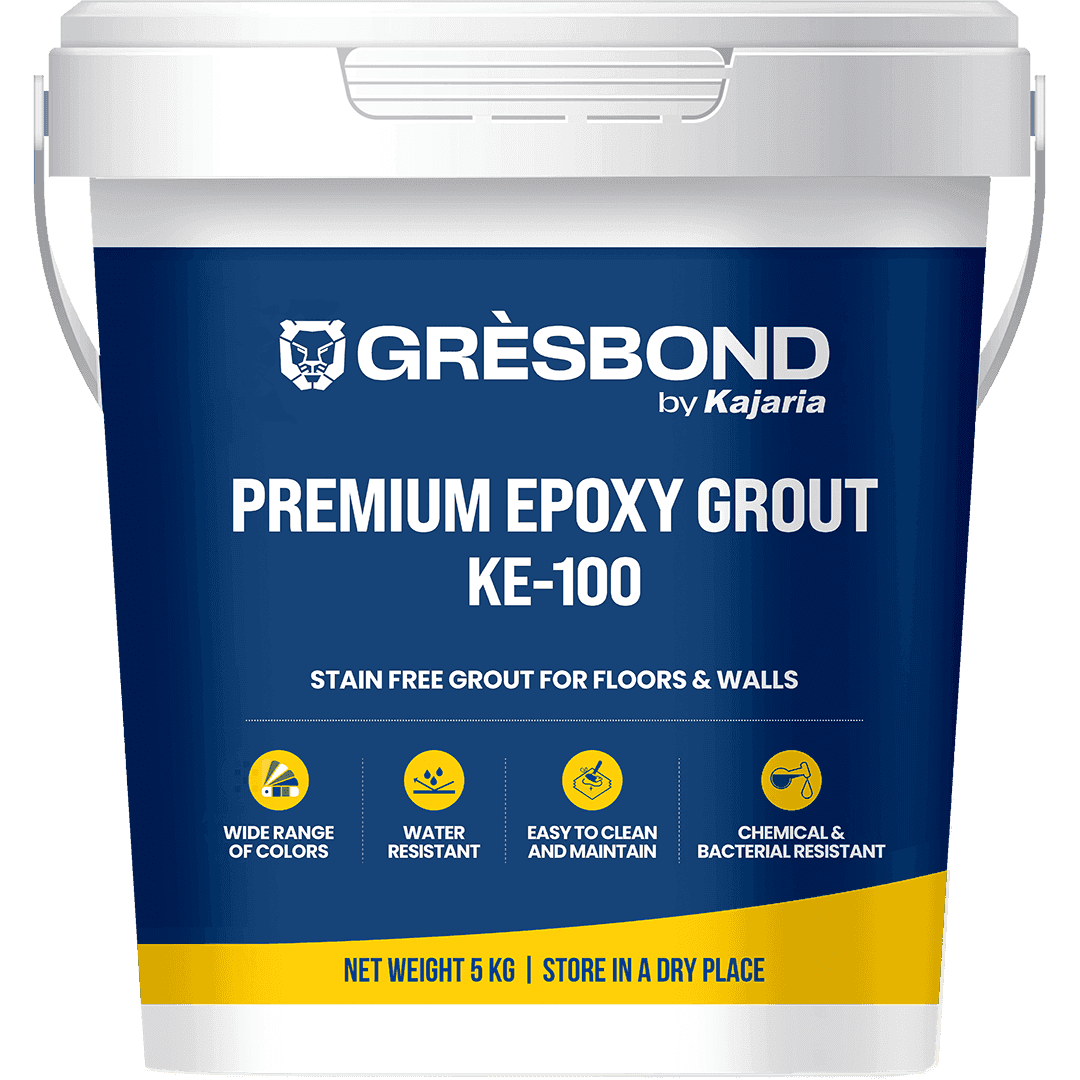
KE 100
ke-100GRESBOND KE-100 is a premium stain-resistant epoxy grout designed for both floors and walls. Suitable for all types of tiles, including marble and natural stone, this grout offers high resistance to chemicals and abrasion, ensuring durable and long-lasting joints. It produces hygienic joints that require minimal maintenance, making it perfect for kitchens and bathrooms. With its non-shrinking, fast-curing, and efflorescence-free formula, GRESBOND KE-100 is ideal for installations requiring high-strength, mildew-resistant joints. Available in 1kg and 5kg packs good one.
View Product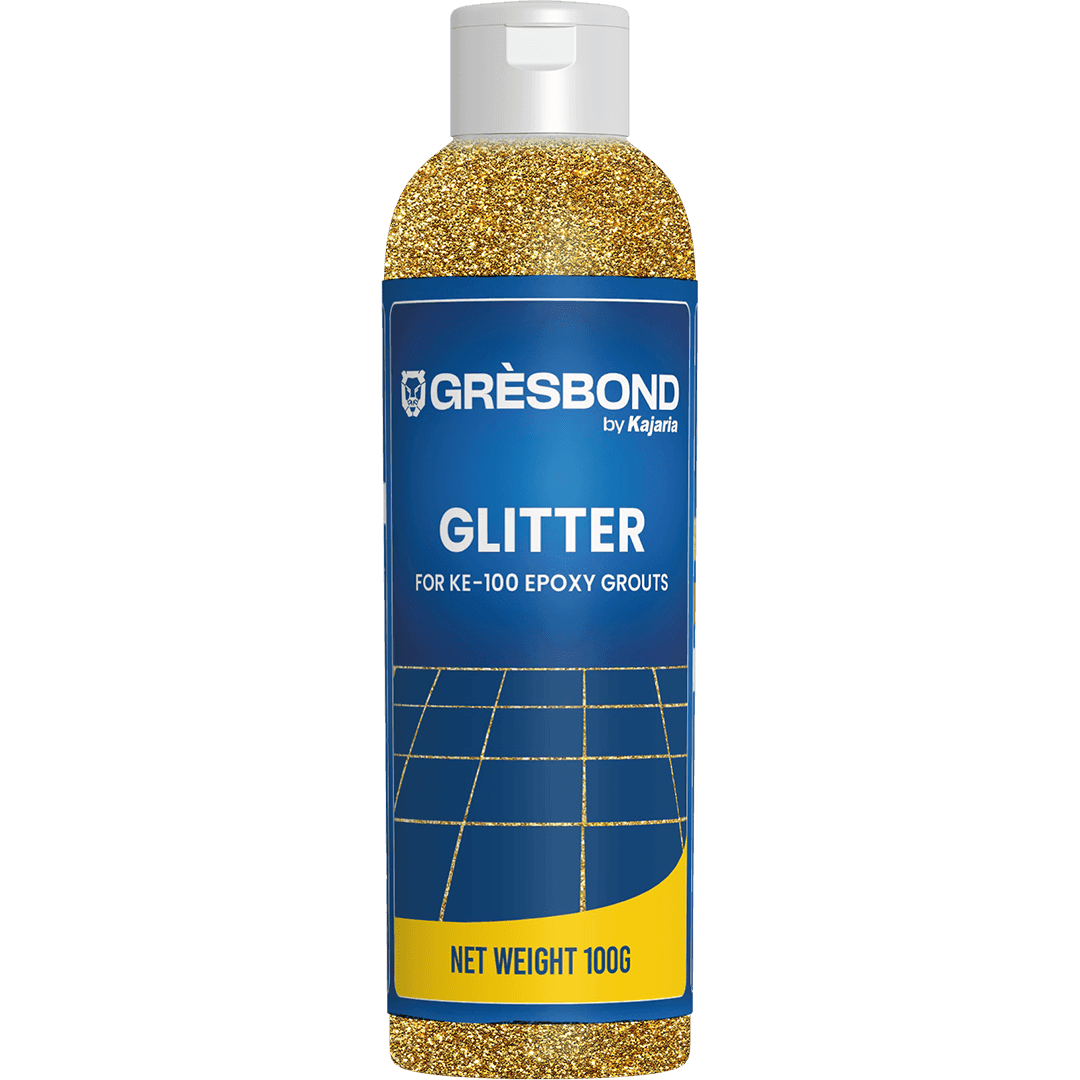
KE 100 GLITTER
ke-100-glitterGresbond KE-100 GLITTER is specially designed to get special sparkle effects and enhance the beauty of tiles. It can be applied on both wall and floor, interior & exterior area. We can use it with ceramic tiles, vitrified tiles, natural stone & marble. Available in three sparkle effects (Gold, Silver, Copper). Suitable for joints between 2-12 mm. Available in 1 Kg & 5 Kg Pack.
View Product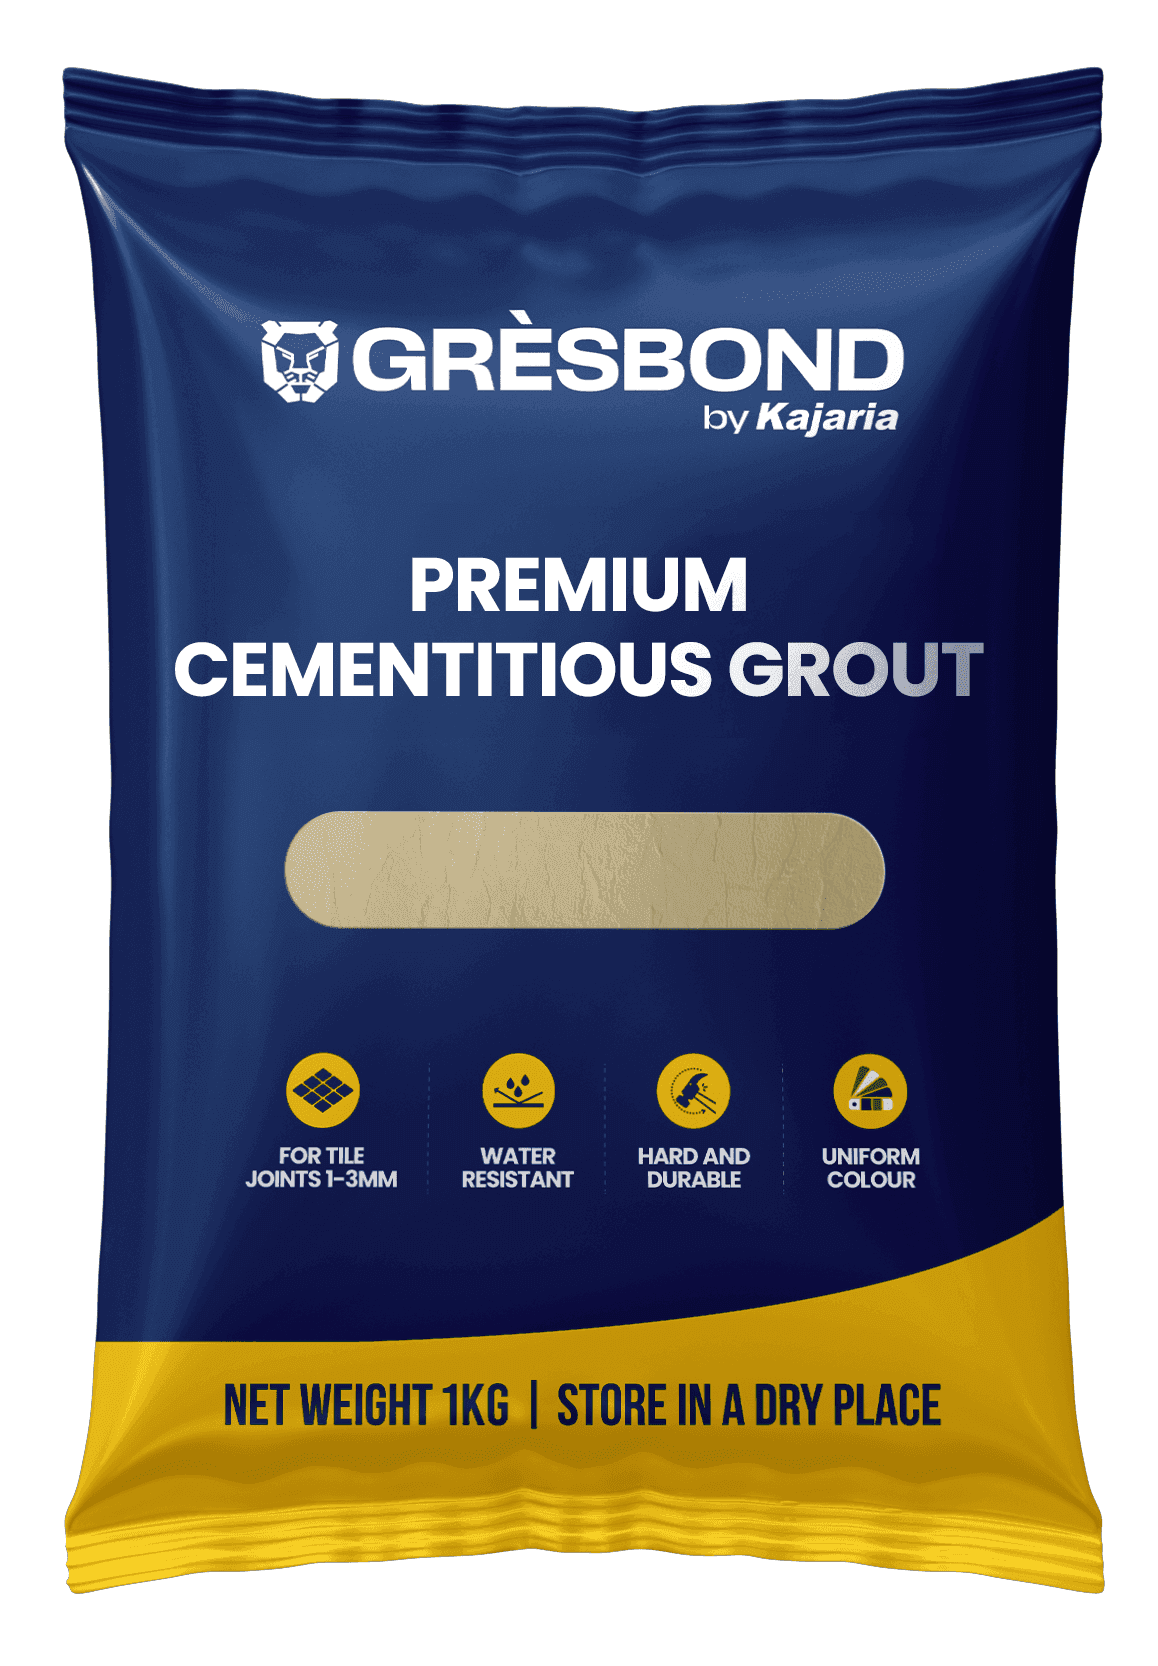
Premium Cementitious Grout
unsanded-groutPremium Cementitious GROUT is a high-quality, polymer-based, cement grout designed for both interior and exterior use. It is perfect for filling joints between 1mm and 3mm wide on floors and walls. This versatile grout is suitable for a wide range of materials, including ceramic tiles, vitreous and semivitreous tiles, glass mosaic tiles, precast terrazzo, engineered stone floors, and natural stones. It is particularly recommended for institutional and commercial general floor and wall areas.
View Product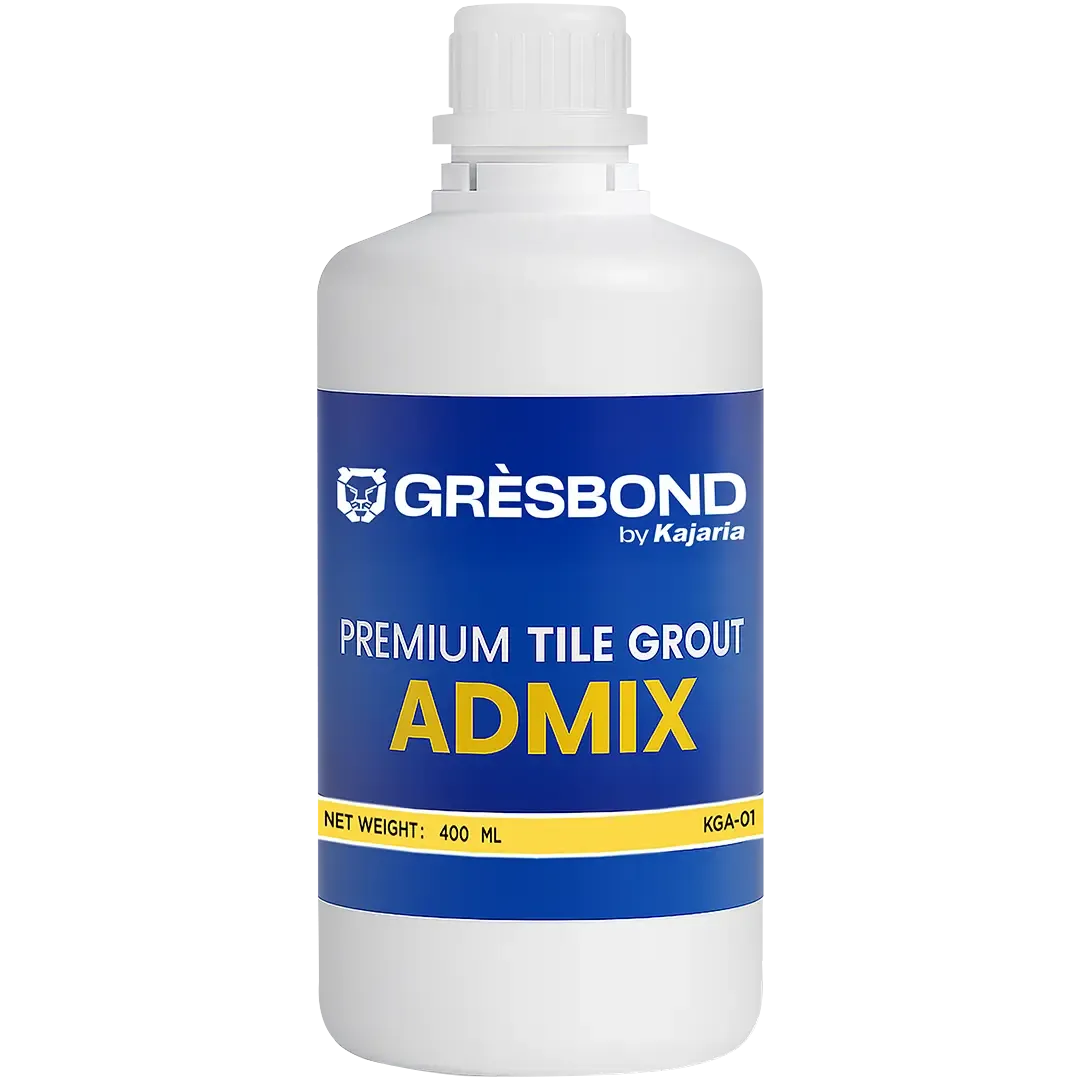
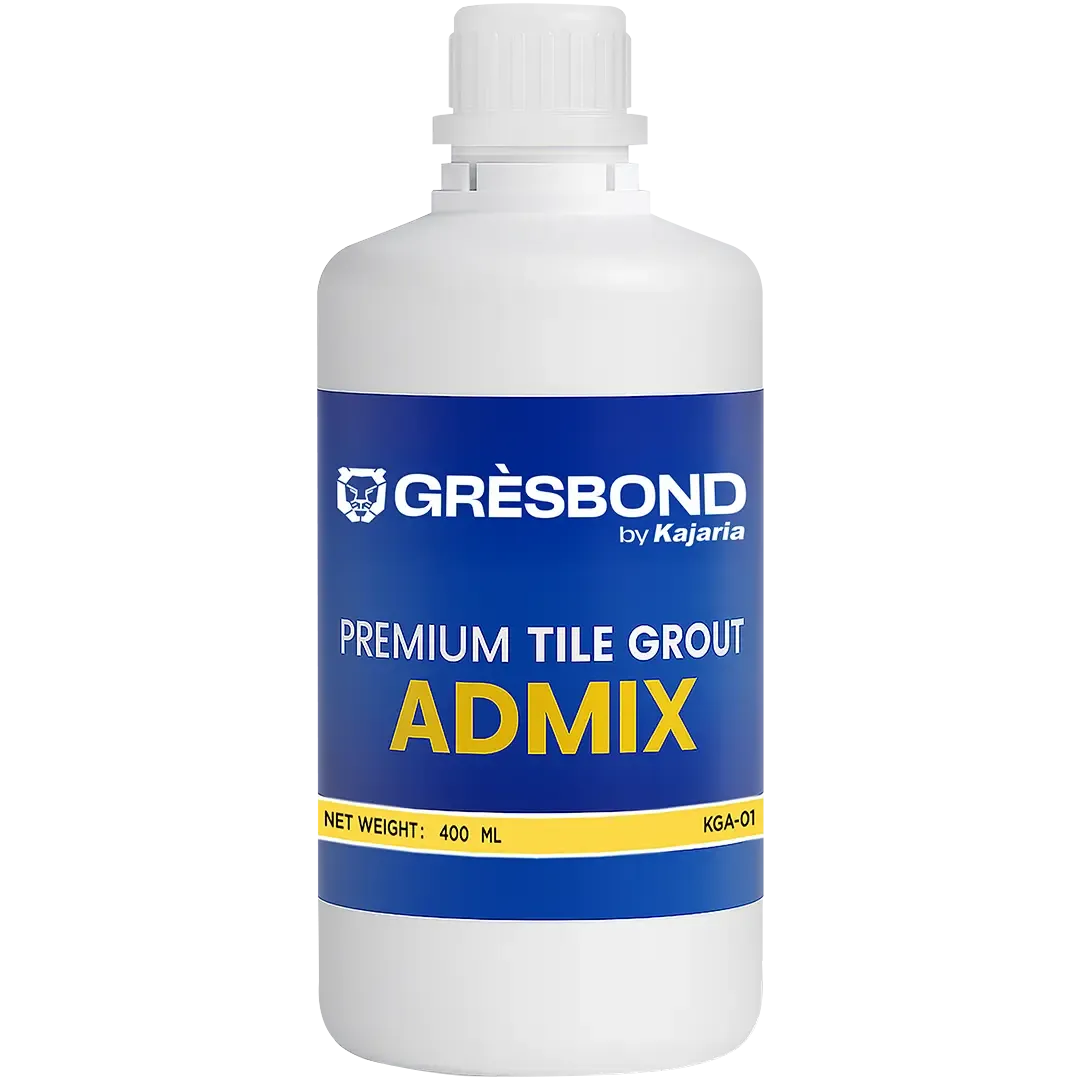
KGA 01
kga-01-grout-admixGresbond Premium Grout Admix KGA-01 is a polymer based liquid admixture specially designed for use in combination with Kajaria Grouts. It provides a dense, colorfast grout ideal for all interior and exterior application. It improves the performance and does not allow any moisture/water to seep into the back of the tile.
View ProductMethod of Application
A comprehensive, sequential procedural view designed for engineers and site applicators to attain faultless surface integration using KGA-01 adhesive compounds.

Surface Preparation
Remove all Dust, Water, Oil & Sealers from Surface / Substrate to ensure full chemical contact.
Water Addition
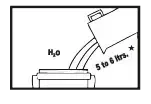
Add 5 to 6 Liters of clean water or Admix into an empty structural mixing bucket.

Adhesive Mixing
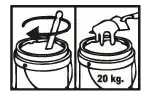
Add 20 Kg KGA-01 Thin Set Adhesive into water and mix thoroughly until it attains a perfect, uniform paste.

Slaking Period
Allow the mixed material to slake (rest) for 5 to 10 minutes to fully activate its polymer bonding properties.
Re-mixing
Mix the material again briefly without adding extra water, then transfer the material onto your notch trowel.

Flat Bedding
Use the flat side of the trowel to spread and press the adhesive layer uniformly onto the base substrate.

Adhesive Combing
Comb through the adhesive layer at a precise angle with the help of a correctly sized Notch Trowel.

Back Buttering
Spread the adhesive material on the backside of the tile also if the tile dimension is larger than 12\"x12\"."

Leveling
Press and tap the tile surface gently with the help of a Wooden Hammer to maintain a perfectly uniform surface plane.
Surface Cleaning
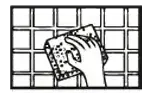
Clean the tile surface thoroughly using a clean wet cloth or damp sponge before the compound sets.

Curing Phase
Restrict all foot traffic completely across the layout zone and wait up to 24 Hours for full chemical curing.

Final Grouting
After completing the 24 Hrs wait period safely, you can immediately proceed with filling joints via the grouting process.
Installation Instructions
Important Site Checks for GRESBOND Premium Un-sanded Grout Installation
- Colour Confirmation:
- Ensure the grout colour matches the client's selection.
- Test a small area with the actual tile/stone to check for colour absorption.
- Movement Joints :
- Include proper movement and peripheral joints to accommodate tile/stone movement.
- Use a flexible sealant for these joints.
- Grout Limitations :
- GRESBOND Premium Un-sanded Grout is rigid and cannot accommodate tile/stone movement.
- Lack of movement joints can cause cracks in the grout, tile, or stone.
Important Site Checks for GRESBOND Premium Un-sanded Grout Installation
- Colour Confirmation:
- Ensure the grout colour matches the client's selection.
- Test a small area with the actual tile/stone to check for colour absorption.
- Movement Joints :
- Include proper movement and peripheral joints to accommodate tile/stone movement.
- Use a flexible sealant for these joints.
- Grout Limitations :
- GRESBOND Premium Un-sanded Grout is rigid and cannot accommodate tile/stone movement.
- Lack of movement joints can cause cracks in the grout, tile, or stone.
SURFACE PREPARATION :
- Remove debris from grout joints before grouting.
- Lightly sponge the tile surface to remove dust and dirt.
- Do not use acid cleaners on tiles. If used, wash the area thoroughly with water before grouting.
- Ensure the substrate temperature is between 60°F (16°C) and 90°F (32°C).
Mixing
- Prepare Admix: Stir Premium Grout Admix KGA-01 thoroughly before use.
- Mix Ratio: Use 375-400 ML of water or Grout Admix KGA-01 per 1 kg of GRESBOND Premium Un-sanded Grout.
- MIXING :
- Pour water or Grout Admix KGA-01 into a clean container.
- Slowly add grout powder.
- Mix by hand or with a slow-speed mixer until smooth and stiff. Use potable grade water for best results.
APPLICATION INSTRUCTIONS :
- Dampen Surface: Lightly dampen the tile surface with water.
- Spread Grout :
- Use a sharp, firm rubber grout float to spread the grout paste.
- Work the grout into the joints with diagonal strokes, ensuring joints are fully filled without bridging.
CLEANING INSTRUCTIONS :
- Primary Cleaning:
- Remove excess grout from tile faces using the edge of the grout float.
- Hold the float at a 90° angle and pull it diagonally across joints and tiles to avoid pulling out grout.
- Secondary Cleaning:
- Use a damp (not wet) sponge or towel to clean remaining grout, working diagonally.
- Allow grout to dry.
- Once grout joints are firm, polish the surface with a coarse nylon pad or cloth using minimal water.
SHELF LIFE AND LIMITATIONS :
- Factory-sealed packs last for one year if stored off the ground in a dry area.
- Protect from acids and strong cleaners during use.
- Acidic cleaners can damage the grout, causing colour change, cracking, and powdering.
- Adhesives, mortars, and grouts are not substitutes for waterproof membranes. Use a waterproof membrane when needed.
MAINTENANCE :
- Clean grouts regularly with a neutral pH soap and water solution.
- Proper maintenance ensures performance and durability of the installed area.
Suitable Substrates

Ceramic Tiles

Vitrified Tiles

Glass Mosaic Tiles

Granite & Marble
Plumbed internal wall renders and vertical surfaces.

Marble
Agglomerates (Engineered Stones)
Precast Terrazzo tiles
Brick
Note: Surfaces must be thoroughly cleaned and roughened before the installation of tiles or stones to secure dynamic mechanical integration.