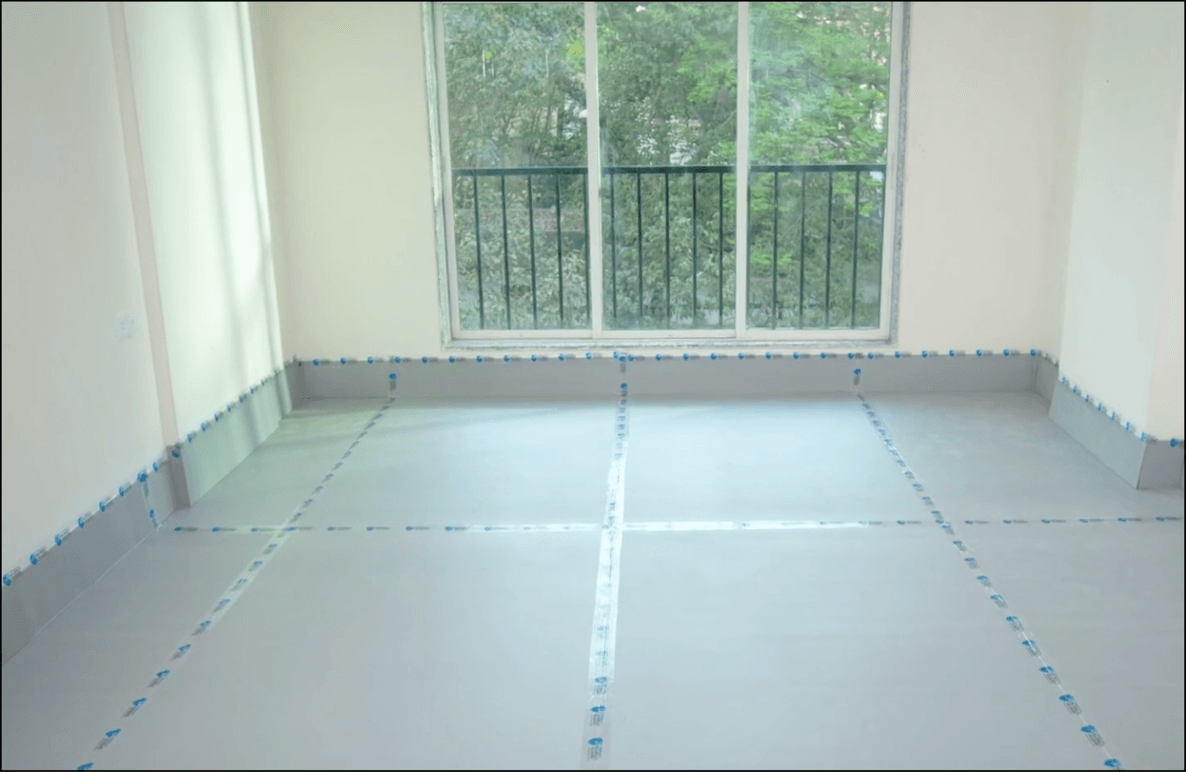
The Laying Process
Follow these steps in order for a durable, hollow-free finish — from checking your tiles to the final clean.
- 01
Before Installation
Before proceeding with the installation, we recommend laying the tiles in your desired pattern to ensure an acceptable blend of colours and texture.
A certain amount of shade variation is inherent in the manufacturing of ceramic tiles.
Kajaria Tiles shall bear no liability once the tiles are fixed.
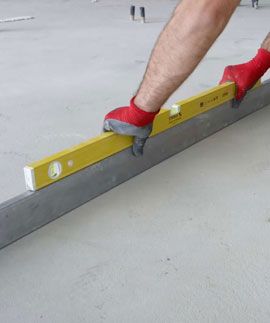
- 02
Tile Handling
- Handle tiles with utmost care to prevent breakage or damage.
- Use appropriate equipment such as tile suction cups, lifting straps or dollies to move tiles safely.
- Store tiles vertically on a flat, level surface to avoid warping or bowing.
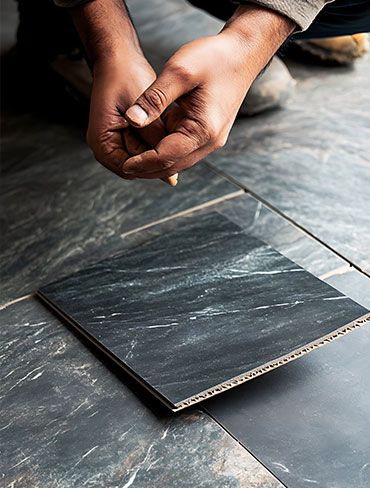
- 03
Tile Cutting
- Use a tile cutter or wet saw to ensure clean and precise cuts.
- Always wear protective gear such as safety glasses and gloves when cutting tiles.
- Mark the tile where cutting is required and proceed slowly and steadily.
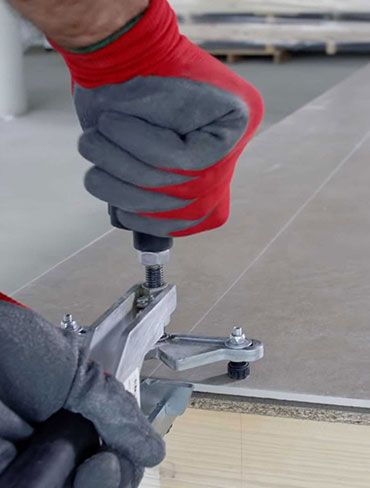
- 04
Tile Drilling
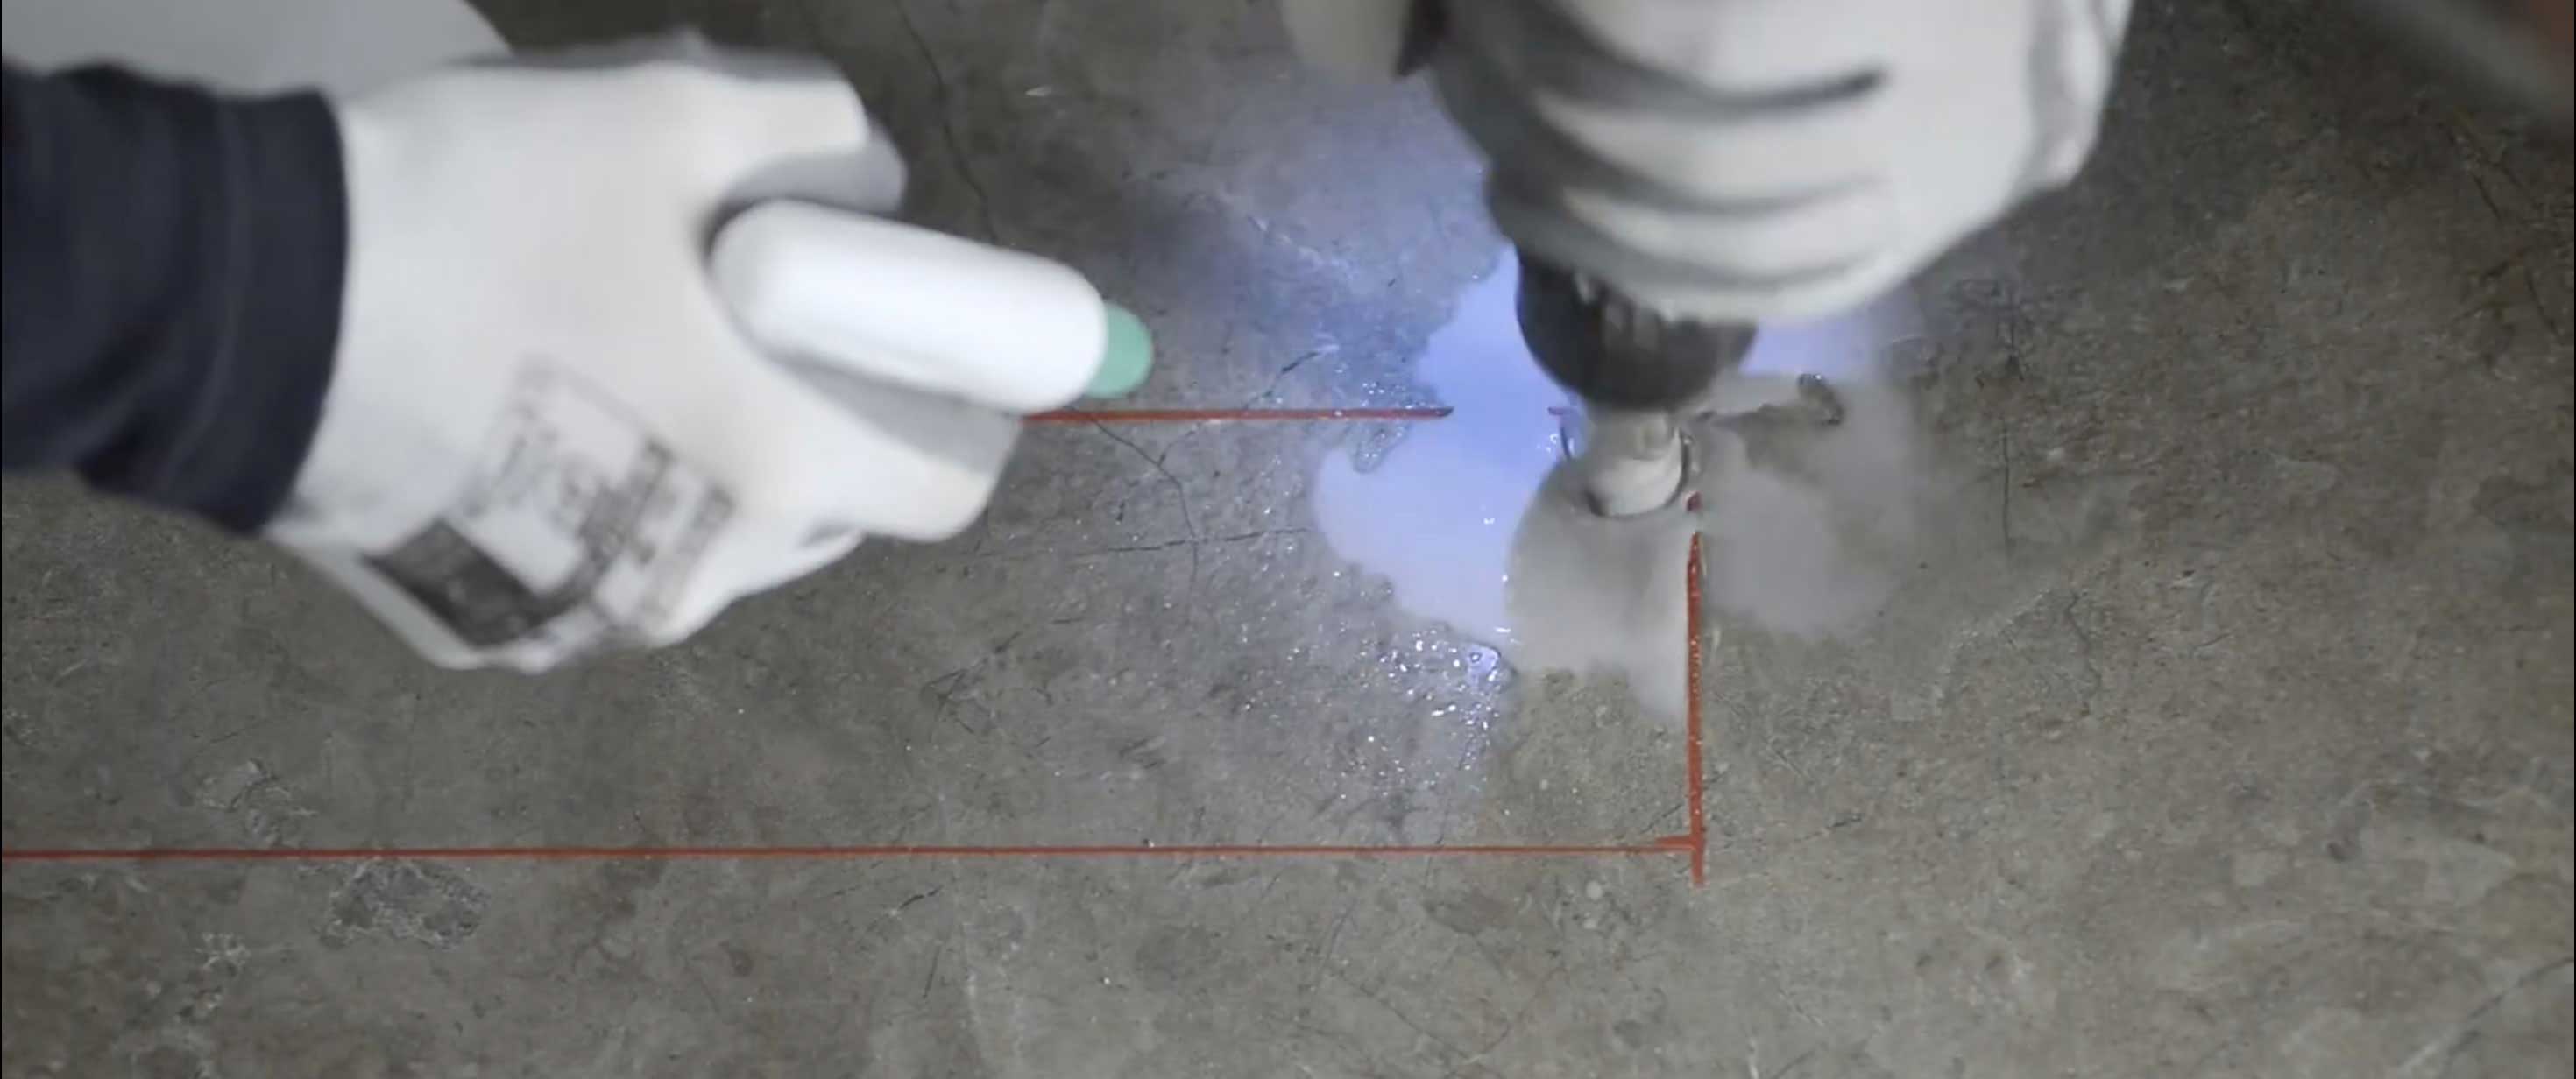
- Use a diamond drill bit for drilling holes in tiles.
- Place a small piece of paper tape over the drilling area to prevent the drill bit from slipping.
- Drill using a slow, steady motion, applying light pressure to avoid cracking the tile.
- Keep the drill bit and tile cool by using water or a coolant.
- 05
Substrate Preparation
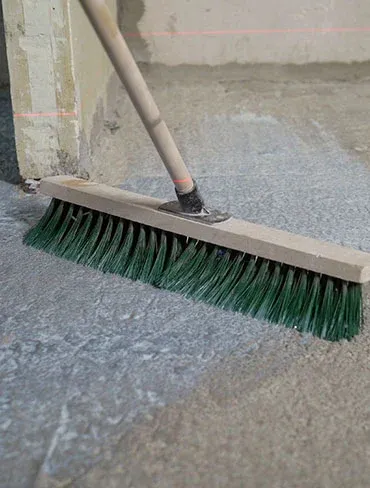
- Ensure the surface to be tiled is sound, clean and free from any dirt, oil or loose plaster.
- The surface should be structurally sound and level; rectify any unevenness or cracks with suitable material.
- If applying a plaster or leveling mortar bed, allow curing for at least 7 days before applying tile adhesive.
- Dampen the wall before adhesive application and clean the back of the tile.
- 06
Tile Adhesive
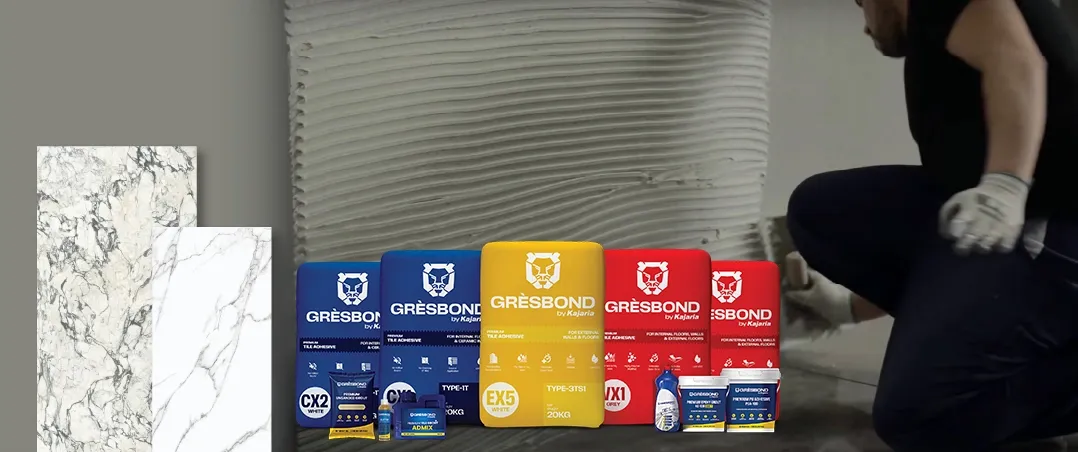
We recommend Gresbond high-performance polymer-modified cementitious adhesive for optimal results — suitable for both interior and exterior applications on concrete and cementitious surfaces.
Features & Benefits:
- Ideal for fixing ceramic, vitrified tiles and natural stone on floor and wall.
- High bond strength.
- Single component — just add water.
- Suitable substrates include concrete, cement mortar beds, ceramic tiles and stone.
- 07
Mixing the Adhesive
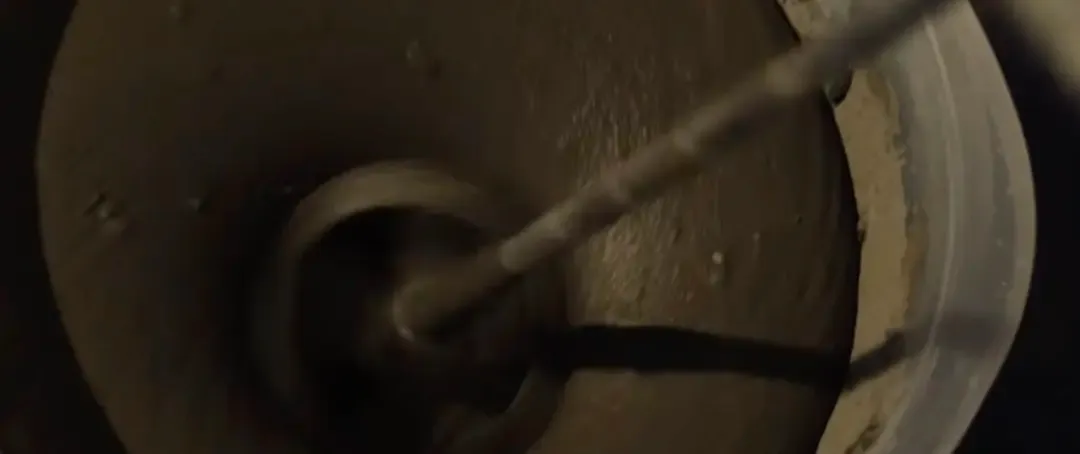
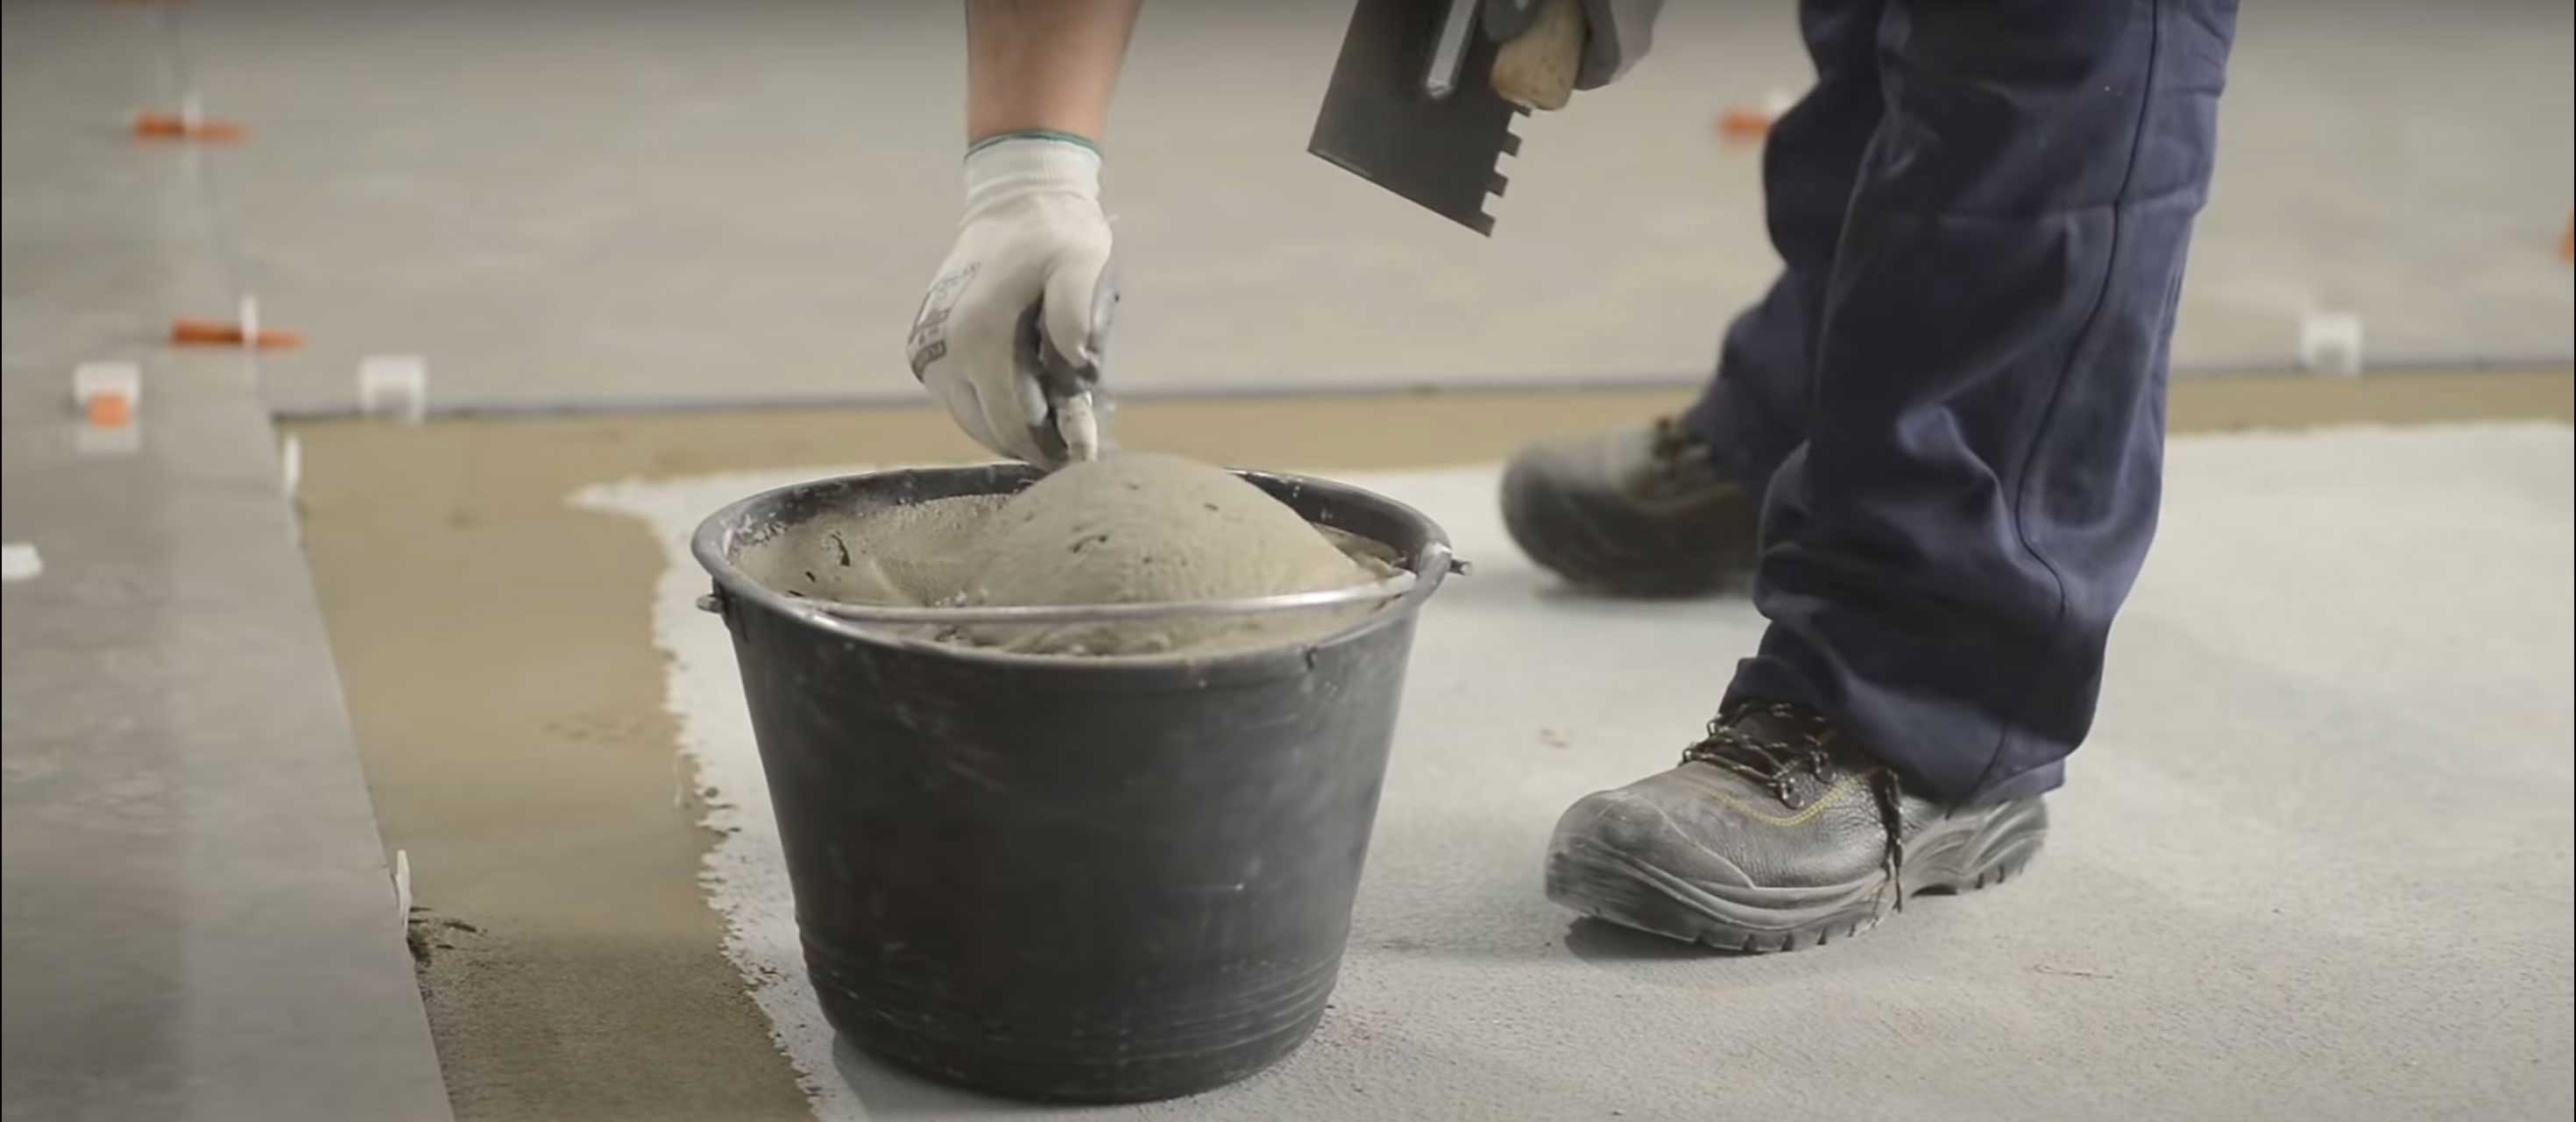
- Mix the adhesive with water until it reaches a creamy, plastic consistency.
- Avoid over-mixing.
- Allow the mixture to slake for 5–10 minutes before use.
- Mix only the quantity of adhesive you can use immediately.
- 08
Applying Adhesive
- Apply adhesive with the flat side of the trowel, ensuring good contact with the surface.
- Comb on additional mortar with the notched edge of the trowel.
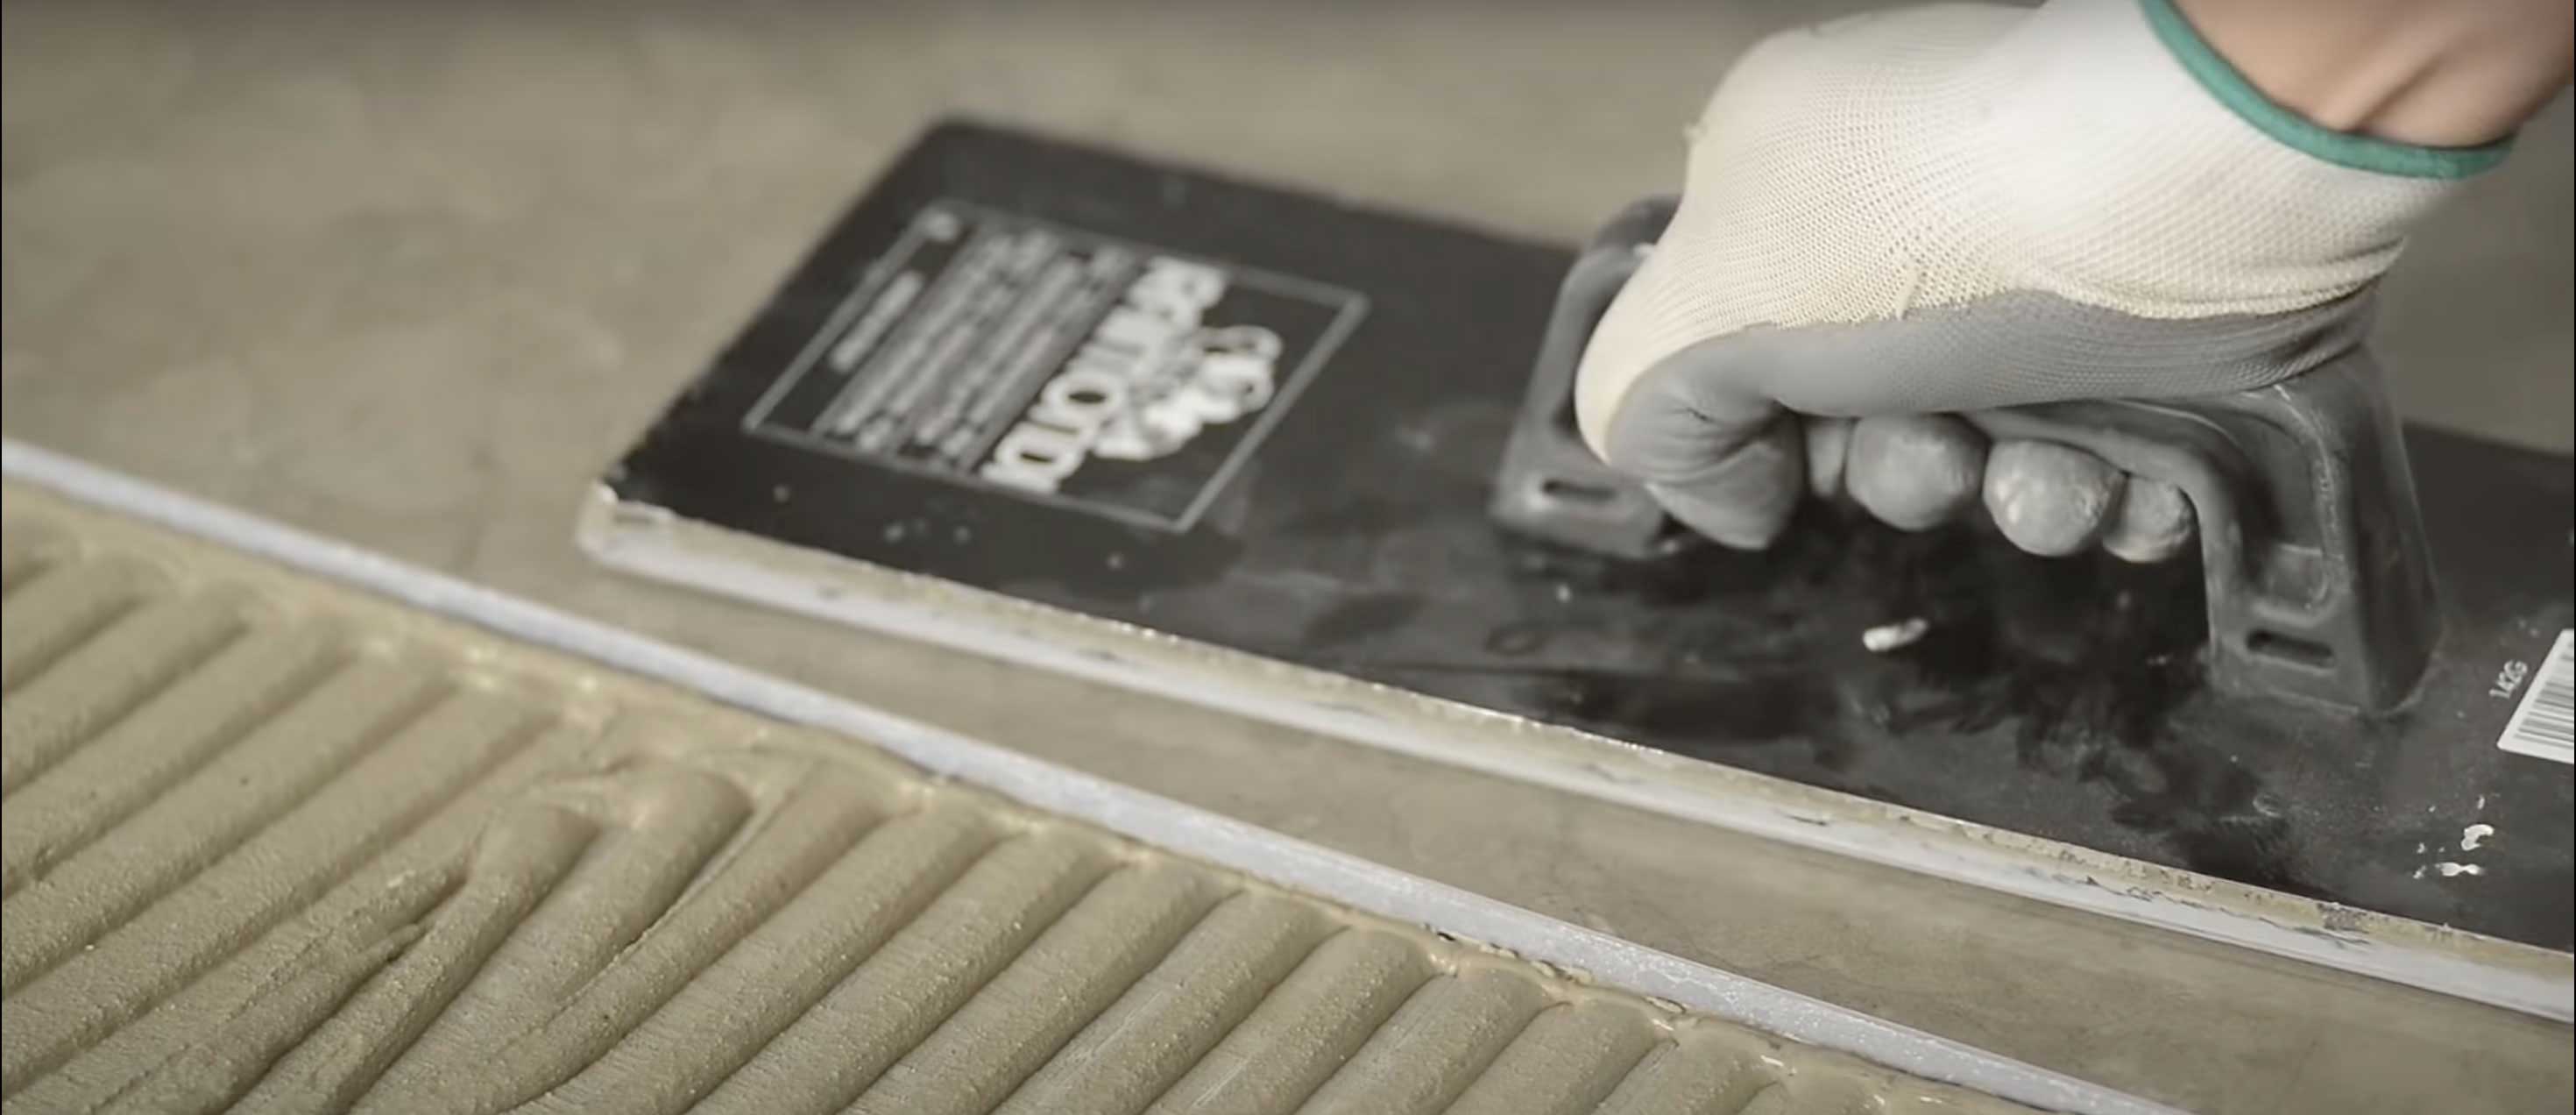
- For large tiles, also back-butter adhesive onto the back of the tile.
- Ensure even application and full coverage on the back of the tile to avoid air pockets.
- 09
Laying the Tiles
- Lay the tiles in the desired pattern, ensuring proper alignment.
- Apply slight pressure to embed the tiles fully in the adhesive.
- Use tile spacers or a tile levelling system to maintain consistent spacing.
- Allow the adhesive to dry for the recommended time before grouting.
- 10
Grouting
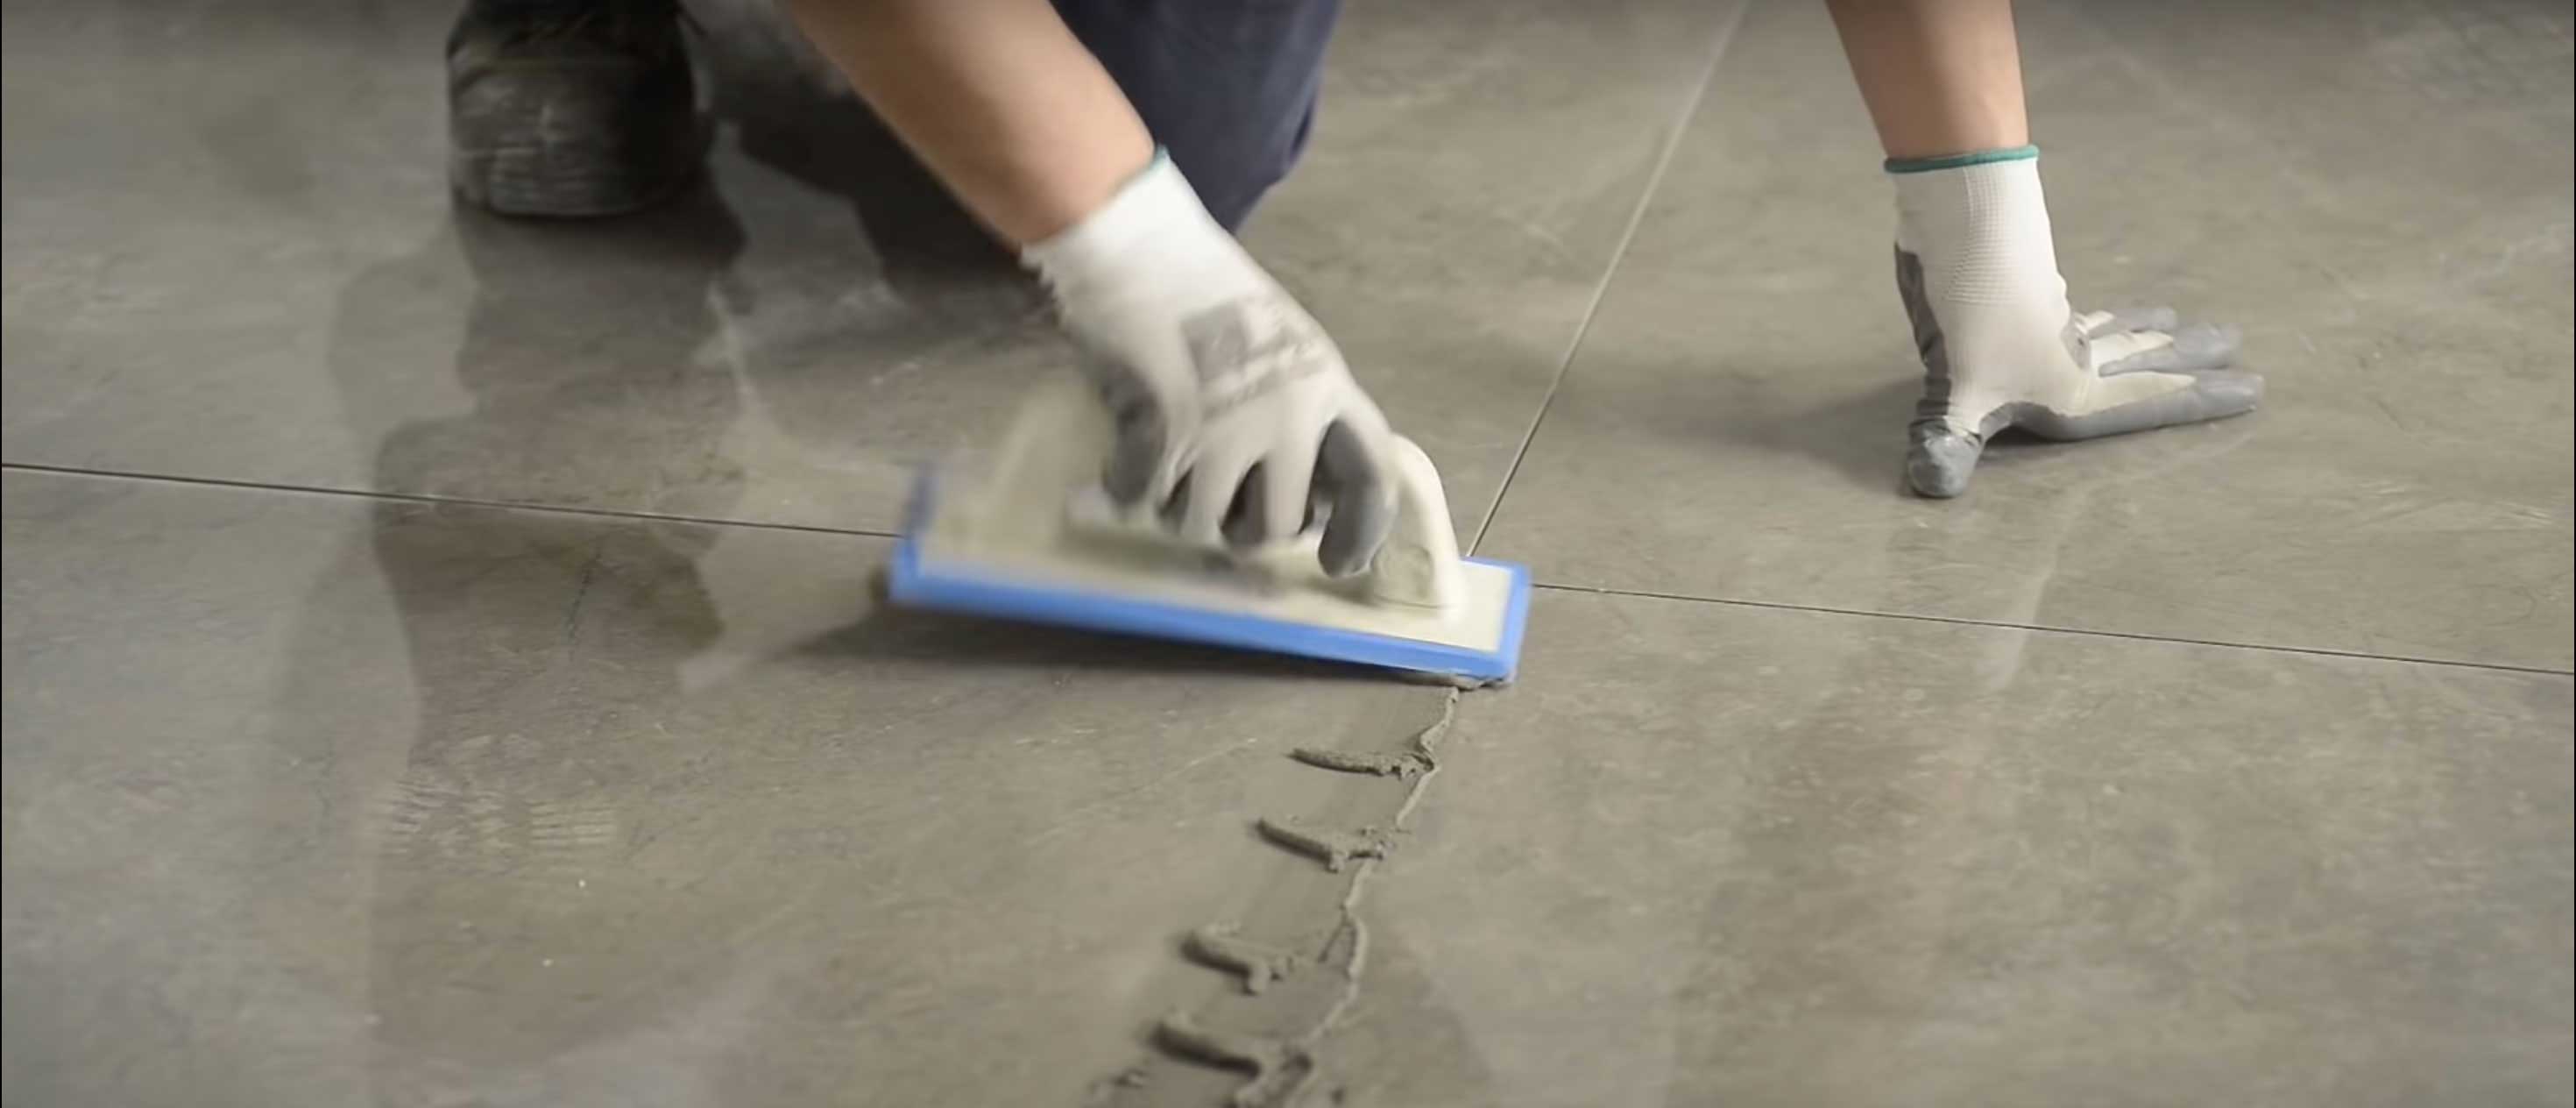
Once the adhesive has set, remove the tile spacers and fill the joints between tiles with a suitable grout.
- 11
Tile Cleaning
- Remove any excess adhesive or grout before it dries.
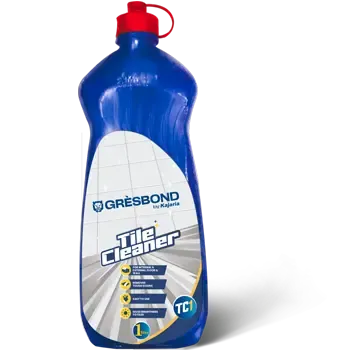
- Regularly clean tiles using a mild detergent or pH-neutral cleaner and warm water; we recommend tile cleaner TC-1.
- Clean up spills immediately to prevent staining.
- Use a damp sponge or cloth to remove residue or dust from tiles.
- 12
Tile Maintenance
- Avoid abrasive cleaners, metal tools or hard objects that may scratch tile surfaces.
- Regularly inspect tiles for cracks, chips or damage, and repair as necessary.
- Follow the manufacturer's instructions for handling, cutting, drilling, installation, cleaning and maintenance.
- Never use hydrofluoric acid or its derivatives, as they can damage tiles.
- Use floor guards or protection sheets during third-party work such as painting or furniture moving.