Product Variants
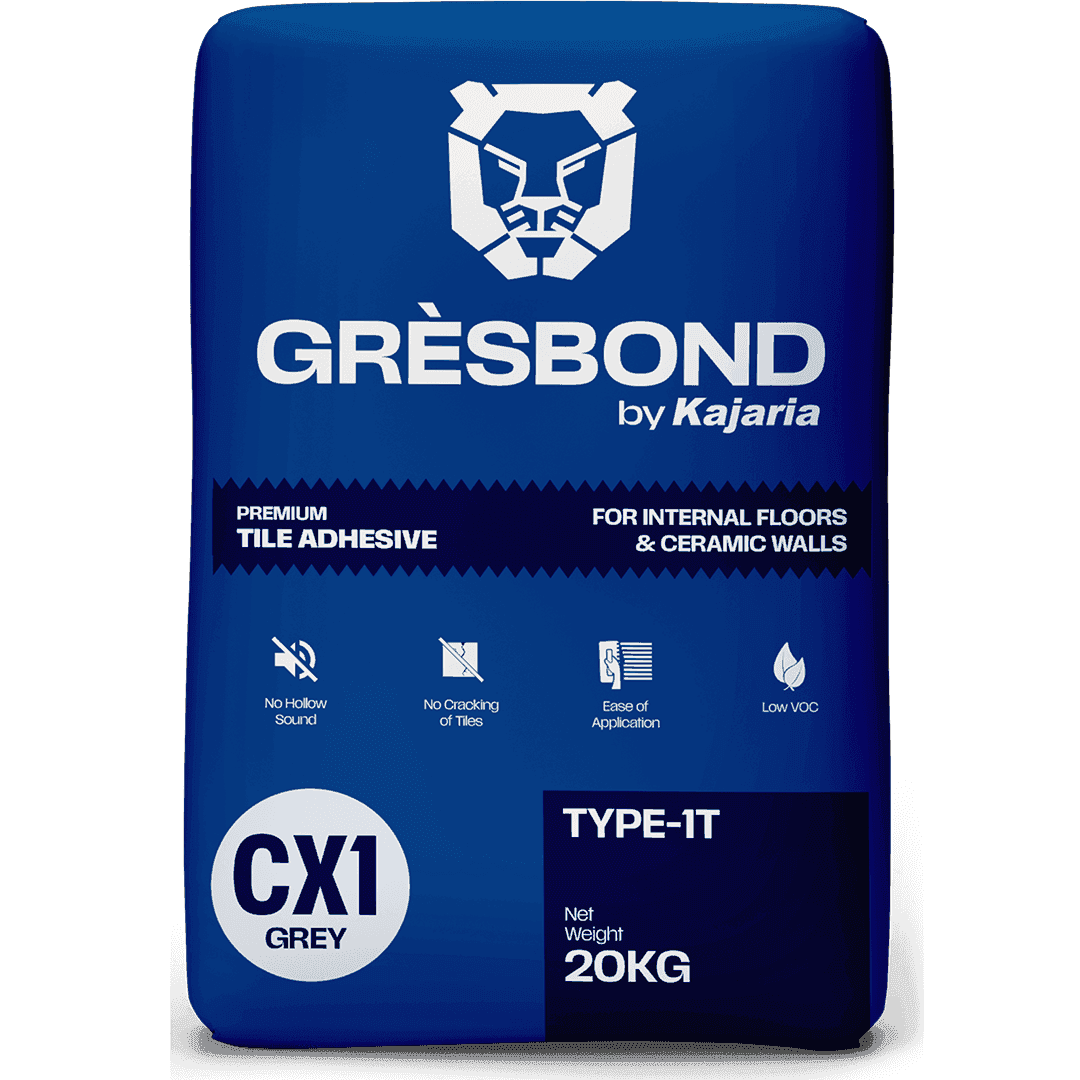
CX-1
cx-1CX-1 is a polymer-based tile adhesive specifically formulated for fixing ceramic tiles and small format natural stone, clay tiles, terracotta and quarry tiles of regular size. It is suitable for both vertical and horizontal surfaces, over the cementitious substrate for indoor application, in dry as well as wet areas. Easy to use with just water mixing, CX-1 is perfect for dry areas and occasional moisture environments like bathrooms and kitchens. Choose CX-1 for exceptional bond strength, flexibility, fast curing, and user-friendly application.
View Product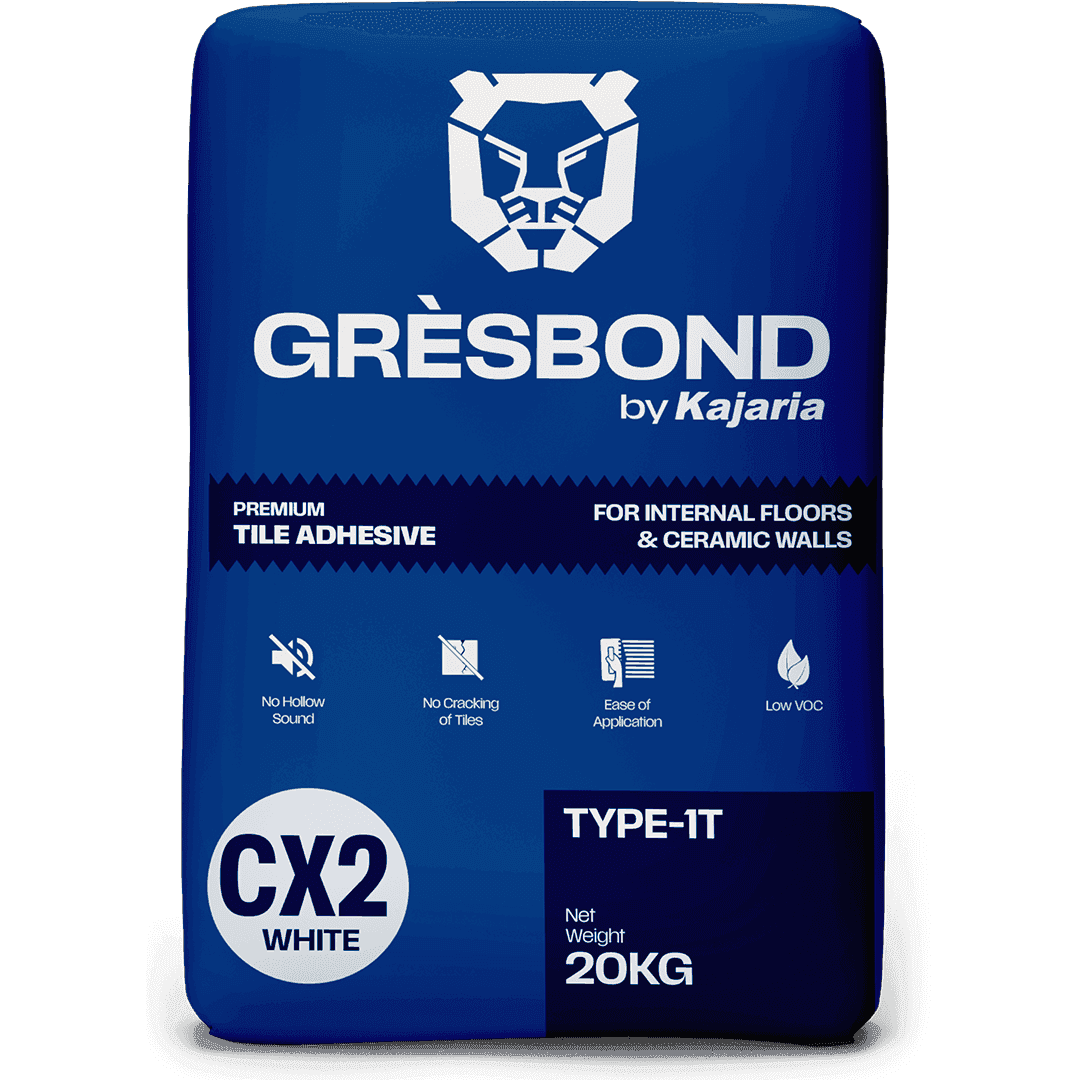
CX 2
cx-2CX-2 is a premium, white cement-based tile adhesive specifically formulated for interior wall and floor installations. Designed to preserve the aesthetic appeal of light-colored tiles and stones, this polymer modified adhesive delivers exceptional bond strength and flexibility. Ideal for fixing small format ceramic, natural stone, clay, terracotta, and quarry tiles, CX-2 is suitable for both dry and wet areas. Its user-friendly formulation requires only water for mixing, ensuring efficient application. Optimized for bed thicknesses up to 6mm, with the potential for 12mm in specific areas, CX-2 provides a reliable solution for cementitious substrates.
View Product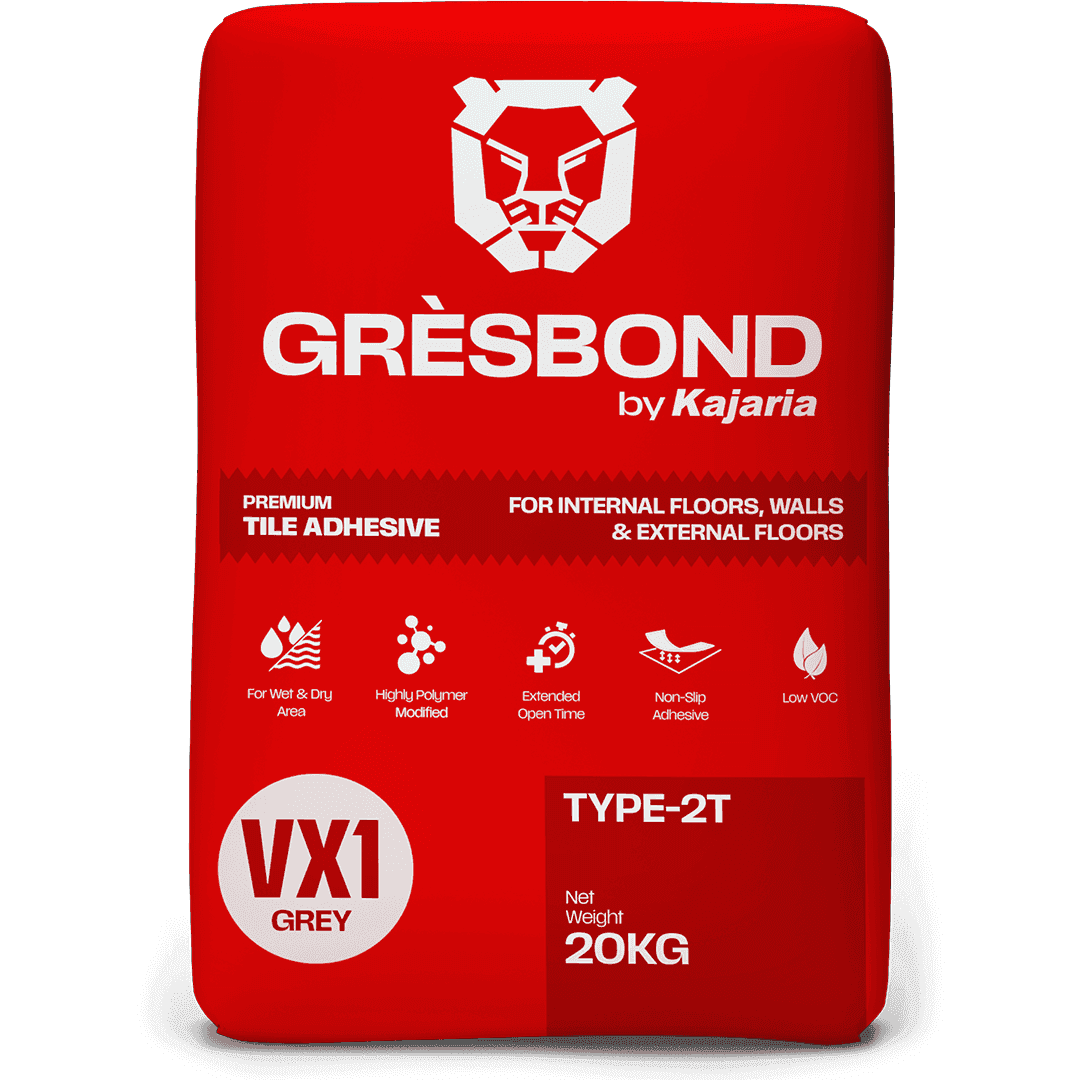
VX 1
vx-1VX-1 is a high-performance, polymer-modified, grey cement-based adhesive specifically designed for fixing low-porosity tiles (vitrified, semi-vitrified) and natural stones on interior and exterior floors, walls-interiors, and even swimming pools. It offers exceptional bond strength, water resistance, and ease of use. The adhesive is water-resistant and is suitable for use in showers, wet areas and swimming pools. Also, ideal for renovation (tile-over-tile) for quick & easy installation works. Its exceptional bond strength, flexibility, water resistance, and versatility make it the ideal choice for a wide range of applications. Confirms to IS 15477: 2019 Type 2T "Adhesives for use with Ceramic, Mosaic and Stone Tiles Note: Not recommended for direct use onto gypsum plaster (wall finishes), paint or metal. Not suitable for external wall installations, Not suitable for tiles and stones with mesh backing
View Product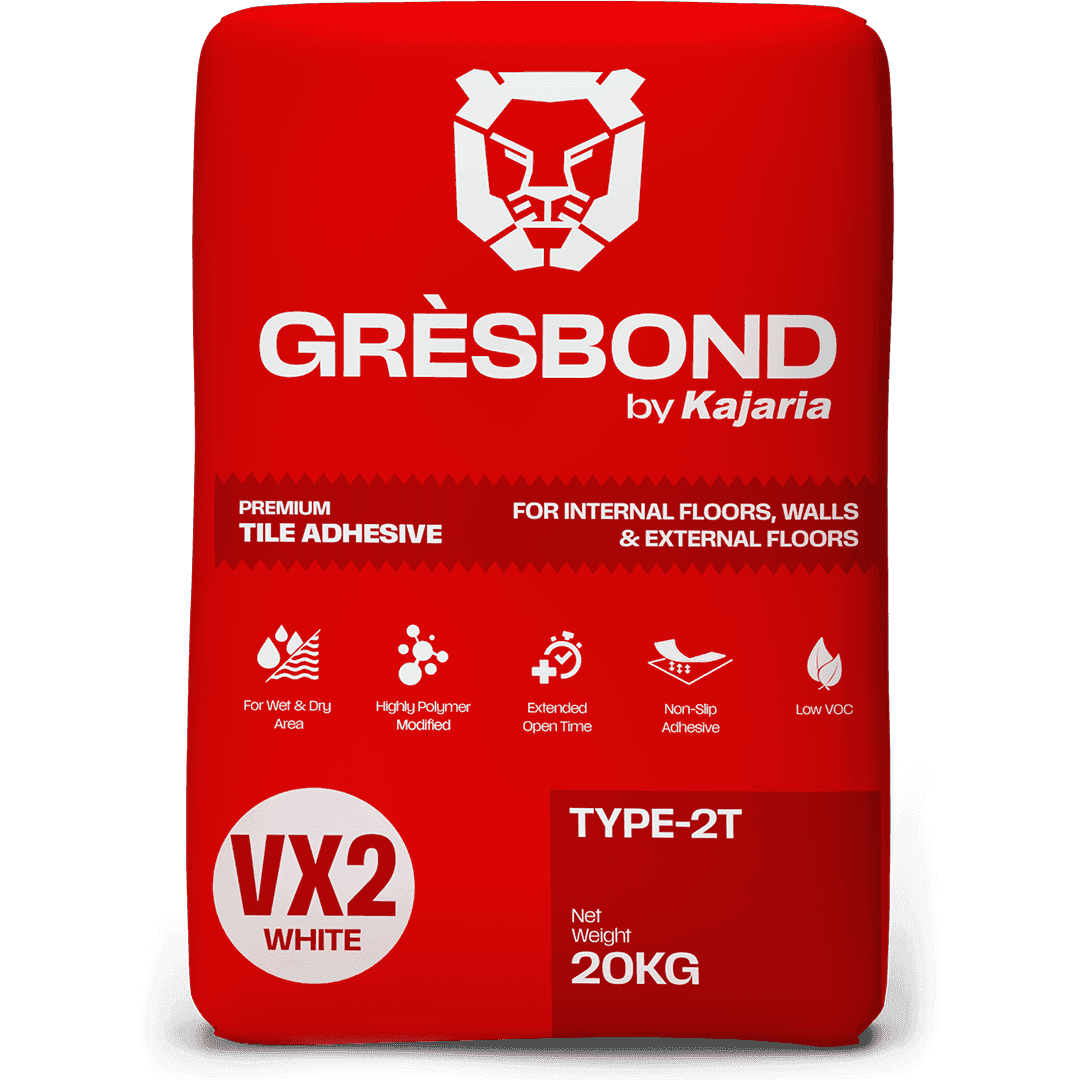
VX 2
vx-2-whiteVX-2 is a high-performance, polymer-modified, white cement-based adhesive for low-porosity tiles (vitrified, semi-vitrified) and natural stones, suitable for both interior and exterior floors, and interior walls. It provides excellent bond strength, water resistance, and ease of use, ideal for showers, wet areas, and swimming pools. VX-2 is perfect for renovations, allowing for quick tile-over-tile installations, and is suitable for mosaics, terrazzo, and light-colored natural stones. Confirms to IS 15477: 2019 Type 2T “Adhesives for use with Ceramic, Mosaic and Stone Tiles” Note: Not recommended for direct use onto gypsum plaster (wall finishes), paint or metal. Not suitable for tiles and stones with mesh backing.
View Product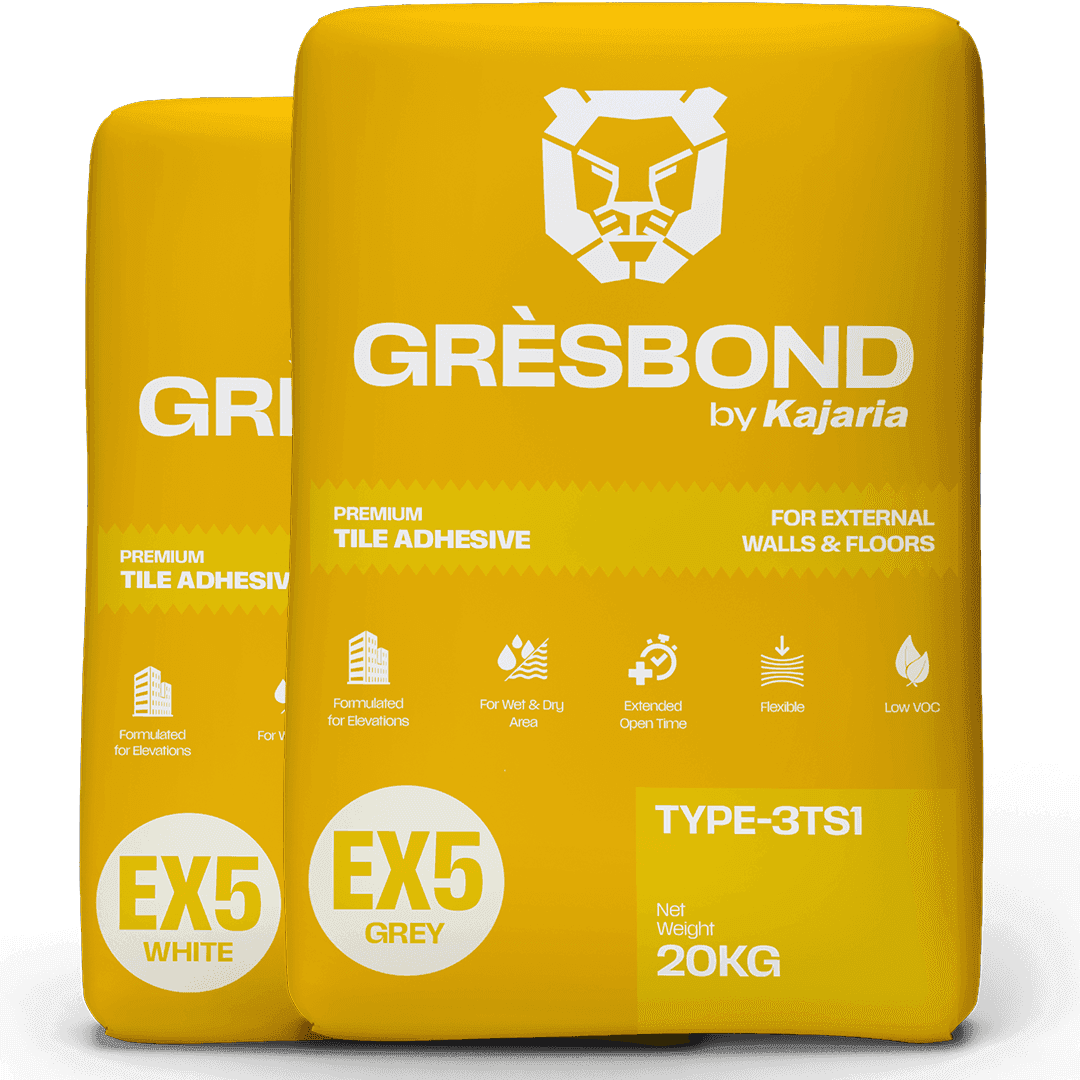
EX 5
ex-5EX-5 High Performance, Polymer Modified, Non-slip Adhesive, EX-5 is an improved slip-resistant cementitious adhesive with extended open time, classified as C2TES1 according to ISO 13007 standards, Exceeds IS 15477:2019-Type 3TS1 Adhesive standards. This high polymer-modified adhesive is designed for tile-on-tile works and the installation of vitrified tiles, natural stones, and glass mosaics on walls and floors in both interior and exterior situations up to a 6mm bed thickness, which can be averaged up to 12mm. The set adhesive is water-resistant and suitable for use in wet areas like swimming pools and water bodies. Note: Not recommended for direct use onto gypsum plaster (wall finishes), paint, or meta
View Product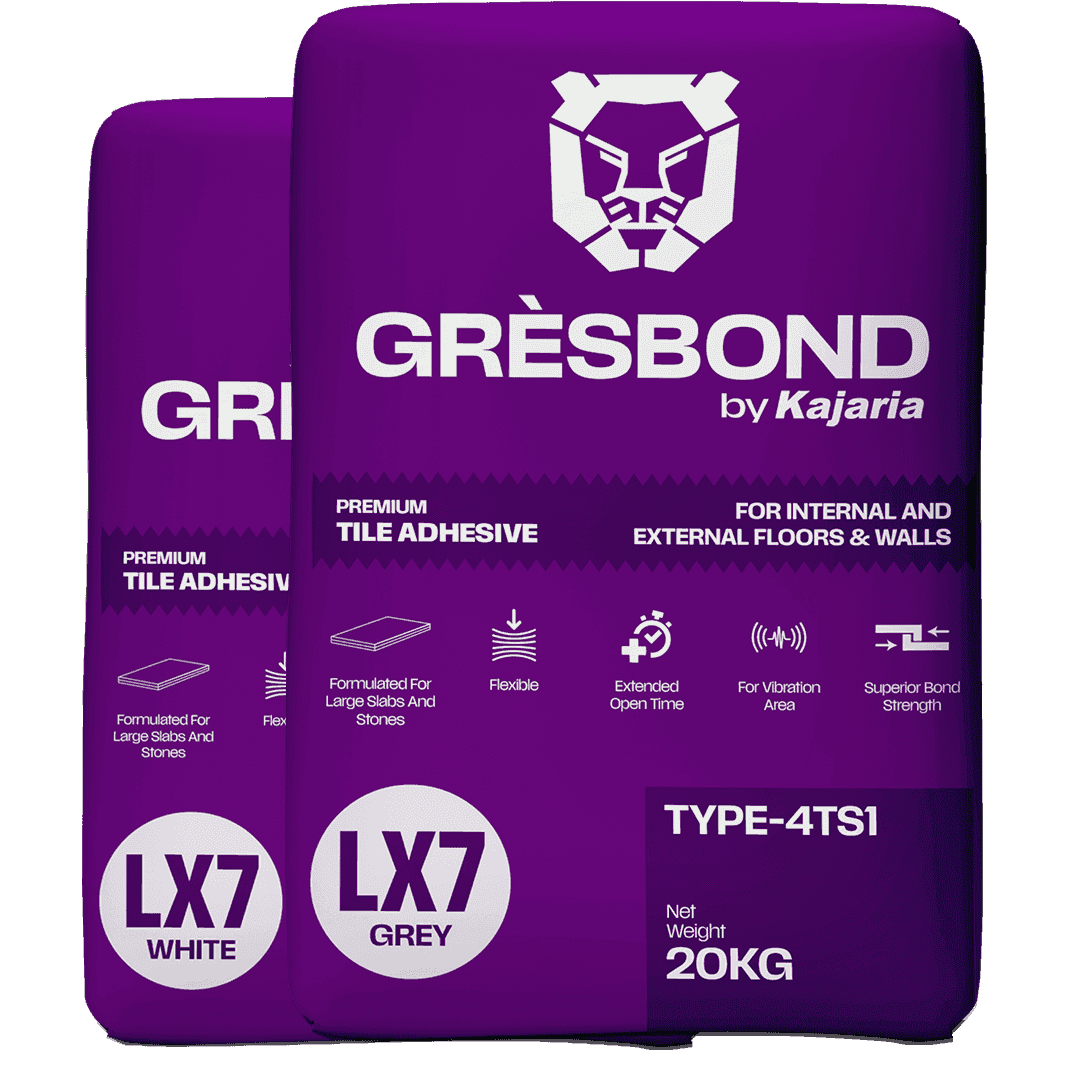
LX 7
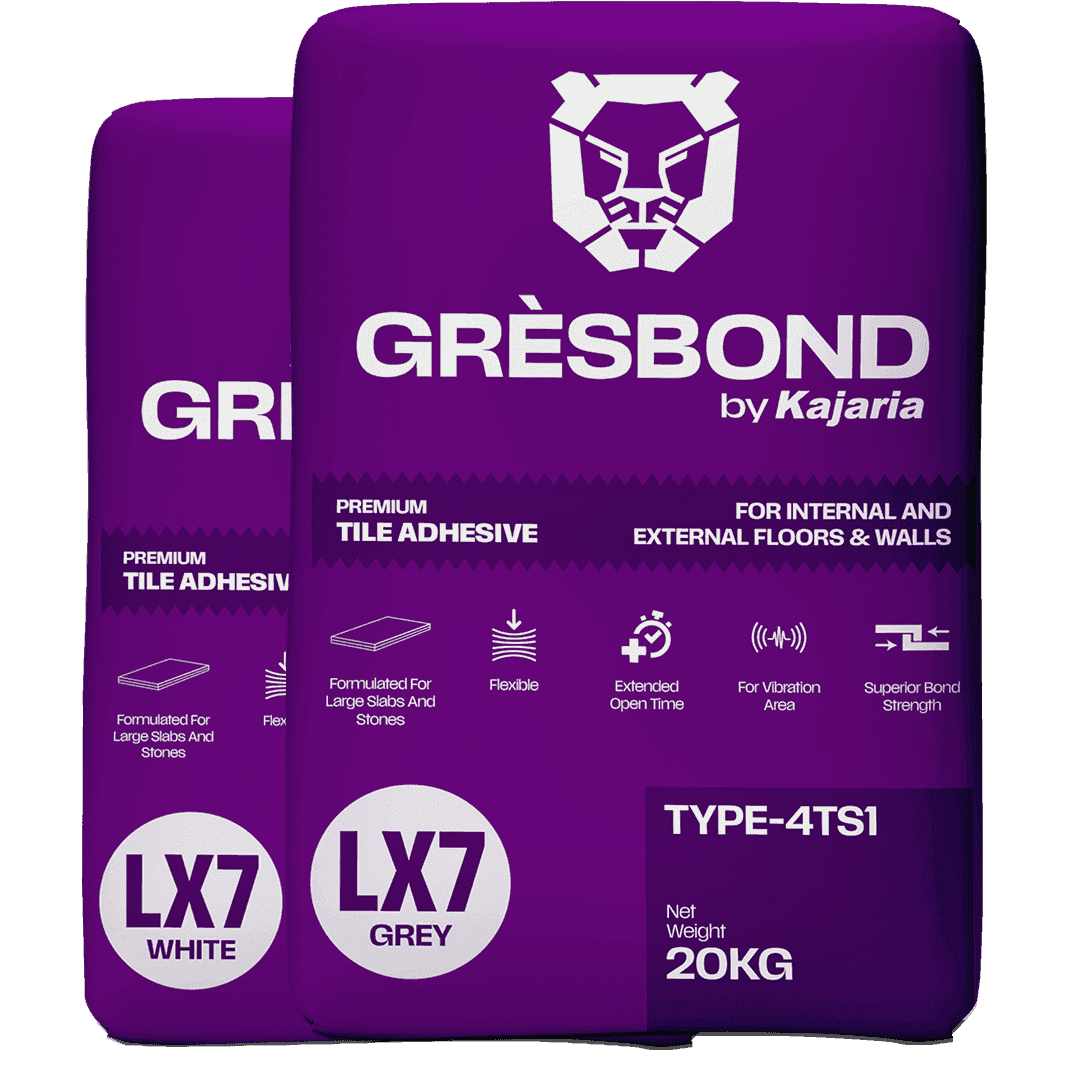
lx-7A highly deformable, polymer-modified tile adhesive for largeformat tiles and stones. Suitable for both wall and floor installations. GRESBOND LX-7 S1 Super Flex is a multipurpose, highly polymermodified, and highly deformable adhesive designed for the installation of large-format tiles and stones on various substrates. Its superior flexibility accommodates movements in the substrate, ensuring exceptional performance with sag and slump resistance. Suitable for both wall and floor installations. Note: Not recommended for direct use onto gypsum plaster (wall finishes), paint, or metal.
View Product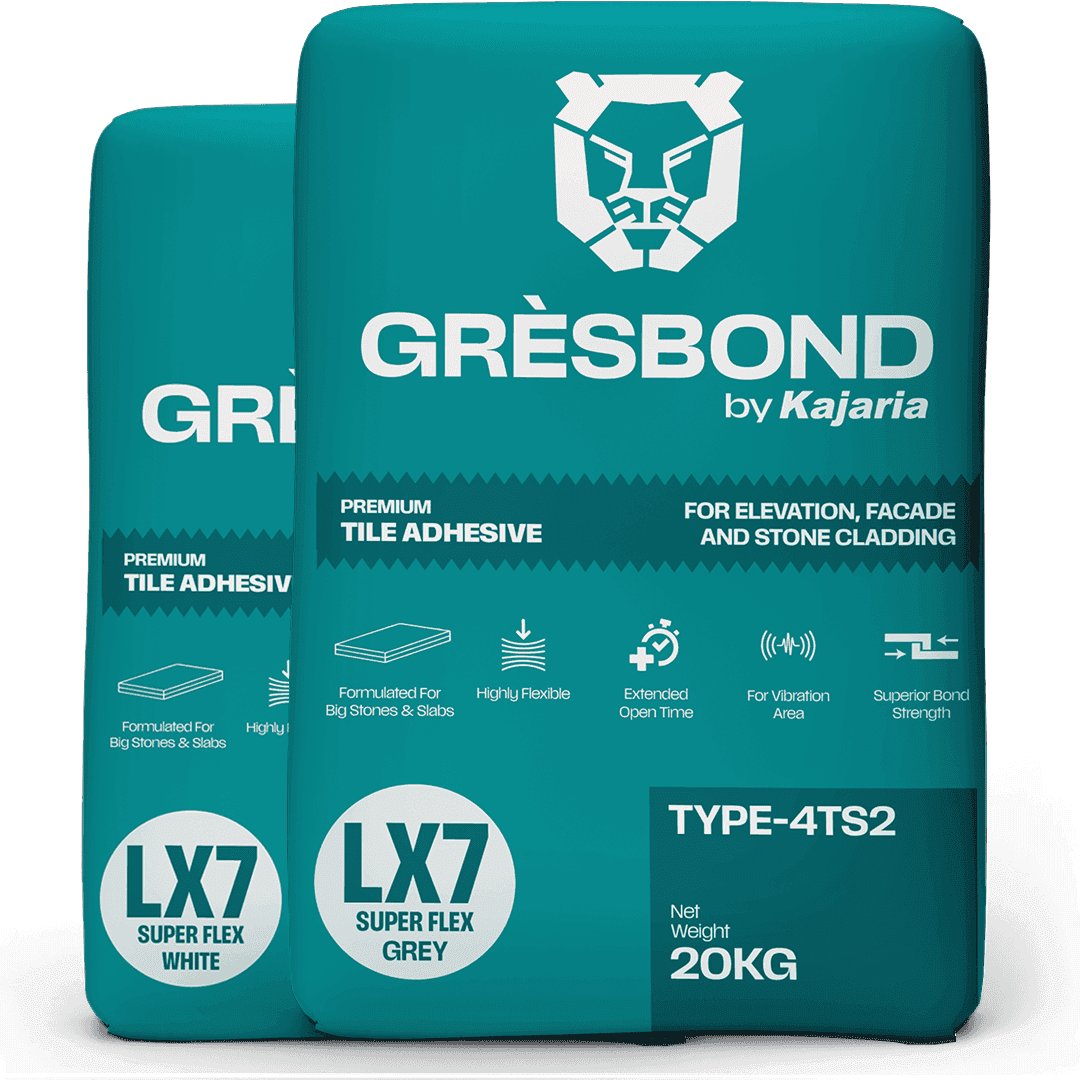
LX 7 Superflex S2
lx-7-super-flexLX-7 Superflex S2 Grey & White complies to Type 4 T S2' as per IS 15477: 2019 - Adhesives for use with ceramic, mosaic and stone tiles - Specification. Also, LX-7 Superflex S2 Grey & White conforms to class C2TES2 as per EN 12004: 2017/ ISO 13007-a cementitious (C) improved performance (2) slip resistant (T) extended open time (E) with highly deformable (S2) tile adhesive. LX-7 Superflex S2 Grey & White isa high polymer modified & highly flexible adhesive with enhanced properties of slip resistance, extended open time & excellent bond strength which is necessary for fixing large format tiles/natural stones & slim tiles on vertical & horizontal surfaces for indoor as well as outdoor application especially in external conditions, high footfall areas & on substrates subject to high deformations/vibrations.
View Product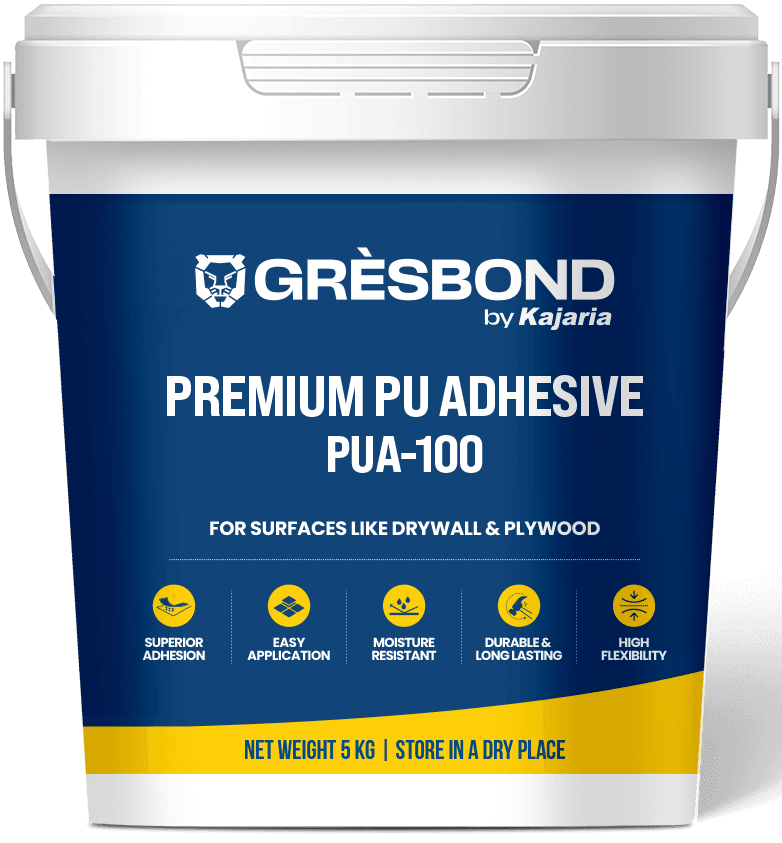
PUA 100
pua-100GRESBOND PUA-100 is a high-performance, two-component polyurethane thinset adhesive designed for superior bonding of tiles and stone on both interior and exterior floors and walls. Engineered for exceptional flexibility, it is ideal for a wide range of substrates, including metal, plywood, and drywall. This multipurpose adhesive ensures strong and durable adhesion, making it the perfect solution for challenging installations.
View ProductMethod of Application
A comprehensive, sequential procedural view designed for engineers and site applicators to attain faultless surface integration using LX-7 adhesive compounds.

Surface Preparation
Remove all Dust, Water, Oil & Sealers from Surface / Substrate to ensure full chemical contact.
Water Addition
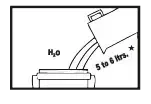
Add 5 to 6 Liters of clean water or Admix into an empty structural mixing bucket.
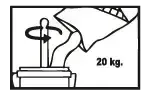
Adhesive Mixing
Add 20 Kg LX-7 Thin Set Adhesive into water and mix thoroughly until it attains a perfect, uniform paste.
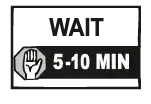
Slaking Period
Allow the mixed material to slake (rest) for 5 to 10 minutes to fully activate its polymer bonding properties.
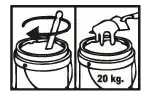
Re-mixing
Mix the material again briefly without adding extra water, then transfer the material onto your notch trowel.

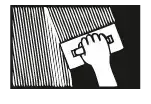
Flat Bedding
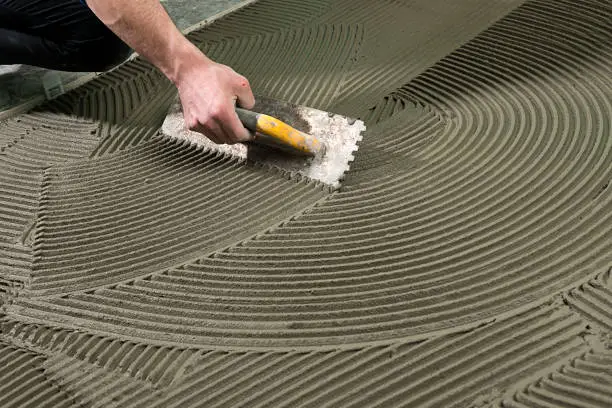
Use the flat side of the trowel to spread and press the adhesive layer uniformly onto the base substrate.
Adhesive Combing
Comb through the adhesive layer at a precise angle with the help of a correctly sized Notch Trowel.

Back Buttering
Spread the adhesive material on the backside of the tile also if the tile dimension is larger than 12\"x12\"."
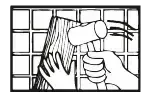
Leveling
Press and tap the tile surface gently with the help of a Wooden Hammer to maintain a perfectly uniform surface plane.
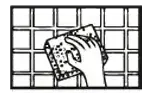
Surface Cleaning
Clean the tile surface thoroughly using a clean wet cloth or damp sponge before the compound sets.

Curing Phase
Restrict all foot traffic completely across the layout zone and wait up to 24 Hours for full chemical curing.
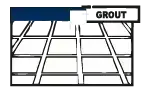
Final Grouting
After completing the 24 Hrs wait period safely, you can immediately proceed with filling joints via the grouting process.
Installation Instructions
Before you begin
- Ensure all surfaces are between 50°F (10°C) and 100°F (38°C).
- Verify the surface is structurally sound, clean, and free of dirt, oil, grease, paint, laitance, concrete sealers, or curing compounds.
- For very large format tiles: Remove any demolding wax powder on the back of the tile and any fiber mesh present.
Before you begin
- Ensure all surfaces are between 50°F (10°C) and 100°F (38°C).
- Verify the surface is structurally sound, clean, and free of dirt, oil, grease, paint, laitance, concrete sealers, or curing compounds.
- For very large format tiles: Remove any demolding wax powder on the back of the tile and any fiber mesh present.
Surface preparation
- Floors: The substrate should not have a variation exceeding 1/8" in 10 feet (3 mm in 3.05 m) or 1/16" in 24 inches (2 mm in 600 mm) when measured from high points.
- Walls: The prepared substrates should not have a variation exceeding 1/8" in 10 feet (3 mm in 3.05m) when measured from high points.
- Dampen dry, dusty concrete slabs or masonry and sweep off excess water before installation.
- New concrete slabs must be damp cured and at least 28 days old before installation.
Suitable bonding surfaces
- Concrete or plaster that fully cured and absorbs water (tested by sprinkling water).
- Properly cured lightweight cementitious systems that are dry and meet manufacturer specifications.
- Cutback adhesive residue must be removed by wet scraping before installation.
Movement joints
- Install movement joints around the perimeter and other plane changes.
- Expansion joints in the substrate must be continued through the tile work.
Mixing gresbond lx-7
- Use clean water and GRESBOND LX-7 S1 powder in a ratio of 5.0-5.5 L water per 20 kg powder.
- Mix with a low-speed drill mixer until a smooth, paste-like consistency is achieved.
- Let the mixture stand for 03-05 minutes, then stir again before use.
- The mixture should hold troweled ridges without slumping when properly mixed.
Applying gresbond lx-7
- Suitable Trowel: Use a properly sized notch trowel to ensure complete tile coverage.
- Tile/Stone Application:
- Apply a skim coat of mortar to the surface using the flat side of the trowel.
- With the notched trowel held at a 45° angle, comb additional mortar onto the surface in one direction.
- Press the tile firmly into the mortar, moving back and forth to flatten ridges and ensure maximum coverage.
- Adhesive mortar should not be used to fill low spots in the flooring. The mortar thickness should not exceed the specified range.
- Back-buttering is mandatory for all large format tiles.
- Glass Mosaic Tiles:
- Apply the adhesive with a scraping motion using a notched trowel with 4mm notches for a 1.5-2 mm bed thickness.
- Setthe tiles and gently tap them with a mallet to ensure full bedding.
- After the tiles are firm, dampen the face of the mosaic sheets and remove the paper backing.
- Wood Substrates: Use GRESBOND EA-100 for tile or stone installations.
Additional tips
- Use a mechanical edge-leveling system to minimize lippage during installation.
- Lightly tap the tile surface with a rubber mallet to ensure good contact with the mortar bed.
- Clean tools with water before the material dries.
- Store GRESBOND LX-7 S1 in a cool, dry area.
Grouting
- Grout installation should commence after a minimum of 24 hours of curing time at 70°F (21°C).
- Use Gresbond Unsanded Grout mixed with Gresbond Grout Admix-KGA-01.
- For maximum stain resistance of internal spacer joints applications, use Gresbond KE-100 Stainfree Grout.
Suitable Substrates

Concrete

Cement Mortar Beds
Cement Plaster
Brick Masonry

Fiber cement boards
Precast concrete
Shear walls
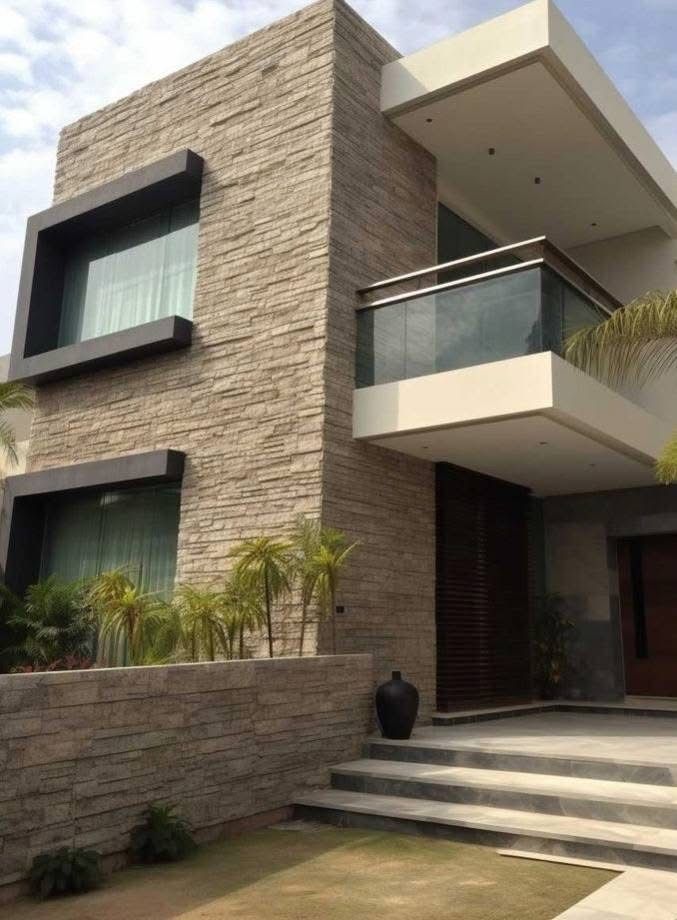
Ceramic, vitrified tiles, and natural stone
Gypsum wallboard (for dry areas)
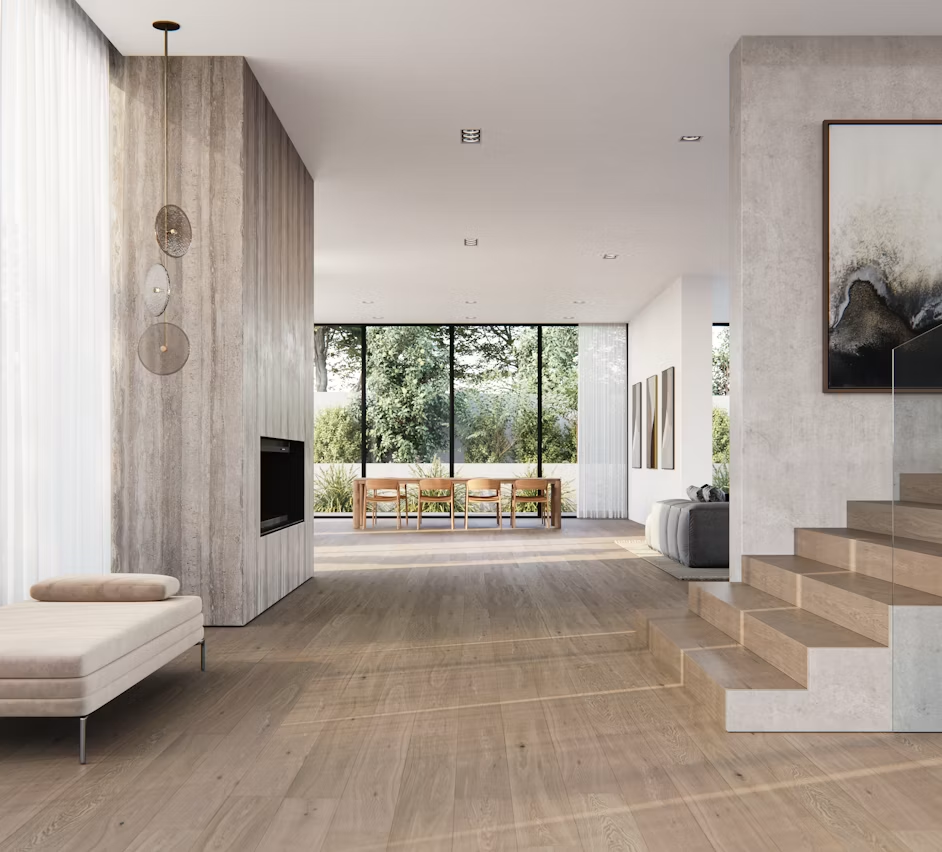
Calcium silicate boards (for dry areas)
Note: Surfaces must be thoroughly cleaned and roughened before the installation of tiles or stones to secure dynamic mechanical integration.
Download technical data sheets for all Gresbond products.
TDS, SDS and compliance certificates for your BOQ.
Find an Authorized Dealer
Connect directly with our distribution network to source genuine Gresbond products near you and fulfill your project demands with confidence.