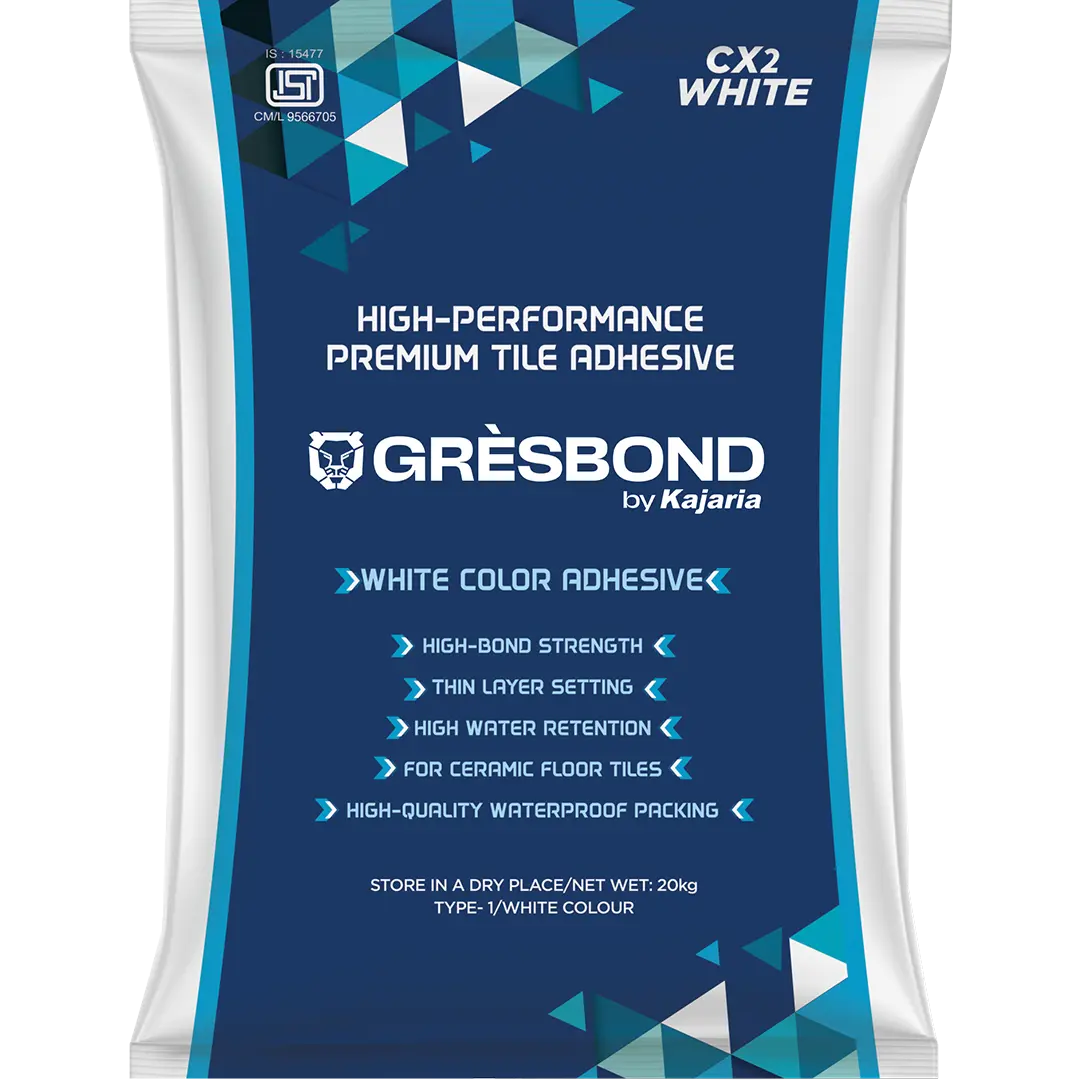


CX-2 - Premium Tile Adhesive for Internal Floors & Ceramic Walls

CX-2 - Premium Tile Adhesive for Internal Floors &
Ceramic Walls
PRODUCT DESCRIPTION:
CX-2 is a premium, white cement-based tile adhesive specifically formulated for interior wall and floor installations. Designed to preserve the aesthetic appeal of light-colored tiles and stones, this polymer modified adhesive delivers exceptional bond strength and flexibility. Ideal for fixing small format ceramic, natural stone, clay, terracotta, and quarry tiles, CX-2 is suitable for both dry and wet areas. Its user-friendly formulation requires only water for mixing, ensuring efficient application. Optimized for bed thicknesses up to 6mm, with the potential for 12mm in specific areas, CX-2 provides a reliable solution for cementitious substrates.
×
KEY FEATURES AND BENEFITS:
-
Ready to use. Needs only mixing with water.
-
High bond strength.
-
Flexible, shock and impact resistant.
-
Fast and economical
-
Highly effective for light base ceramic floor tiles
-
Protect light base ceramic tile from discoloration.
Advantages
-
Single-component, easy to use:Simply add water for a ready-mixed solution
-
Interior applications:Ideal for use on interior floors and walls.
-
Economical:Cost-effective solution for tile installation.
-
High-performance:Meets international classifications EN / ISO CIT and IS 15477:2019 – Type 1T.
-
Versatile:Bonds to various substrates including concrete, concrete masonry and cement-based surfaces.
SUBSTRATES
APPLICATION
CERTIFICATIONS
PERFORMANCE PROPERTIES : (CX-2 Adhesive mixed with Water):
PACKAGING
Method
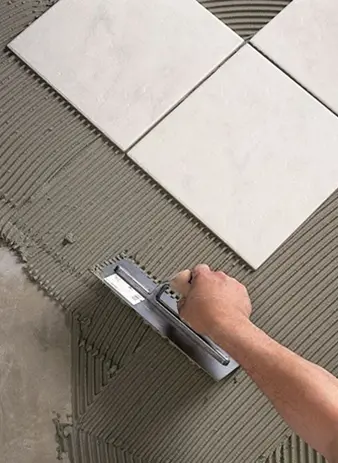
Method of Application
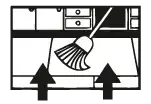
Remove all Dust, Water, Oil & Sealers from Surface/ Substrate
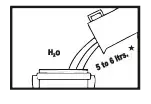
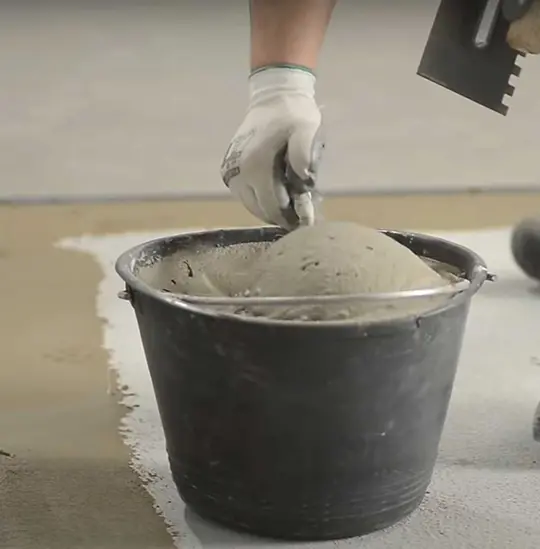
Add 5 to 6 * Itrs water/Admix in to empty bucket
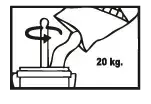
Add 20 Kg CX2 Thin Set Adhesive in to water and mix it till attains Uniform Paste

Slake the Material for 5 to 10 minutes
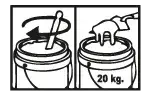
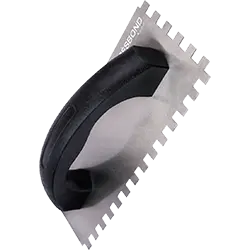
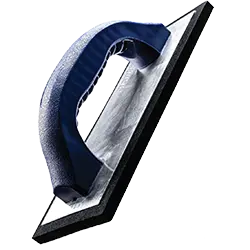
Again Mix the material then take the material on notch trowel

Use flat side of the trowel and spread the adhesive uniformly

Comb the adhesive with the help of Notch trowel

Spread the material backside of the tile also (If tile size is More than 12X12)

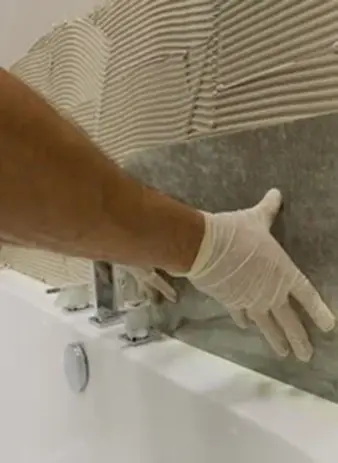
Press the tiles firmly into position by Twisting Action
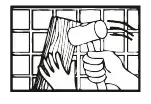
Press the tile gently with help of Wooden Hammer to make uniform tile surface
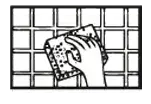
Clean the Tile surface with wet Cloth

For Foot Traffic wait up to 24 Hrs
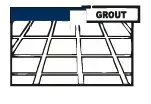
After 24 Hrs you can do the grouting
reliable
Technical Data
(Type-1)
| Property | Value |
|---|---|
| Density | 1.79 kg/litre Approx |
| Pot Life | 120 Minutes Approx |
| Open Time | 20 minutes Approx |
| Adjustability | 20 minutes Approx |
| Setting Time | Approx. 1 Day |
| Full Strength | Approx. 14 Days |
| Tensile Strength | >0.60 N/mm² |
| Shear Strength | >1.00 N/mm² |
COVERAGE
Approximately 55-60 square feet per 20 kg pack, using a 1/4" x 1/4" (6mm x 6mm) square notched trowel for a 3mm bed. Approx. 1.2 kg/m2 per mm of thickness. Coverage will vary depending on several factors including trowel notch size, tile type and size, and substrate smoothness.
data
IS Data
| Property: Test method | Requirement | Typical Values |
|---|---|---|
| Tensile Adhesion | ||
| Dry Condition – Annex A (Clause 5.1) | Minimum 0.50 N/mm² | 0.60-0.70 N/mm² |
| Shear Adhesion | ||
| Dry Condition – Annex B (Clause 5.2) | Minimum 1.00 N/mm² | 1.10-1.20 N/mm² |
| Slip Resistance | ||
| Slip Resistance – Annex E (Clause 5.5) | ≤0.50 mm | 0.25-0.35 mm |
Installation
Installation
Instructions
Surface Preparation
-
All surfaces must be between 40°F (4°C) and 104°F (40°C), structurally sound, clean, and free of dirt, oil, grease, loose paint, laitance, concrete sealers, or curing compounds.
-
Ensure the surface is plumb and level within ¼ inch (6mm) over 10 feet (3 meters).
-
Smooth rough or uneven concrete surfaces with a screed or plaster material to achieve a wood float finish (or better).
-
Dampen dry, dusty concrete slabs or masonry and remove excess water before installation. New concrete slabs must be damp cured and at least 28 days old before application.
-
Incorporate expansion joints through the tile work to match any construction or expansion joints in the substrate. Do not cover expansion joints with mortar.
-
Gresbond PUA-100 is recommended for tile or stone installations on plywood and wood substrates.
Mixing
-
Pour clean, potable water into a clean mixing bowl.
-
Add CX-2 powder to the water (approximately 5 - 5.5 liters of water per 20 kg of powder).
-
Mix by hand or with a slow-speed mixer until a smooth, trowelable consistency is achieved.
-
Allow the adhesive to slake for 5 minutes.
-
Adjust consistency if necessary.
-
Remix before applying with the proper sized notched trowel.
-
For large format tile or stone installations on exterior surfaces, contact Gresbond technical services.
Application
-
Apply adhesive to the substrate with the flat side of the trowel, pressing firmly to ensure good contact.
-
Use the proper sized notched trowel to ensure full bedding of the tile.
-
Comb additional adhesive onto the substrate with the notched side of the trowel. Use the appropriate trowel size to ensure full coverage of the tile back. Spread only as much adhesive as can be covered with tile within 10 minutes.
-
Back-butter large format tiles (greater than 12” x 12” or 300mm x 300mm) to provide full bedding and support.
-
Place tiles into the wet, sticky adhesive and tap them in using a beating block and rubber mallet to embed the tile and adjust the level.
-
Periodically remove a tile to check for complete adhesive coverage by inspecting the amount of adhesive transferred onto the back of the tile.
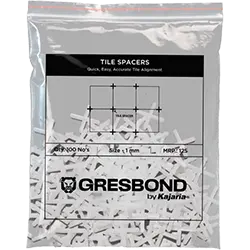
-
Use spacers to create grout joints between tiles/stones. The joint width should follow the architect’s or engineer’s recommendations. Remove spacers once the adhesive has set firmly.
-
If the adhesive skins over (loses tack), remove it and replace it with fresh adhesive.
-
Apply adhesive to the substrate with the flat side of the trowel.
-
Tiles must be fixed within 10-15 minutes of adhesive being applied, depending on the porosity of the surface and atmospheric conditions.
-
Leave no voids behind tiles.
-
Use suitable support along with adhesive for fixing tiles on vertical surfaces.
-
Leave adequate joints between individual wall and floor tiles using spacers. The joint width shall be as per the recommendation of architect / engineer.
-
Clean off surplus adhesive from the tile face and between joints.
-
Clean tools and tile work with water while adhesive is fresh.
Grouting
-
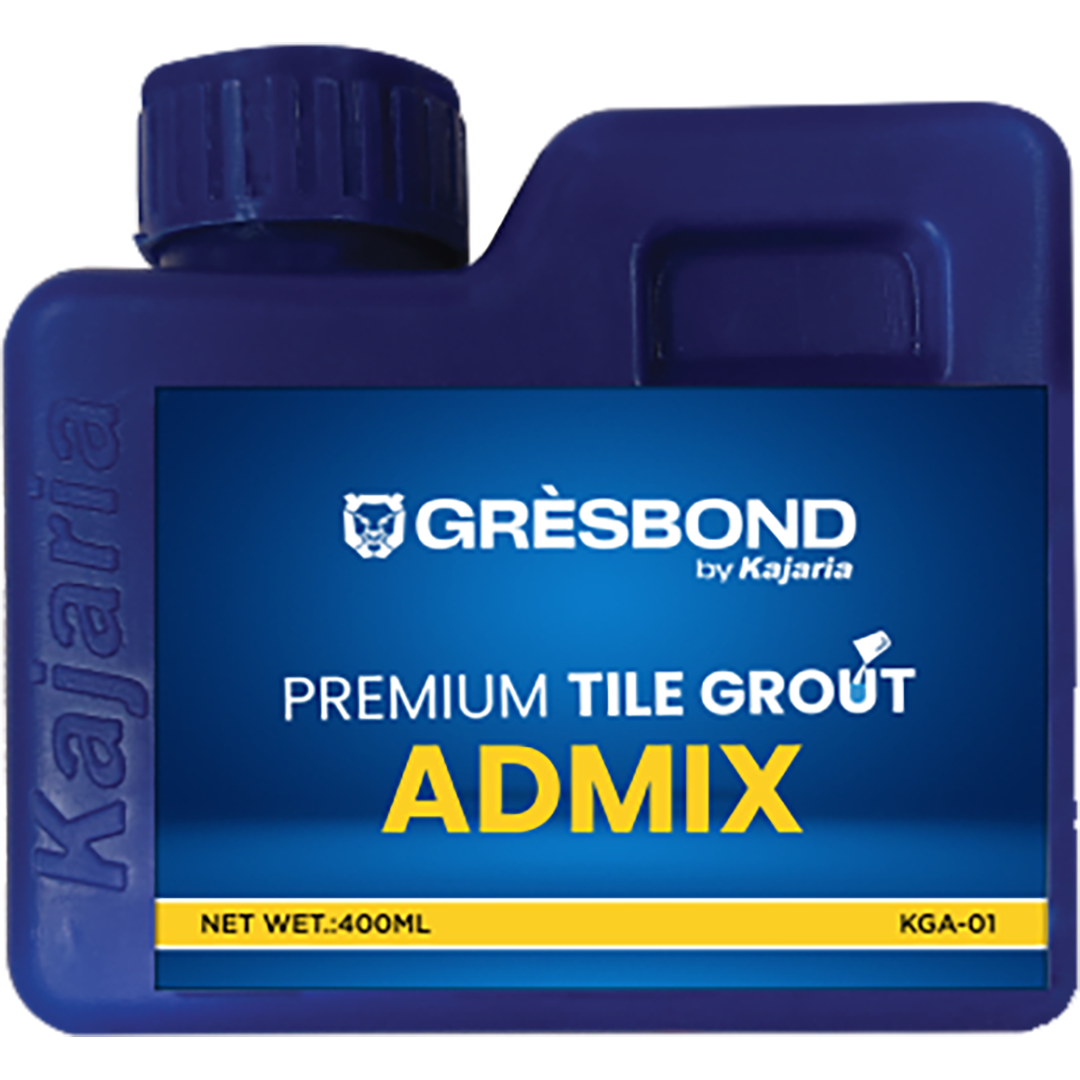
Begin grouting after a minimum curing time of 24 hours at 70°F (21°C). Use Gresbond's KE-100 series epoxy grout or unsanded grout mixed with KGA-100 Grout Admix.
-
For maximum stain resistance on interior spacer joints, use KE-100 Stain- resistant Grout.
PRECAUTIONS & NOTE
-
Always add powder to water.
-
Do not add excess water than recommended.
-
Never add sand & cement at site.
-
Do not use on wet screed. Surface must be fully cured.
-
Do not use the adhesive to correct surface irregularities greater than 12 mm.
-
Protect from direct rainfall/foot traffic for at least 24 hours.
-
Leave gap between the tile & fill gaps with Gresbond tile grout.
-
Designer/applicator must evaluate the use of an additional mechanical fastening system for extra security for more than 3m height (such as steel hooks fastened to the substrate).
Limitation
-
Do not apply directly to gypsum plaster or boards, fibre cement boards or other drywall partitions, plywood, chipboard, particleboard, decorative laminates or resilient flooring, metal, plastic, deformable surfaces or subject to vibrations. Use Gresbond PUA-100 as per application.
-
Adhesives for ceramic tile, bricks and stone are not designed as replacements for waterproof coating. Use waterproofing coating before tiling for wet area.
-
Do not use for fixing artificial/ nano/ engineered stone/ composites/ metal tile. Use Gresbond PUA-100 for the same.
Disclaimer:
This technical data sheet is provided for informational purposes only. The information contained herein is based on our technical knowledge and experience. However, due to variations in field conditions, we recommend conducting preliminary tests to ensure product suitability for a specific application.
Frequently Asked Questions
What is CX-2 Tile Adhesive?
CX-2 is a premium white-colored waterproof tile adhesive designed to fix ceramic tiles on floors and walls. It provides a strong bond and is ideal for areas exposed to moisture. It also keeps the shine of white tiles.
Can CX-2 be used for both floor and wall tile installations?
CX-2 is versatile and can be used to fix tiles on floors and walls in residential and commercial areas. It provides excellent adhesion and durability in all applications.
What is the difference between CX-1 and CX-2?
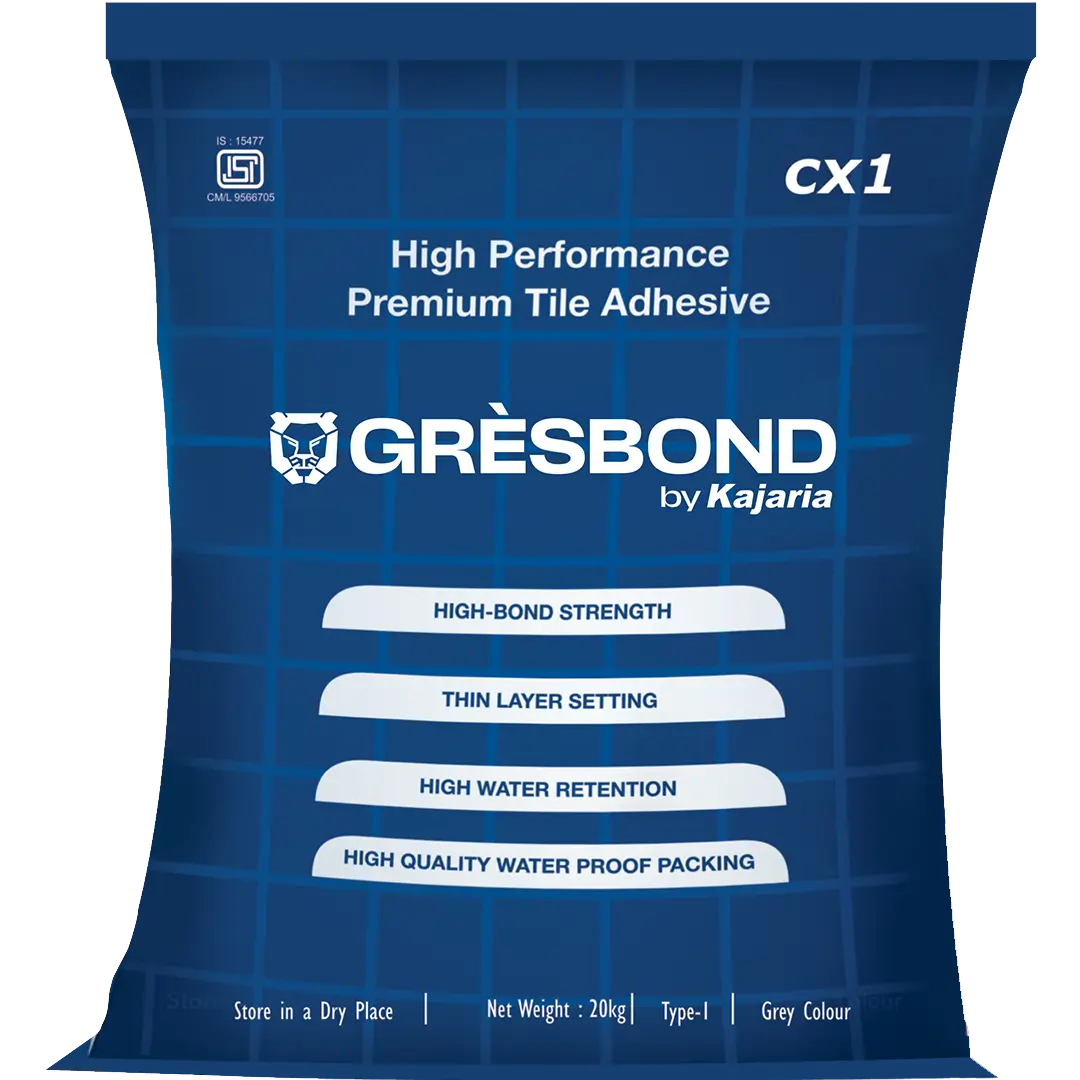
Both have the same qualities, but the only difference is the color of the tile adhesive. CX-1 is a cement-like grey color, whereas CX-2 is a white powder, making the light-colored tile solid and beautiful.
How does CX-2 Tile Adhesive enhance tile fixing?
CX-2 provides a strong bond and powerful glue kind application that resists moisture penetration, ensuring long-lasting tile fixing in areas prone to water exposure, such as bathrooms and kitchens.
Is CX-2 suitable for outdoor tiling projects?
CX-2's waterproof and durable properties make it suitable for outdoor tiling projects. It ensures that tiles remain securely in place despite weather conditions. Apply CX-2 using a notched trowel to spread the adhesive evenly. Press the tiles firmly, ensuring proper alignment and spacing for a secure bond.
What surfaces can CX-2 Tile Adhesive be used on?
CX-2 can be used on various surfaces, including concrete, plaster, and existing tiles, making it versatile for different tiling projects.