


How to Use Rubber Mallets for DIY Tile Installation
07
May 2025
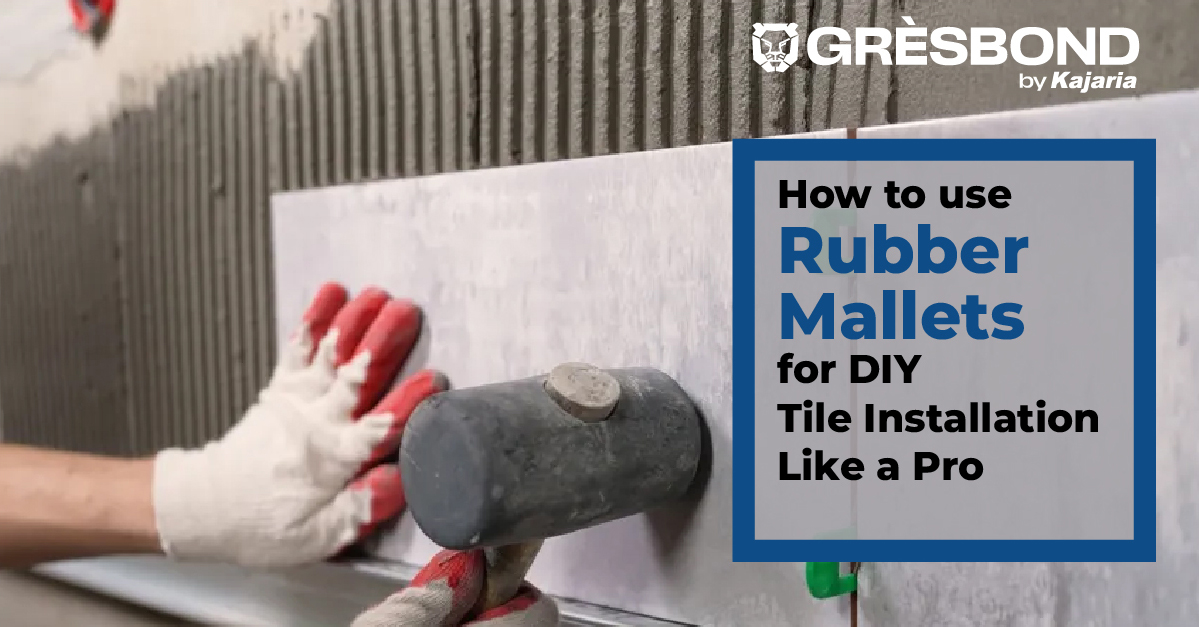
How to Use Rubber Mallets for DIY Tile Installation
If you're diving into a DIY tile project, one of the most essential tools you’ll need is a rubber mallet. Whether you're working with ceramic, porcelain, or vinyl tiles, using a rubber mallet for tile installation helps ensure a secure, even, and damage-free finish. For more guidance, check out our Tile Installation Tips and Grouting Insights.
What is a Rubber Mallet?
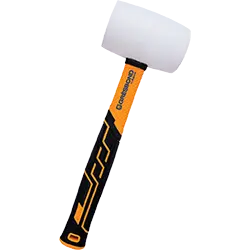
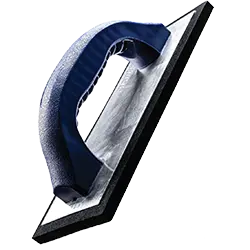
A rubber mallet is a hammer with a soft rubber head that can provide a gentle yet firm blow without damaging surfaces. Unlike metal hammers, it won’t chip or crack tiles, making it ideal for delicate materials. It’s especially useful when dealing with cracked tiles or when adjusting tiles into place without risking damage.
Key Features of a Rubber Mallet:
- Soft rubber head (black or white – white is non-marking)
- Lightweight and easy to handle
- Affordable and widely available
Why Use a Rubber Mallet for Tile Installation?
- Gently tap tiles into place
- Adjust height and leveling
- Ensure even mortar contact
- Prevent tile damage
How to Use a Rubber Mallet Like a Pro
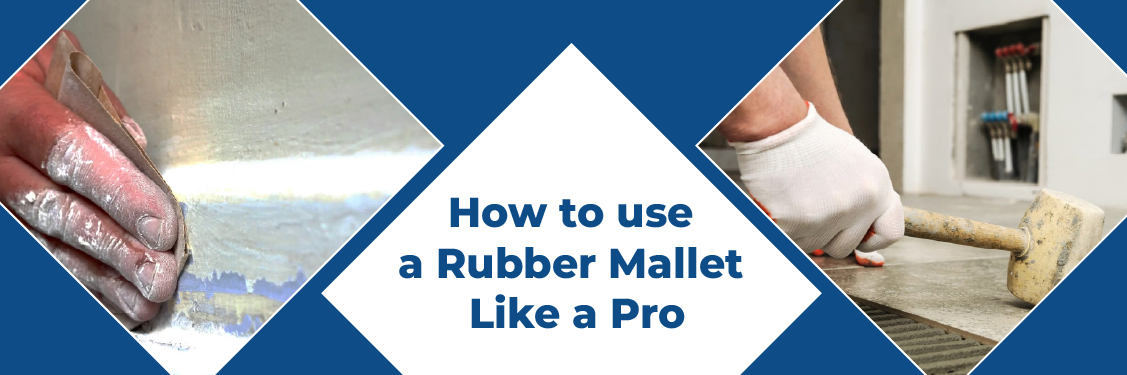
- Prepare Your Surface: Ensure it's clean and flat.
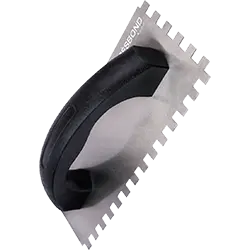
- Spread the Mortar: Use a notched trowel evenly.
- Set the Tiles: Place them gently on the adhesive.
- Tap Into Place: Use light taps at center and edges.
- Level Check: Use a level to align tiles evenly.
When to Use a Dead Blow Hammer
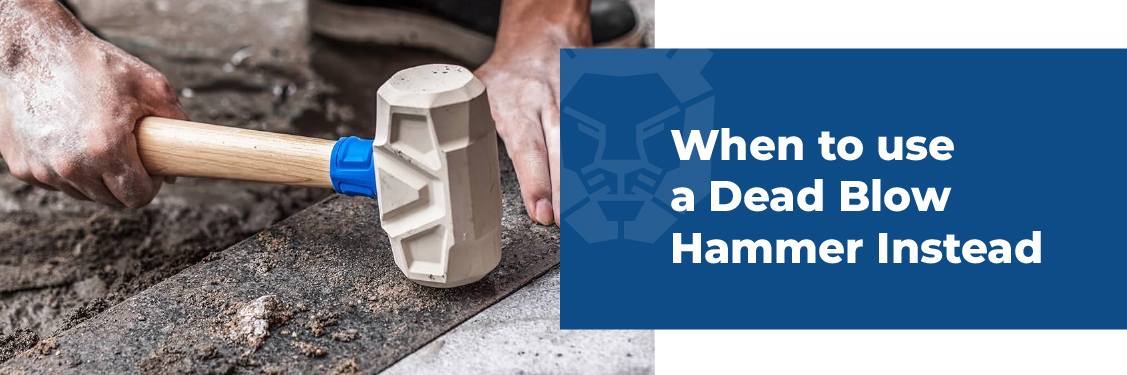
- Heavy or thick tiles like quarry tiles
- Uneven surfaces needing more force
Rubber Mallet Safety Tips
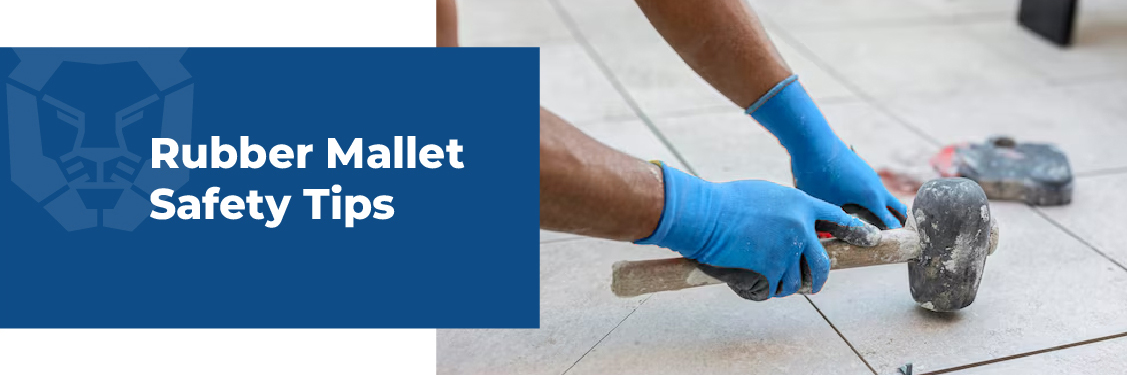
- Avoid overstriking
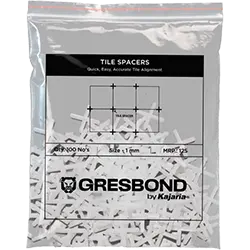
- Use tile spacers
- Use white mallet for light-colored tiles
- Support tiles on vertical surfaces
Additional DIY Uses
- Laminate flooring installation
- Furniture assembly
- Landscaping pavers
- Crafts requiring gentle tapping
Choosing the Right Rubber Mallet
| Feature | Recommendation |
|---|---|
| Head Type | Soft, non-marking rubber |
| Weight | 16–24 oz |
| Grip | Ergonomic, non-slip |
| Brand | Estwing, Tekton, Stanley |
Common Mistakes to Avoid
- Hitting too hard
- Skipping spacers
- Not leveling tiles
- Using wrong mallet color
Conclusion
Rubber mallets make tile installation cleaner and more precise. With the right technique and tools, even beginners can achieve professional results. A dead blow hammer can help in tougher situations, but for most DIY jobs, a rubber mallet is all you need. Perfect tile installation starts with the right adhesive and techniques. Get tiling!
FAQs
Q1: Can I use a regular hammer?
A: No. It can damage tiles. Use a rubber mallet.
Q2: What's the difference with a dead blow hammer?
A: It delivers more force without rebound—ideal for heavy-duty work.
Q3: How much force should I apply?
A: Just enough to seat the tile. Gentle taps work best.
Q4: Should I use a different mallet for white tiles?
A: Yes, use a white rubber mallet to avoid stains.
A: Yes! Furniture, flooring, landscaping, and more.