


Complete Guide to Installing Large Porcelain Slabs

05
Oct 2025
Complete Guide to Installing Large Porcelain Slabs
Large format tiles look stunning—fewer joints, a seamless feel, and easy cleaning. But to get that premium finish, you need the right surface prep, tile adhesive, tools, and technique. Let’s break it down in simple words so a contractor can follow it without stress.
1. Know your slab and area
- Tile size & thickness (e.g., 1200×2400 mm, 6–9 mm).
- Substrate type (concrete, screed, existing tiles, cement board).
- Location (bathroom, kitchen, balcony, façade, living room).
- Traffic & moisture (wet areas need a stronger waterproofing and epoxy grout).
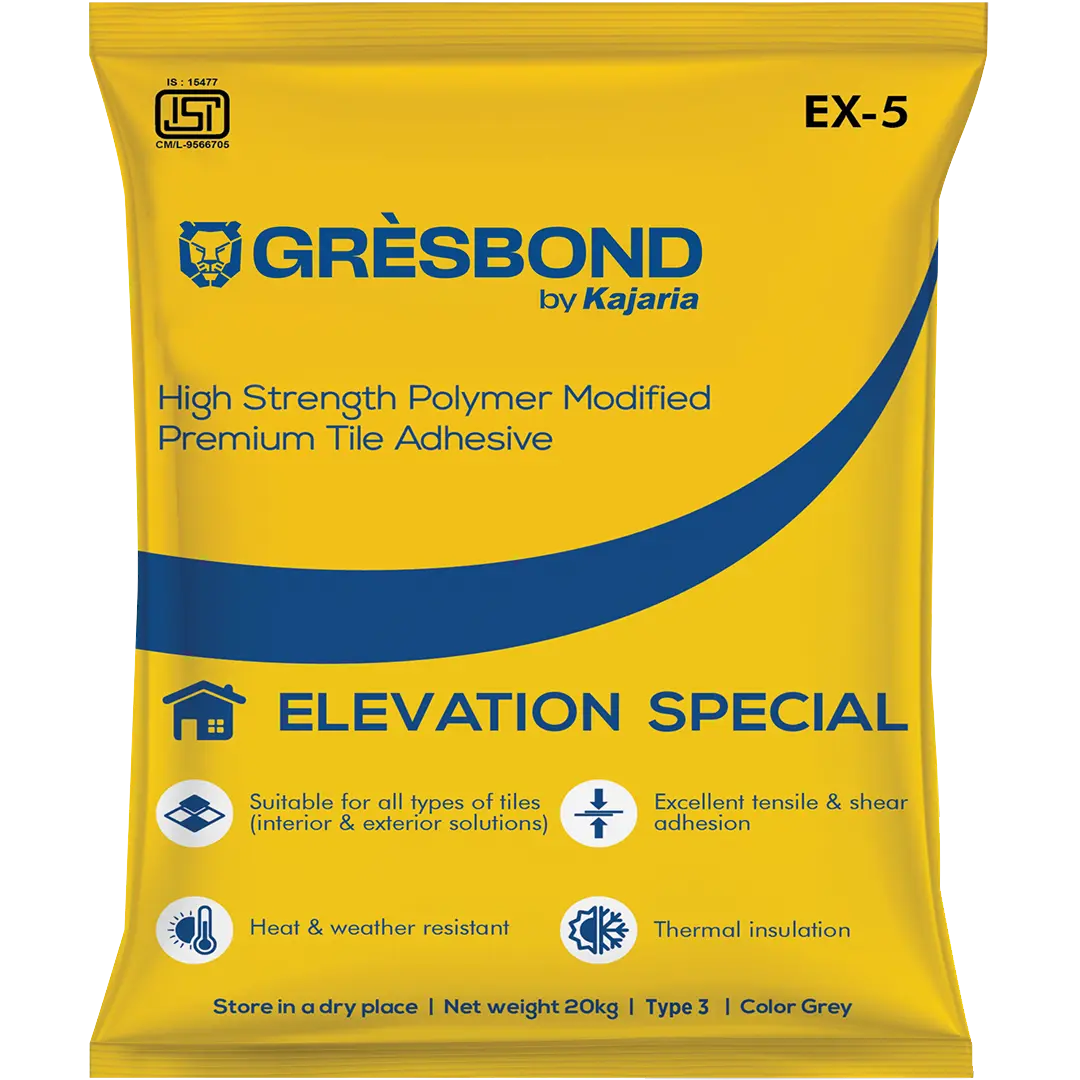
Why this matters: Big slabs need strong tile adhesive, a perfectly level surface, and proper movement gaps to stop tiles from cracking or popping up later. Choosing products from a Best Tile Adhesives Company helps ensure long-term performance.
2. Tools and materials you’ll need

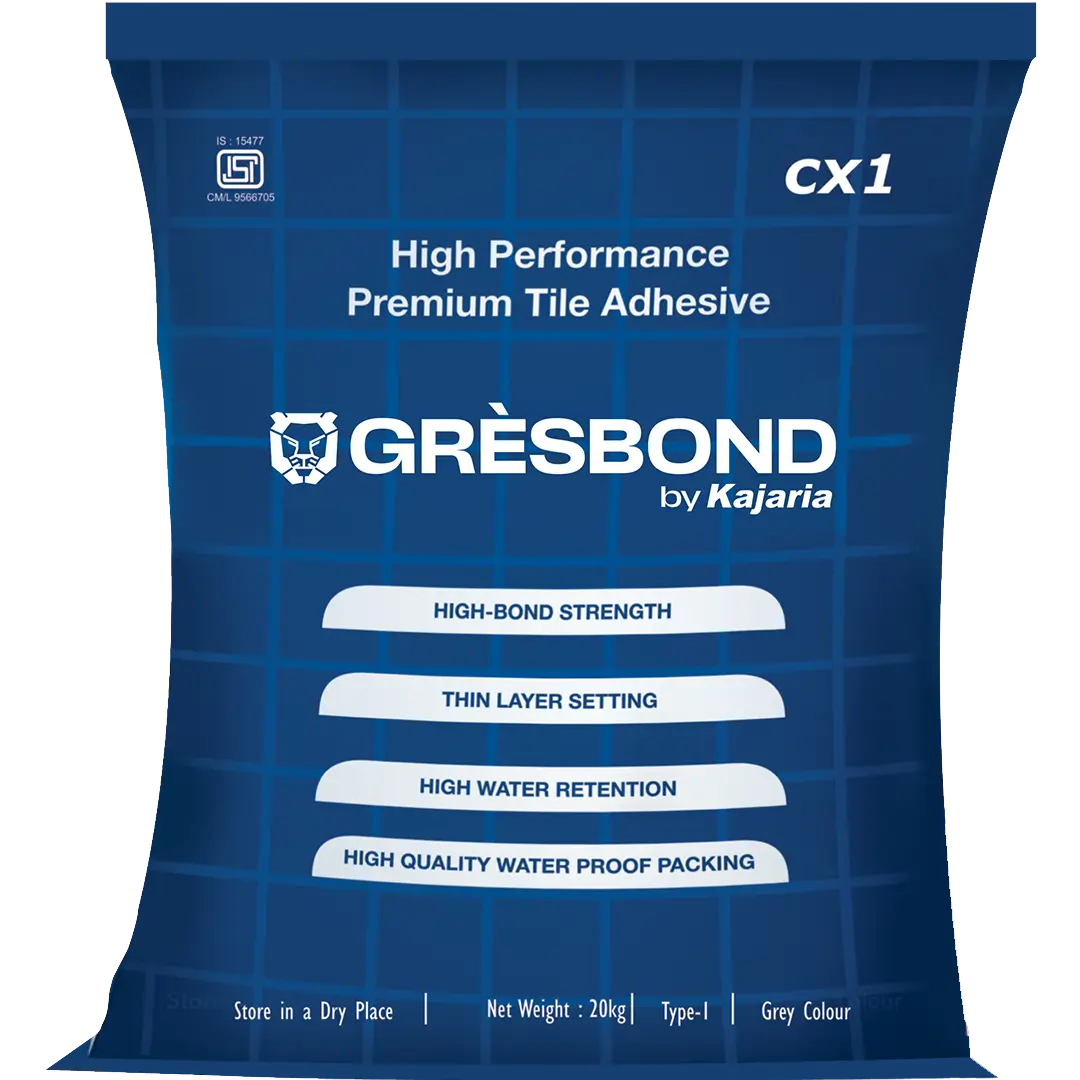
- Flexible, non-sag tile adhesive for large slabs such as CX-1 - Polymer Tiles.
- Notched trowel (10–12 mm for floors, 8–10 mm for walls).
- Tile leveling clips and wedges for proper Tile Leveling.
- Rubber mallet for gentle tapping.
- Cordless tile vibrator (optional).
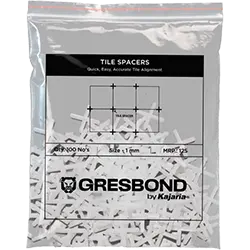
- Tile spacers for uniform joints.
- Mixing drill with paddle.
- Primer for porous surfaces.
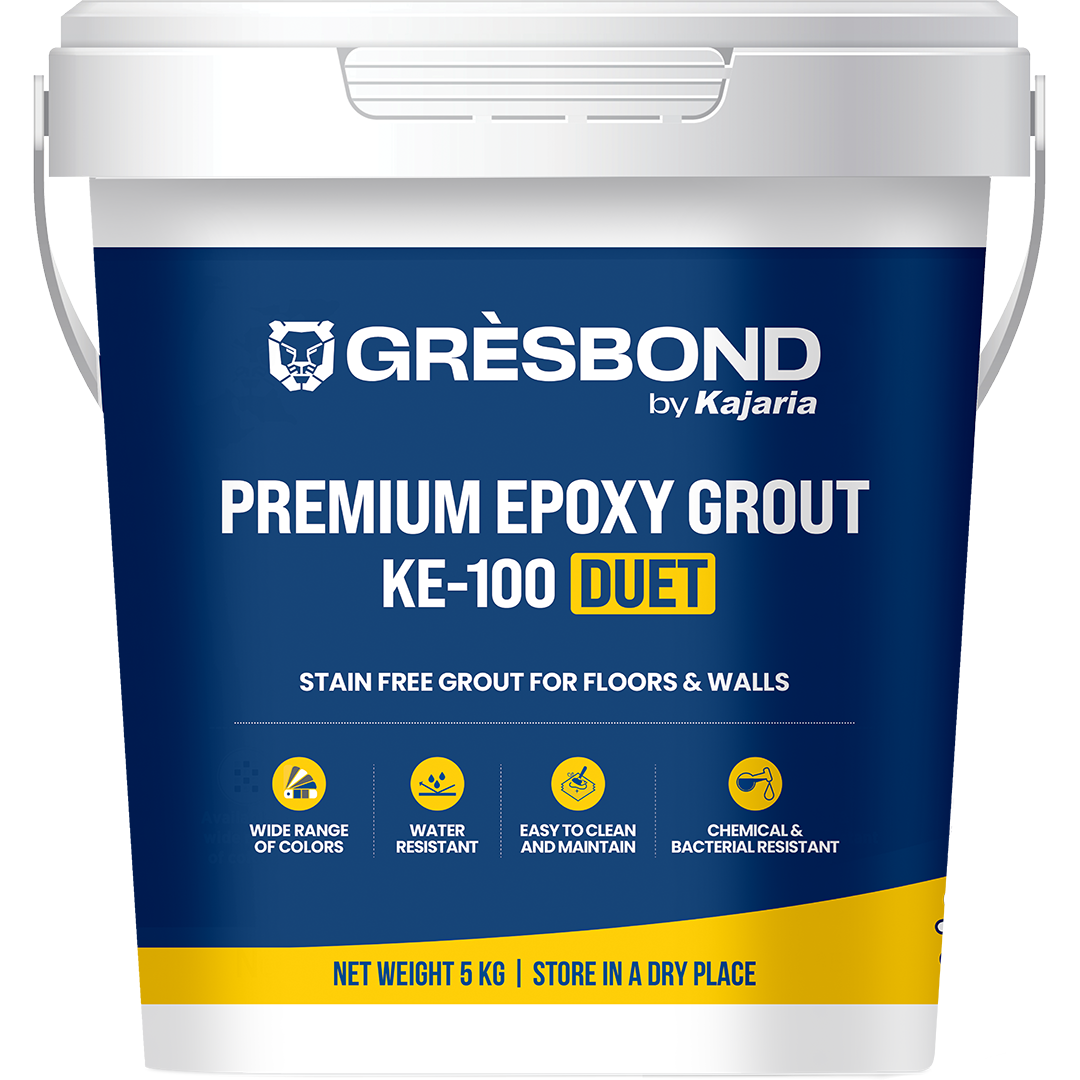
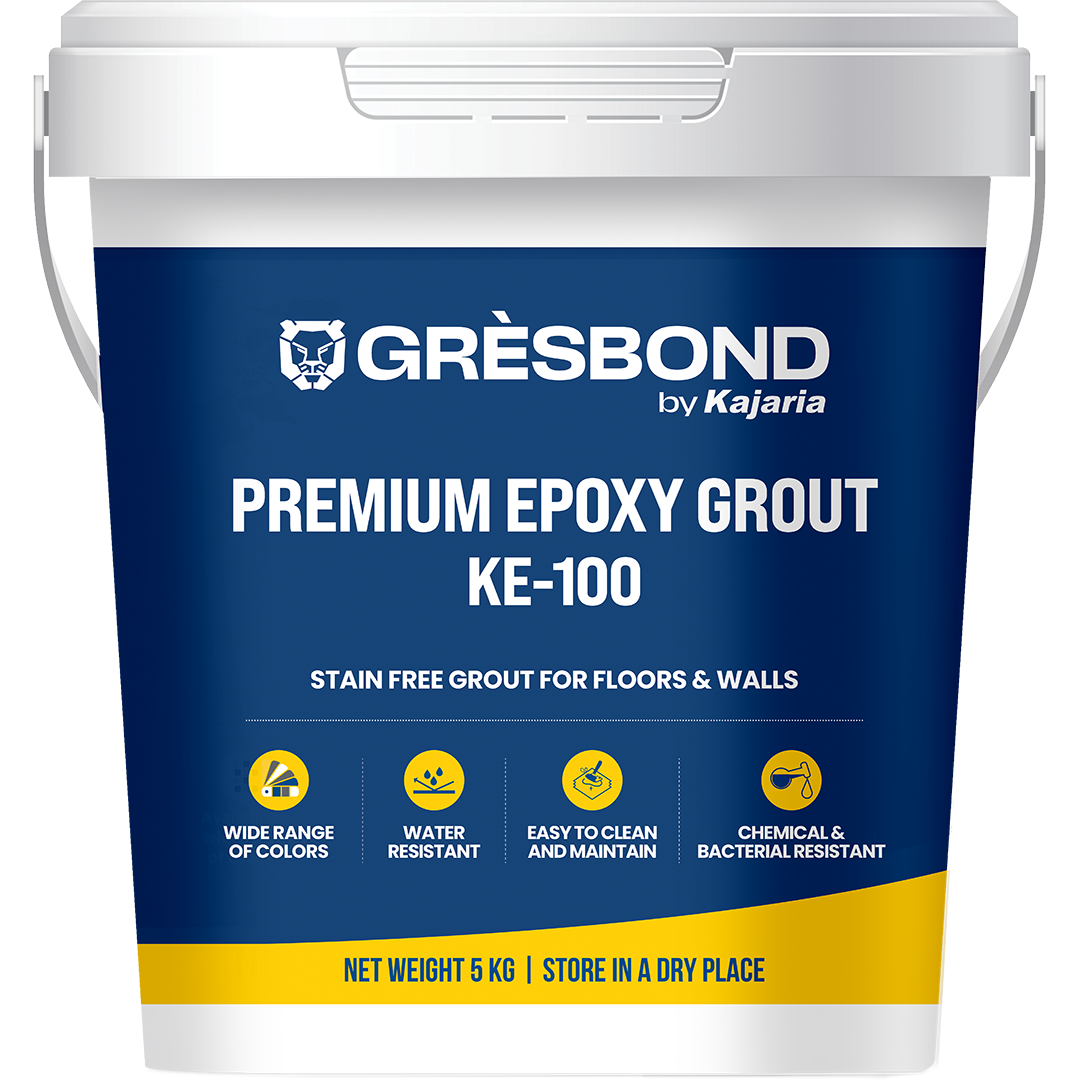
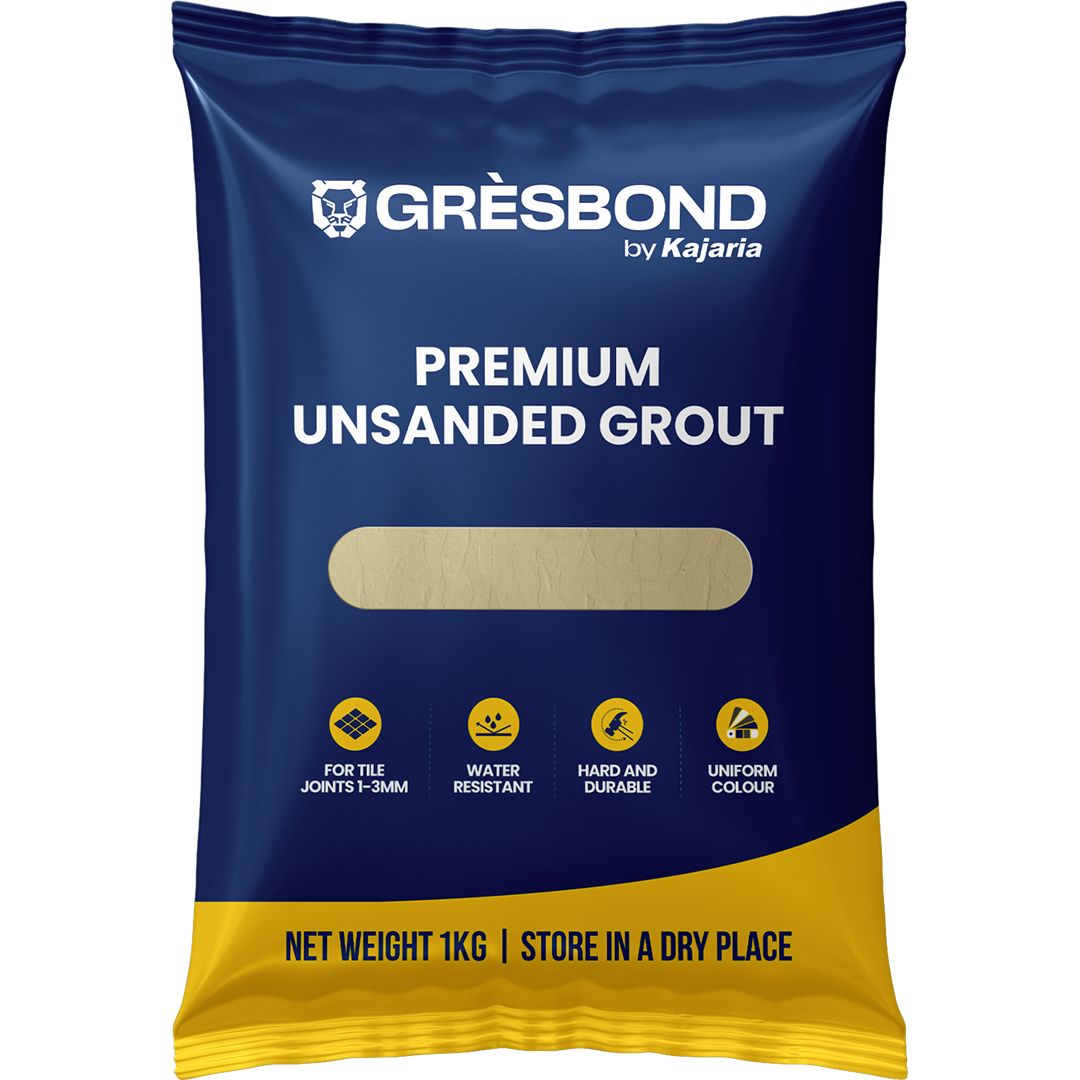
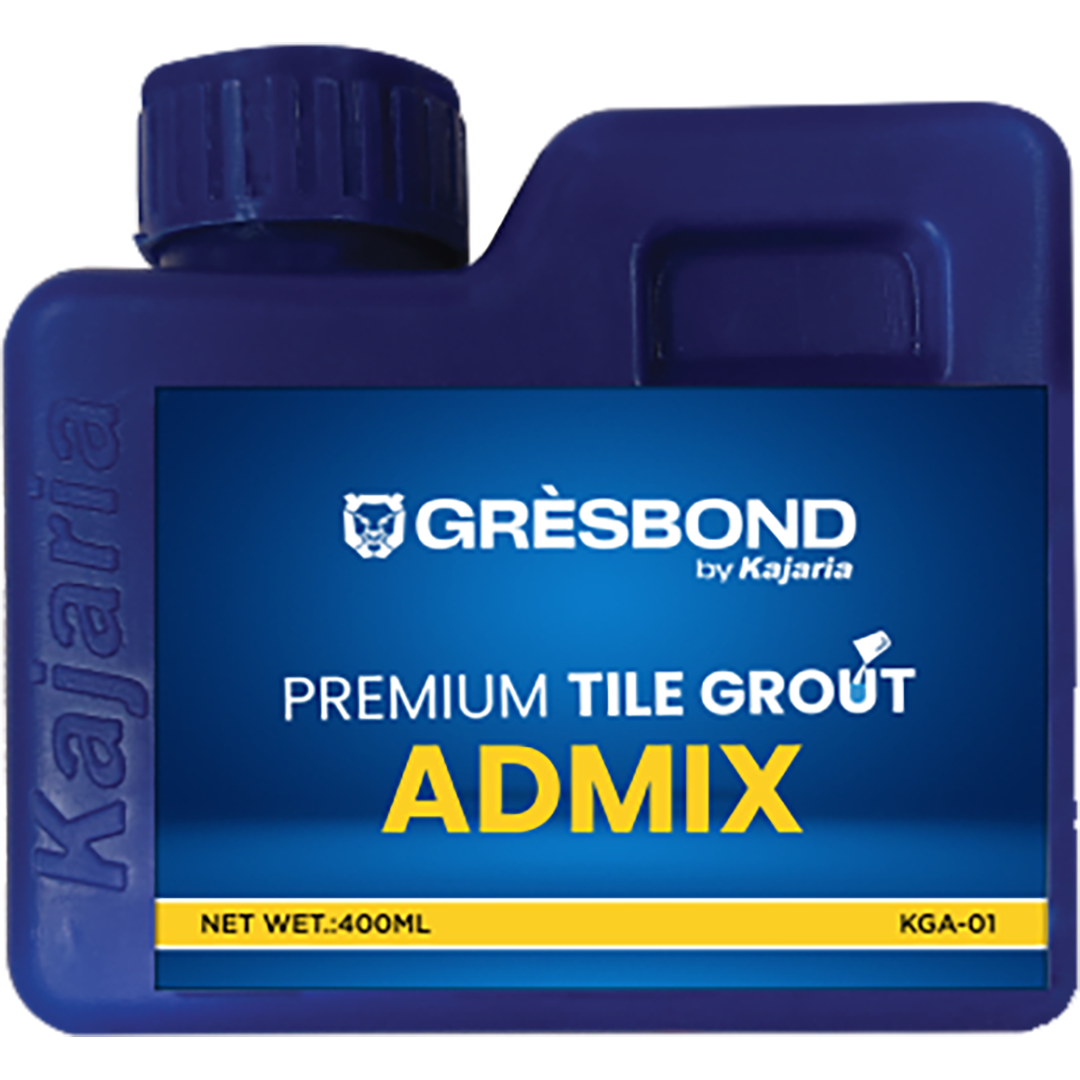
- Epoxy or premium unsanded grout such as KE 100 Duet.
- Rubber float, sponge, bucket.
- Measuring tools, straightedge, tile cutter or wet saw.
Tip: For heavy slabs, always plan team lifting.
3. Substrate preparation (non-negotiable)
Most failures come from poor prep. Do this:
- Check flatness: Large tiles need very flat surfaces (±3 mm over 2 m). Use a long straightedge to find highs and lows.
- Repair: Fill depressions and grind down humps to create a level base.
- Clean: Remove dust, oil, paint, and curing compounds completely.
- Prime if needed: On very absorbent surfaces, apply a compatible primer so the adhesive doesn’t dry too fast.
- Waterproof wet areas: Bathrooms, balconies, and terraces should get a proper waterproofing layer before tiling.
4. Choose the right adhesive

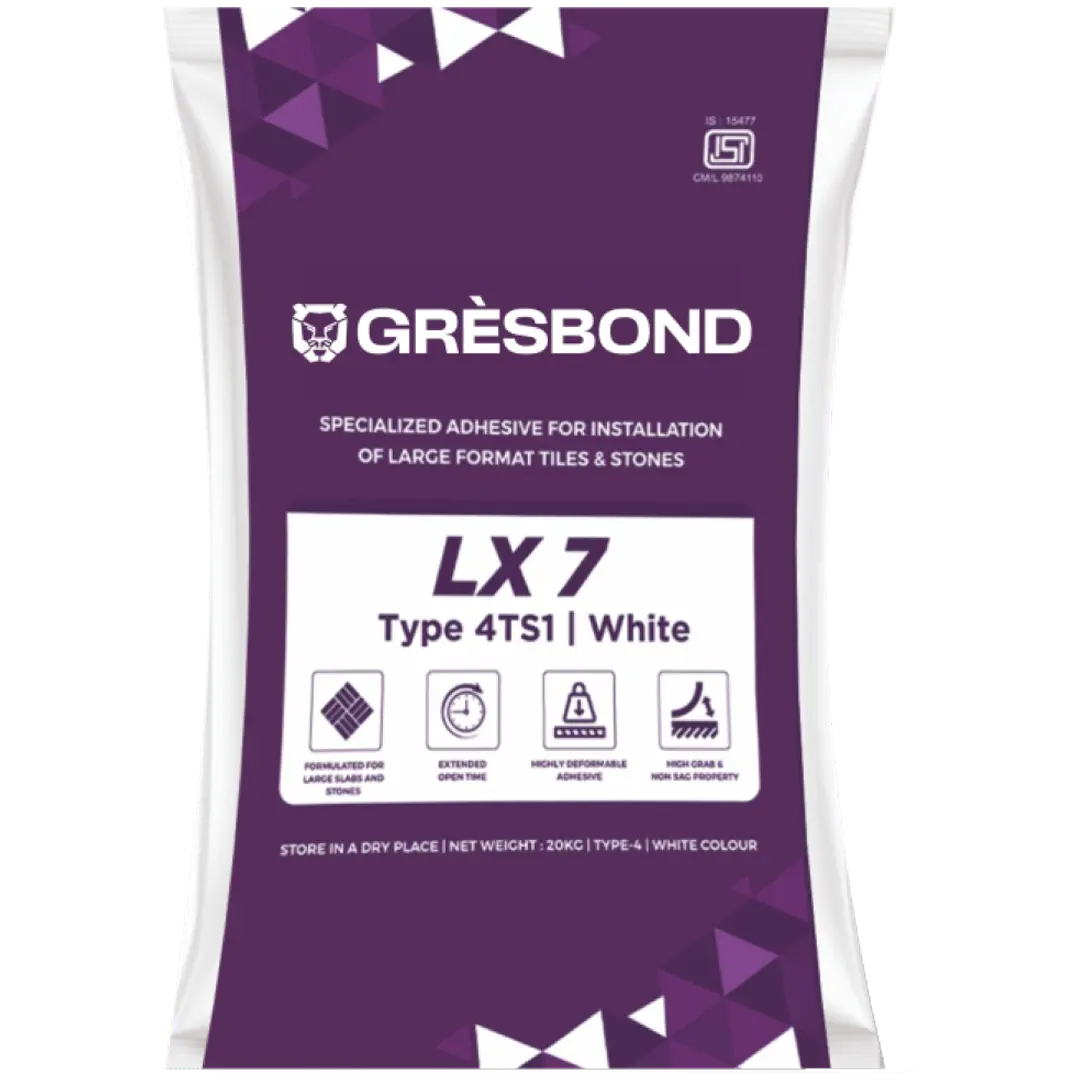
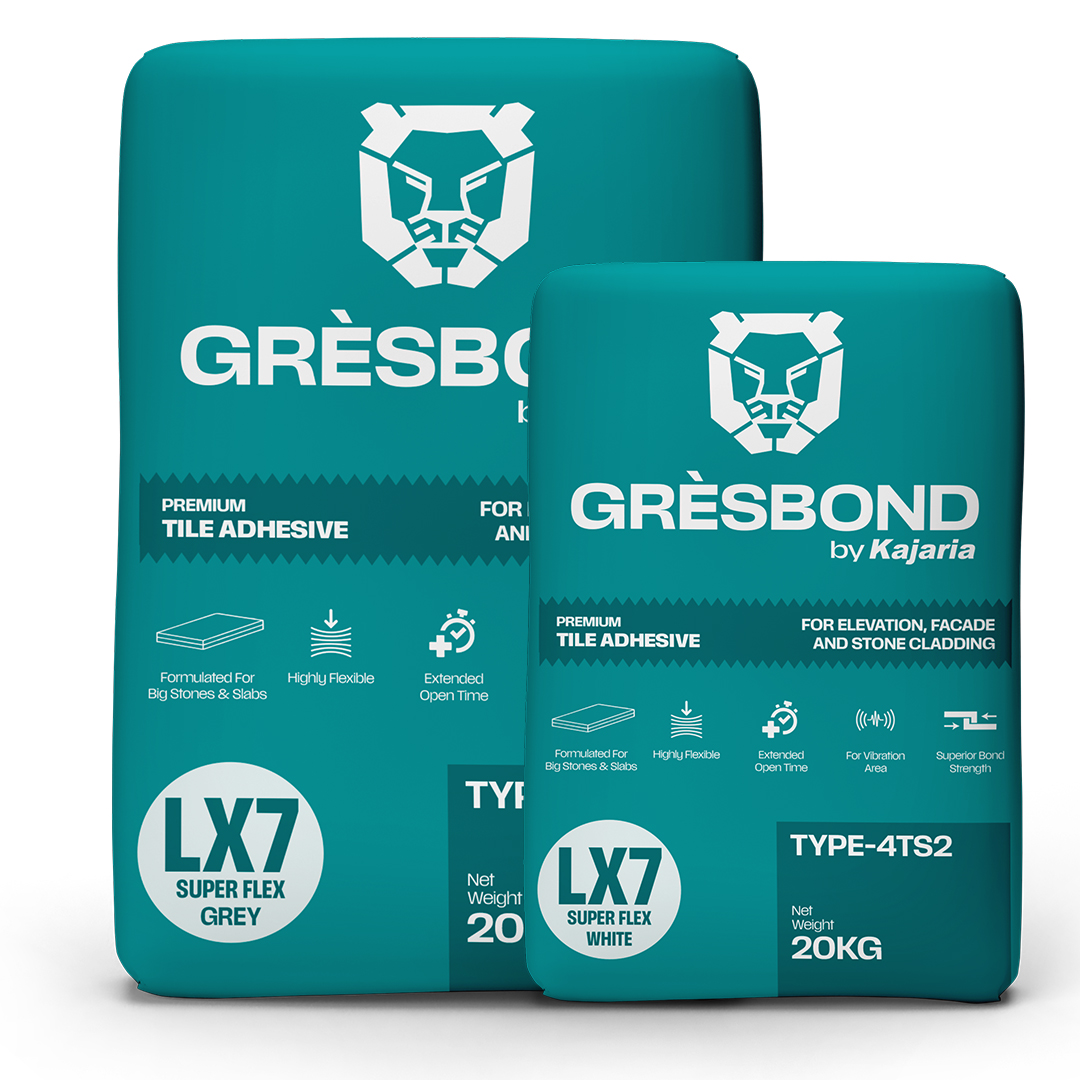
For large porcelain slabs, pick a flexible, high-bond, polymer-modified tile adhesive designed for big formats and low-porosity tiles. For balconies, terraces, or outdoor areas, use an improved deformable adhesive with better grab and weather resistance. For very heavy slabs or vertical applications, look for non-slip or non-sag ratings.
Quick rule: Big tile = bigger demands on adhesive.
5. Plan the layout
- Dry-lay slabs to visualize joints and cuts.
- Avoid thin slivers at edges.
- Mark reference lines for alignment.
- Allow proper movement joints.
6. Mixing the adhesive

- Measure clean water as per label.
- Pour water first, then powder.
- Mix for 2–3 minutes.
- Allow resting time, then remix.
- Use within open time.
7. Troweling technique (coverage is king)
- Burn-in adhesive on substrate.
- Comb in one direction.
- Back-butter the slab.
- Ensure 90–100% coverage.
8. Placing and leveling the slab

- Lift and place carefully.
- Slide slightly to collapse ridges.
- Tap gently with rubber mallet.
- Install leveling clips.
9. Joint width and spacers
Large porcelain slabs typically use 2–3 mm joints indoors.
10. Cutting slabs cleanly

- Use rated score-and-snap or wet saw.
- Support slabs fully during cutting.
- Use proper hole markers for cut-outs.
11. Curing time
Allow full curing before walking or grouting. Cold or damp conditions increase curing time.
12. Grouting large slabs

- Use epoxy grout for wet or high-traffic areas.
- Use premium unsanded grout for narrow joints.
- Clean grout haze before it hardens.
13. Movement joints and sealing
Leave flexible joints around perimeters and structural breaks.
14. First Clean and Daily Care

- Remove residue after setting.
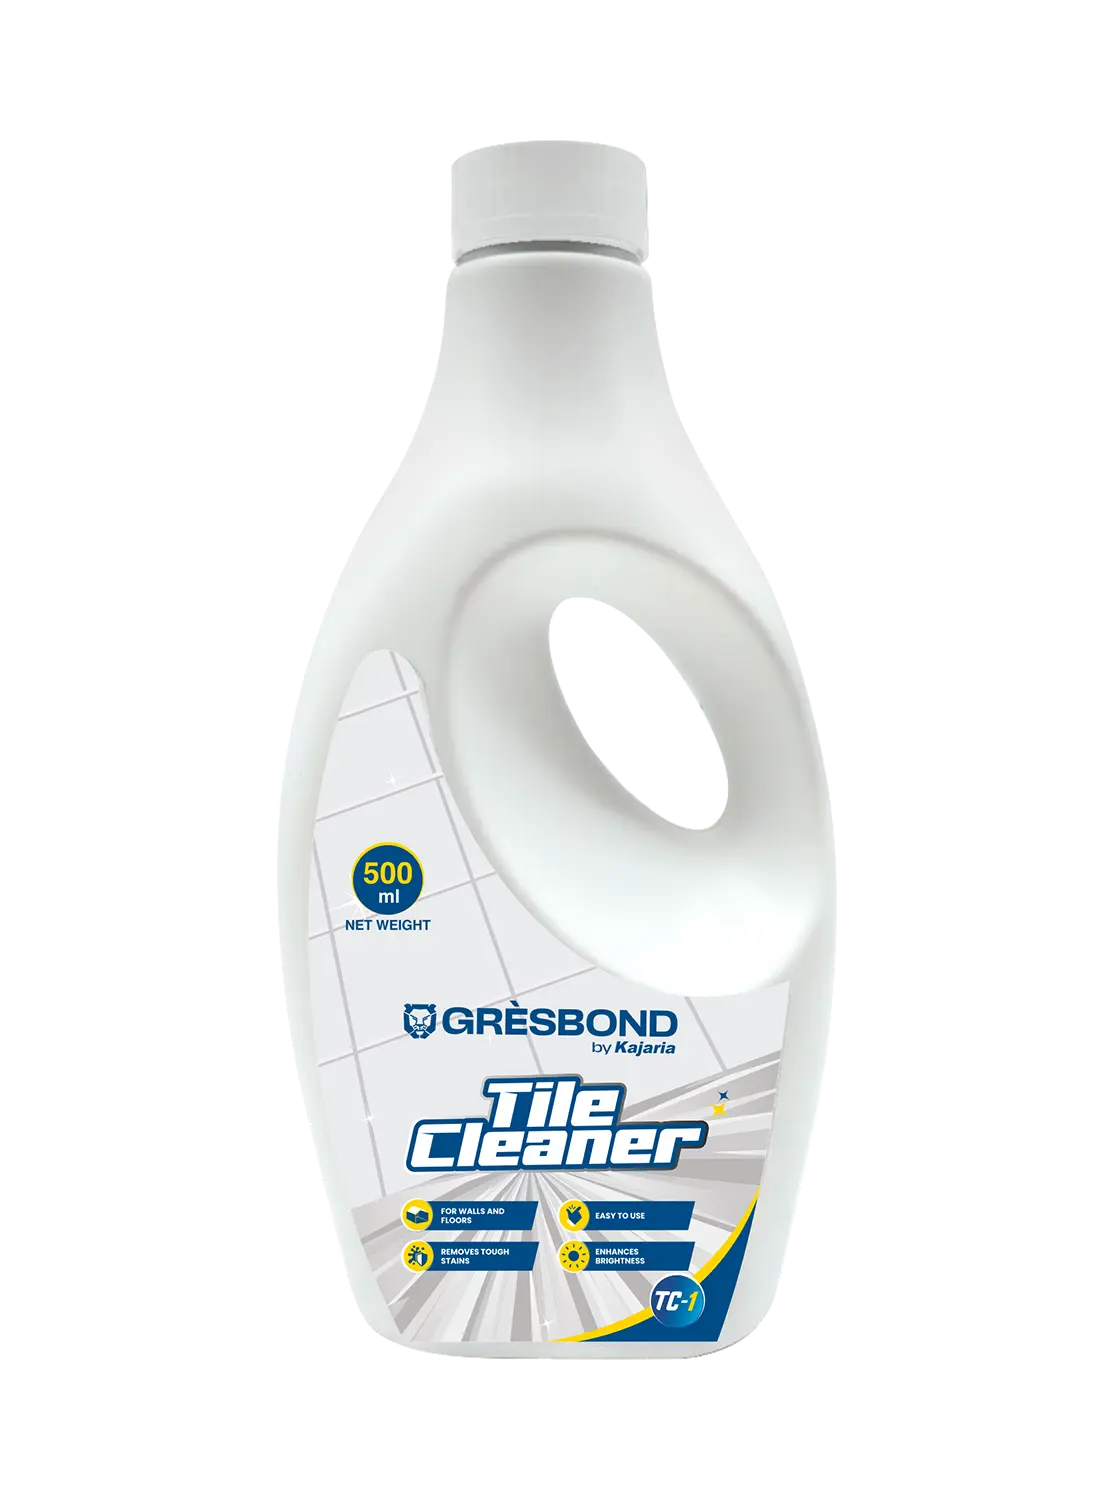
- Use gentle tile cleaner only.
- Clean spills immediately.
- Use pads under heavy furniture.
15. Common mistakes to avoid
- Using cement mortar.
- Poor surface flatness.
- Skipping back-buttering.
- Using small trowel notches.
- Rushing grouting.
- No movement joints.
Quick FAQ
Q. Can I install large porcelain over old tiles?
Yes — if the old tiles are sound, clean, and properly primed.
Q. Which grout is better?
Epoxy grout for kitchens and bathrooms; unsanded grout for narrow indoor joints.
Q. Do I need a leveling system?
Yes, it is strongly recommended for large slabs.