How to Cut Porcelain Tiles Without Chipping: Tools, Steps & Tips
gresbond
October 15, 2025
Porcelain is hard and chips easily if cut the wrong way. This guide covers the tools you need, how to mark and score, which method to use for straight, L-shaped and round cuts, and how to smooth edges before fixing with the right adhesive.
How to Cut Porcelain Tiles Accurately Without Chipping
Cutting the porcelain tile looks hard, but it is very easy. You just need the right tools and a few simple steps. Porcelain is a strong tile. If you cut it the wrong way, it can break or chip. But if you do it slowly and correctly, the cut will be clean and smooth. Learn how to do it step by step.
1️⃣ Get the Right Tools

You cannot cut porcelain tiles with any random tool. You need special tools that are made for this job. Good tools give clean cuts. Wrong tools damage the tile.
Manual tile cutter – good for straight cuts
Wet saw with diamond blade – good for big tiles and tricky cuts
Tile shaping template – helps with corners or odd shapes
Tile hole marker – helps make neat round holes for taps and pipes
Gloves, mask, and glasses for safety
The manual tile cutter is simple. You score the tile and then snap it. The wet saw uses water to keep the blade cool and avoid chipping. A tile shaping template is useful for special shapes, while a tile hole marker helps make clean circles.
Make sure your blade is sharp. A blunt blade will break the tile.
2️⃣ Mark and Score Before Cutting
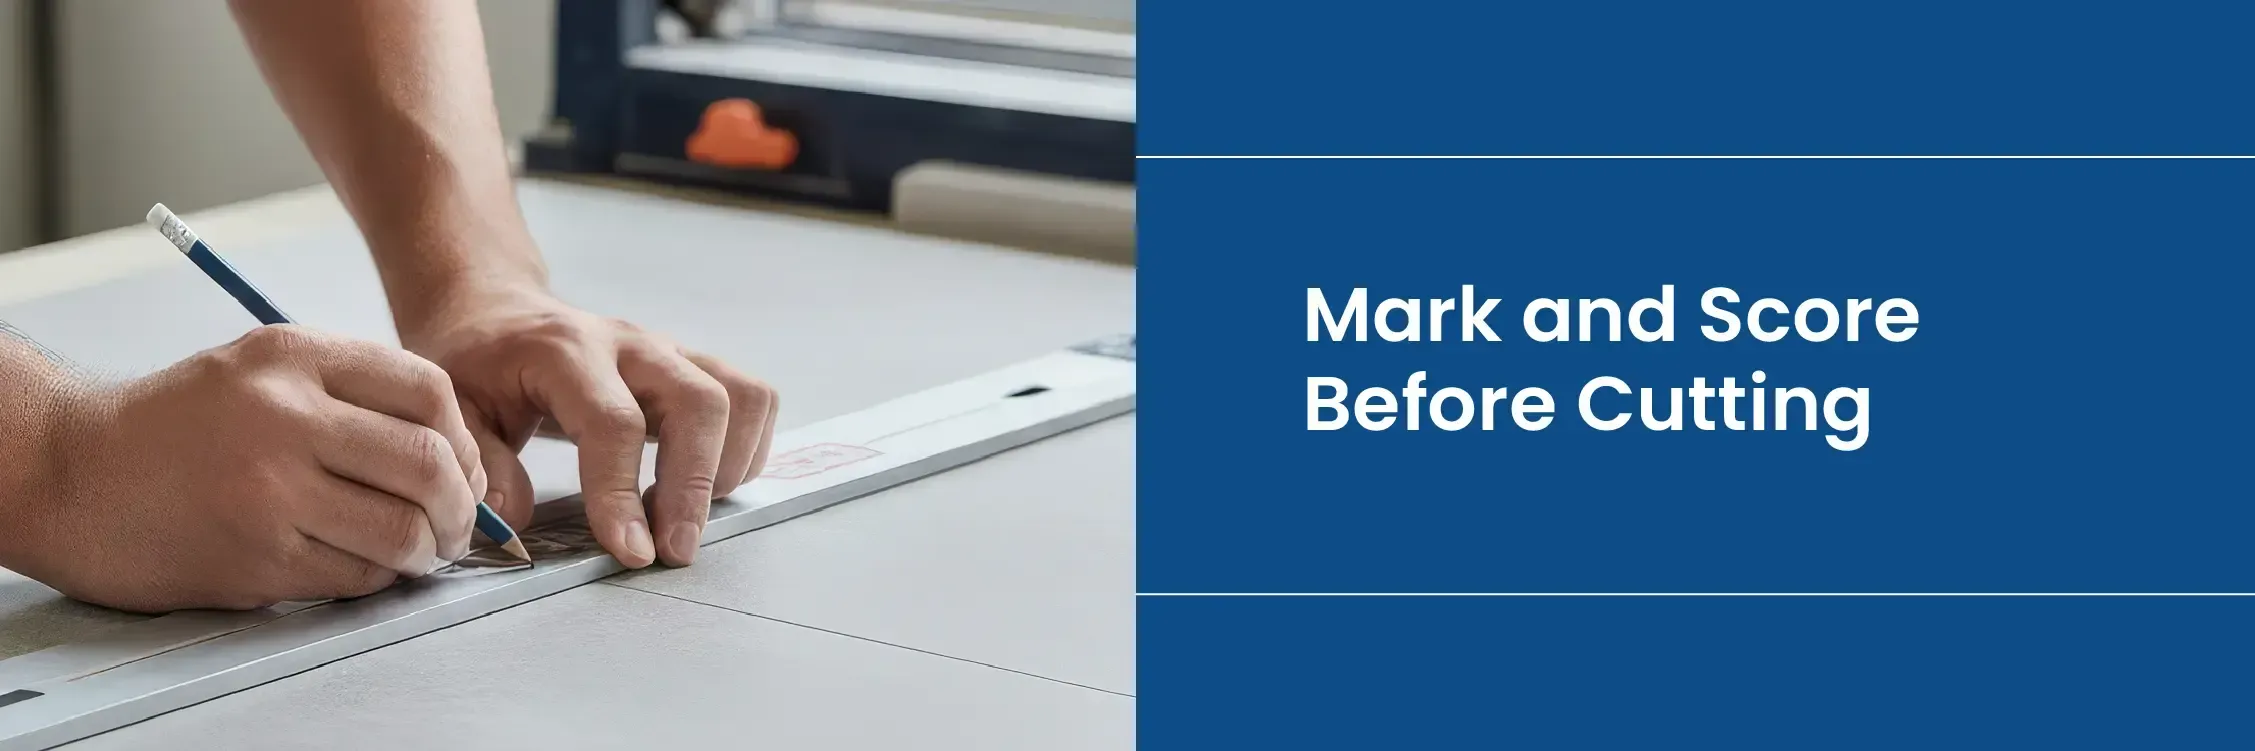
Before cutting, you need to mark the tile properly. This decides how clean your cut will be.
Measure the area where the tile will go.
Draw a straight line on the tile with a pencil or marker.
Clean the tile so the line is easy to see.
After this, score the tile. Scoring means making a thin line on the surface with a cutter. Do it once with firm pressure. Don’t go over it many times.
With a manual tile cutter, press the handle down slowly and evenly.
With a wet saw, move the tile slowly towards the blade. Let the blade cut it.
Simple tips to remember:
Check your measurements twice.
Score the line once, firmly.
Keep the tile still while cutting.
3️⃣ Use the Right Cutting Method
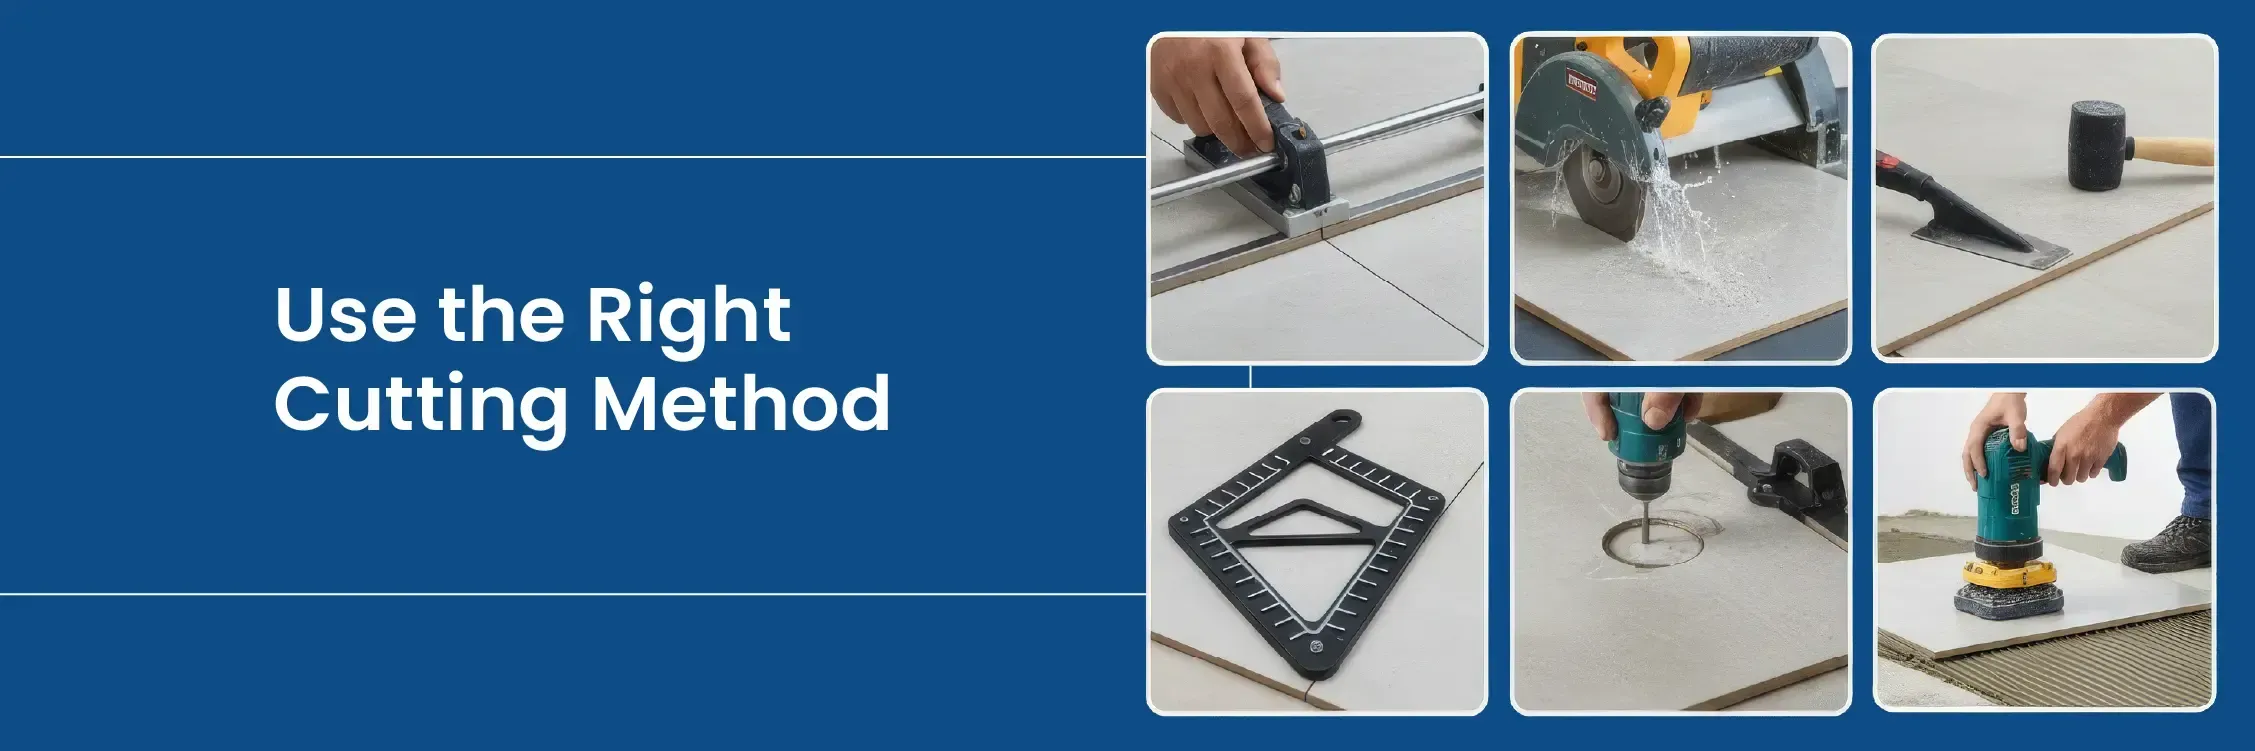
Not every cut is the same. Use the correct way for each type of cut.
For straight cuts, use the manual cutter.
For long cuts or thick tiles, use the wet saw.
For L-shapes, curves, or holes, use a wet saw or drill with a tile hole marker.
If you need to make a hole for a pipe, mark the circle carefully and drill slowly using water to keep the bit cool.
After cutting, when you start fixing the tiles, use Rubber Mallet, Trowel, and Tile Spacers to maintain alignment.
4️⃣ Smooth the Edges After Cutting
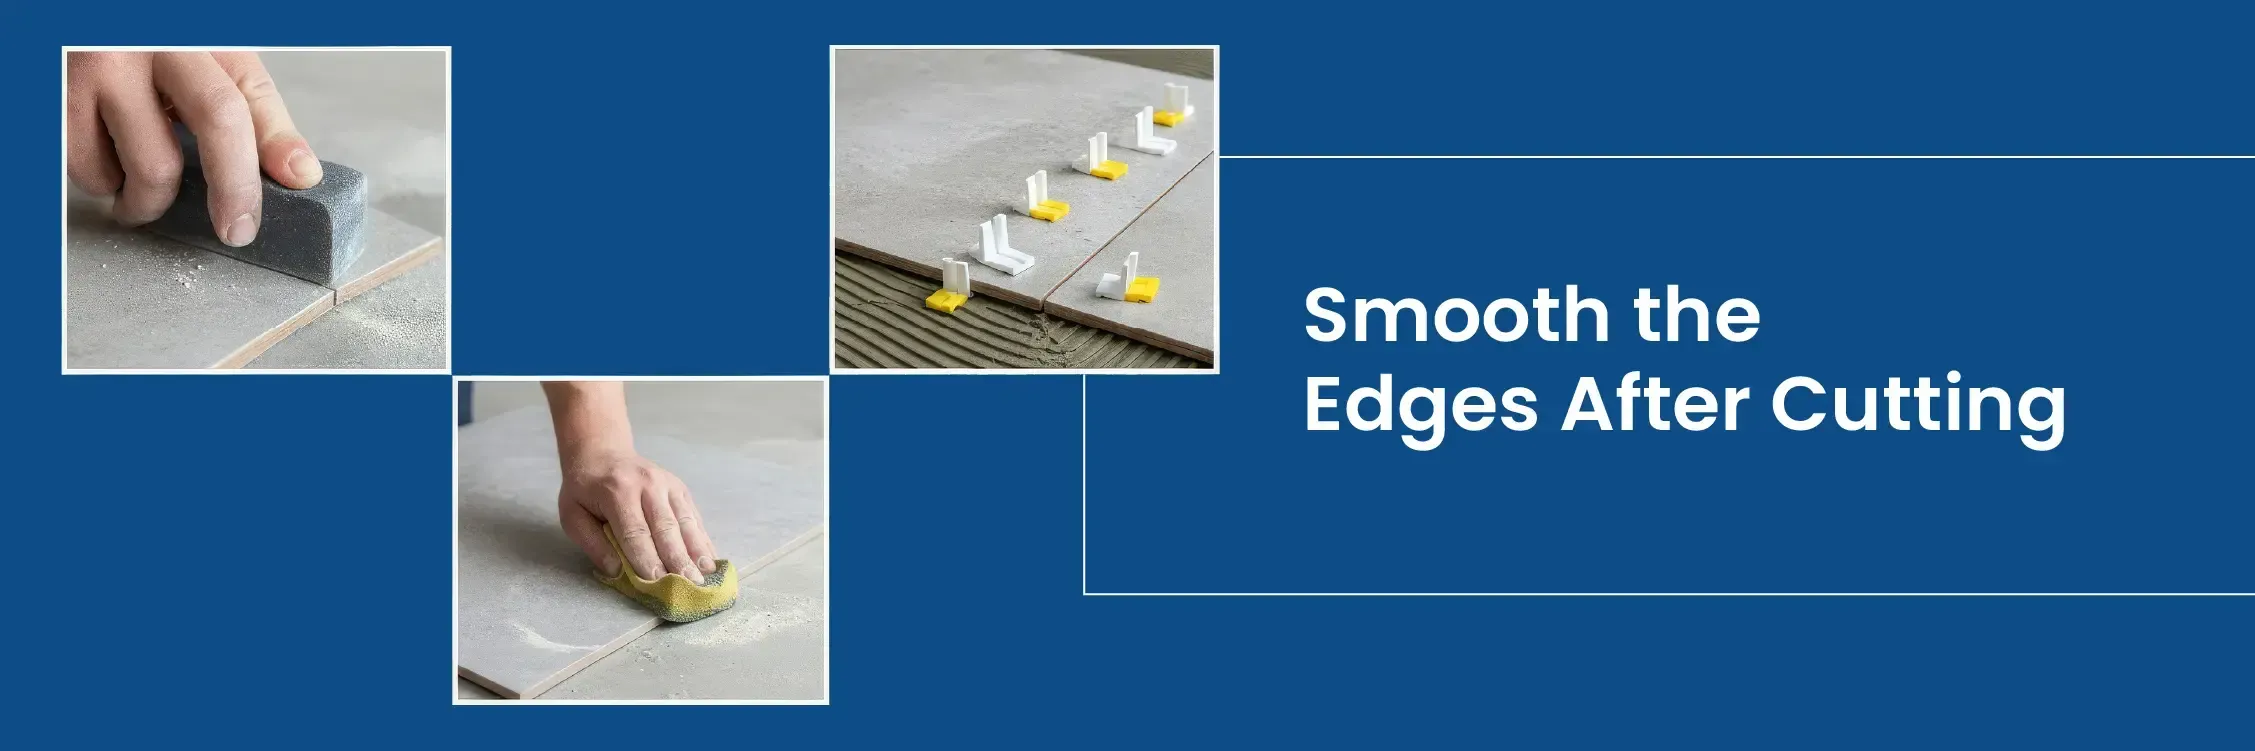
After you cut the tile, the edges can be sharp. Smooth them using a rubbing stone or sanding pad. Do it gently to remove rough parts.
Once done, clean the tile properly. Remove dust and water, and let it dry completely before fixing.
When fixing tiles, use a tile leveling system and a strong adhesive like High Performance Tile Adhesive LX-7 S1 for best results.
5️⃣ Extra Tips to Avoid Chipping
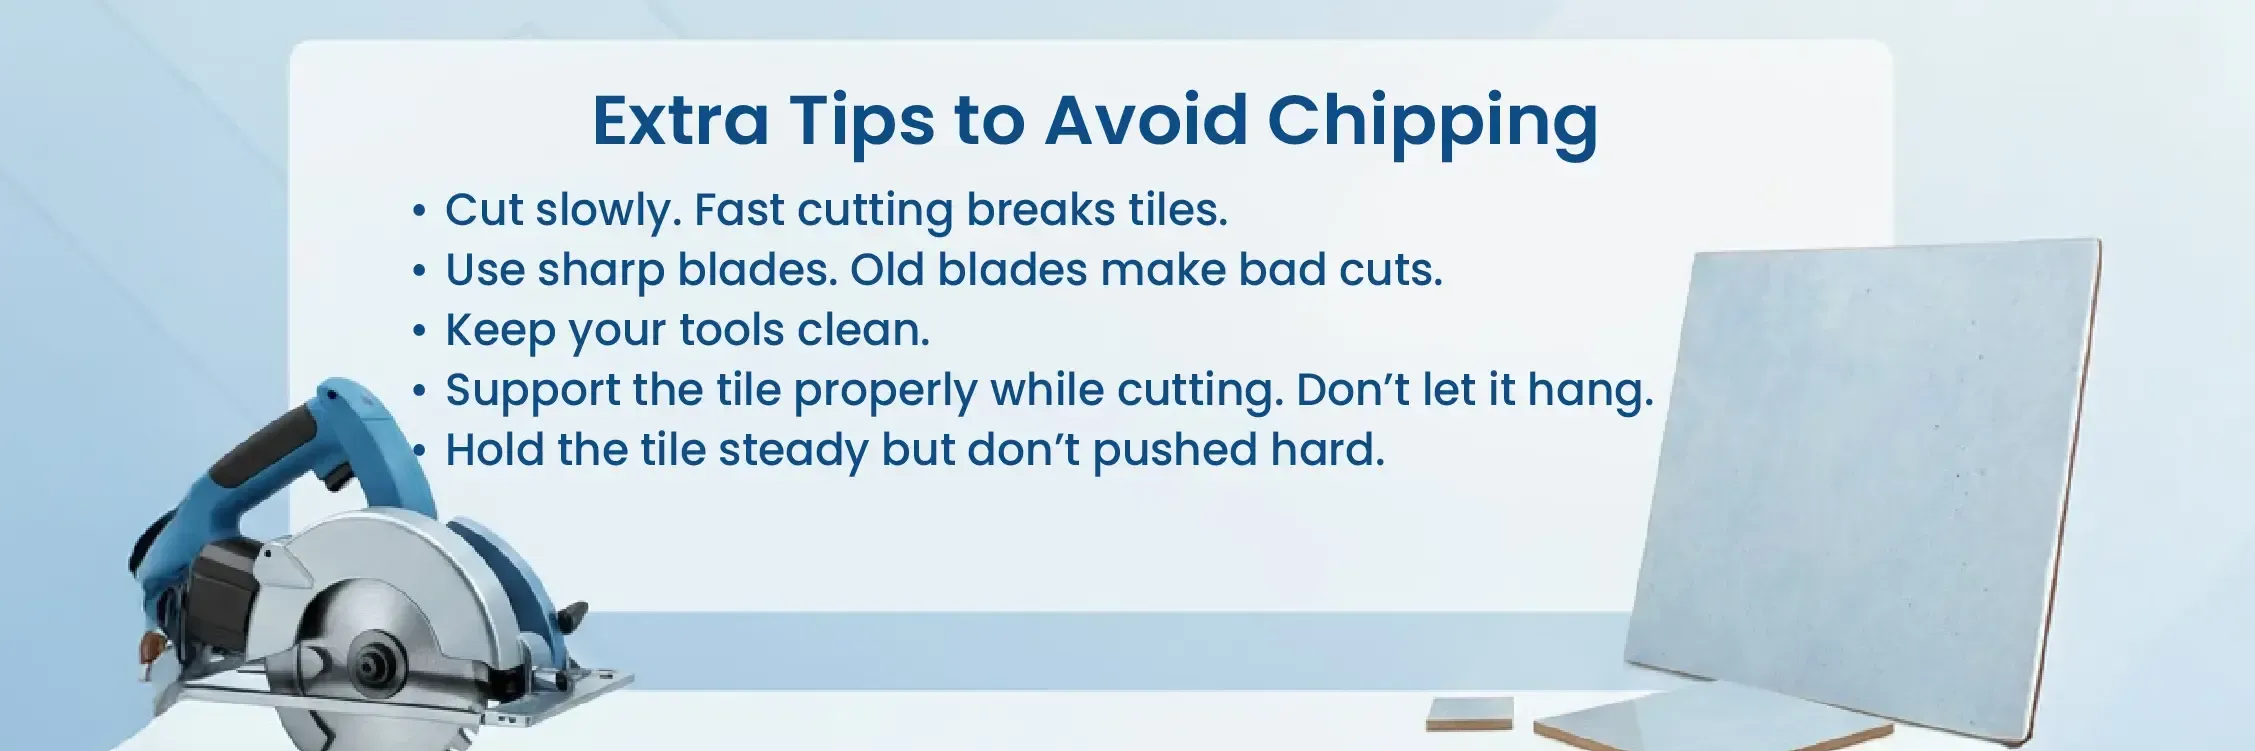
Cut slowly. Fast cutting breaks tiles.
Use sharp blades only.
Keep your tools clean.
Support the tile properly while cutting.
Hold the tile steady but don’t push hard.
Quick Recap
Get the right tools before you start.
Mark and score the tile properly.
Pick the right cutting method for each cut.
Smooth the edges after cutting.
Take your time — rushing causes chips.
Wear gloves and glasses for safety.
Cutting porcelain tiles is not difficult when you follow these steps. With the right tools, clear markings, and slow cutting, you can get clean and neat cuts. You do not need to be an expert — just go step by step.
After installation, keep tiles clean using Gresbond Marble Cleaner and finish joints neatly with Premium Un-Sanded Grout.
Frequently Asked Questions
A manual tile cutter handles most straight cuts on standard tiles: score once with firm pressure, then snap. For thick or large-format porcelain, long cuts, L-shapes and curves, a wet saw with a diamond blade gives a cleaner edge because the water keeps the blade cool and reduces chipping.
Porcelain is dense and brittle, so it chips when the blade is blunt, the cut is rushed, the tile is not supported flat, or the score line has been gone over several times. Use a sharp blade, cut slowly and steadily, keep the tile still, and cut with the glazed face up on a manual cutter.
Mark the circle precisely with a tile hole marker, then drill slowly with a diamond hole saw, keeping the bit wet so it stays cool. Start at a slight angle to create a groove, then level the drill. Do not force it; let the bit do the work.
Yes. For straight cuts a manual scoring cutter works well, and an angle grinder with a diamond blade can handle short notches if used carefully with eye and dust protection. For curves and large slabs, hiring or borrowing a wet saw is worth it.
Smooth sharp edges with a rubbing stone or diamond sanding pad, then wash off the dust and let the tile dry. Fix it with an adhesive suited to porcelain and vitrified tiles, such as Gresbond VX-1 or, for large-format tiles, LX-7 S1, and use a tile levelling system to keep the cut edge flush with its neighbours.
Still have questions? Contact our technical team