


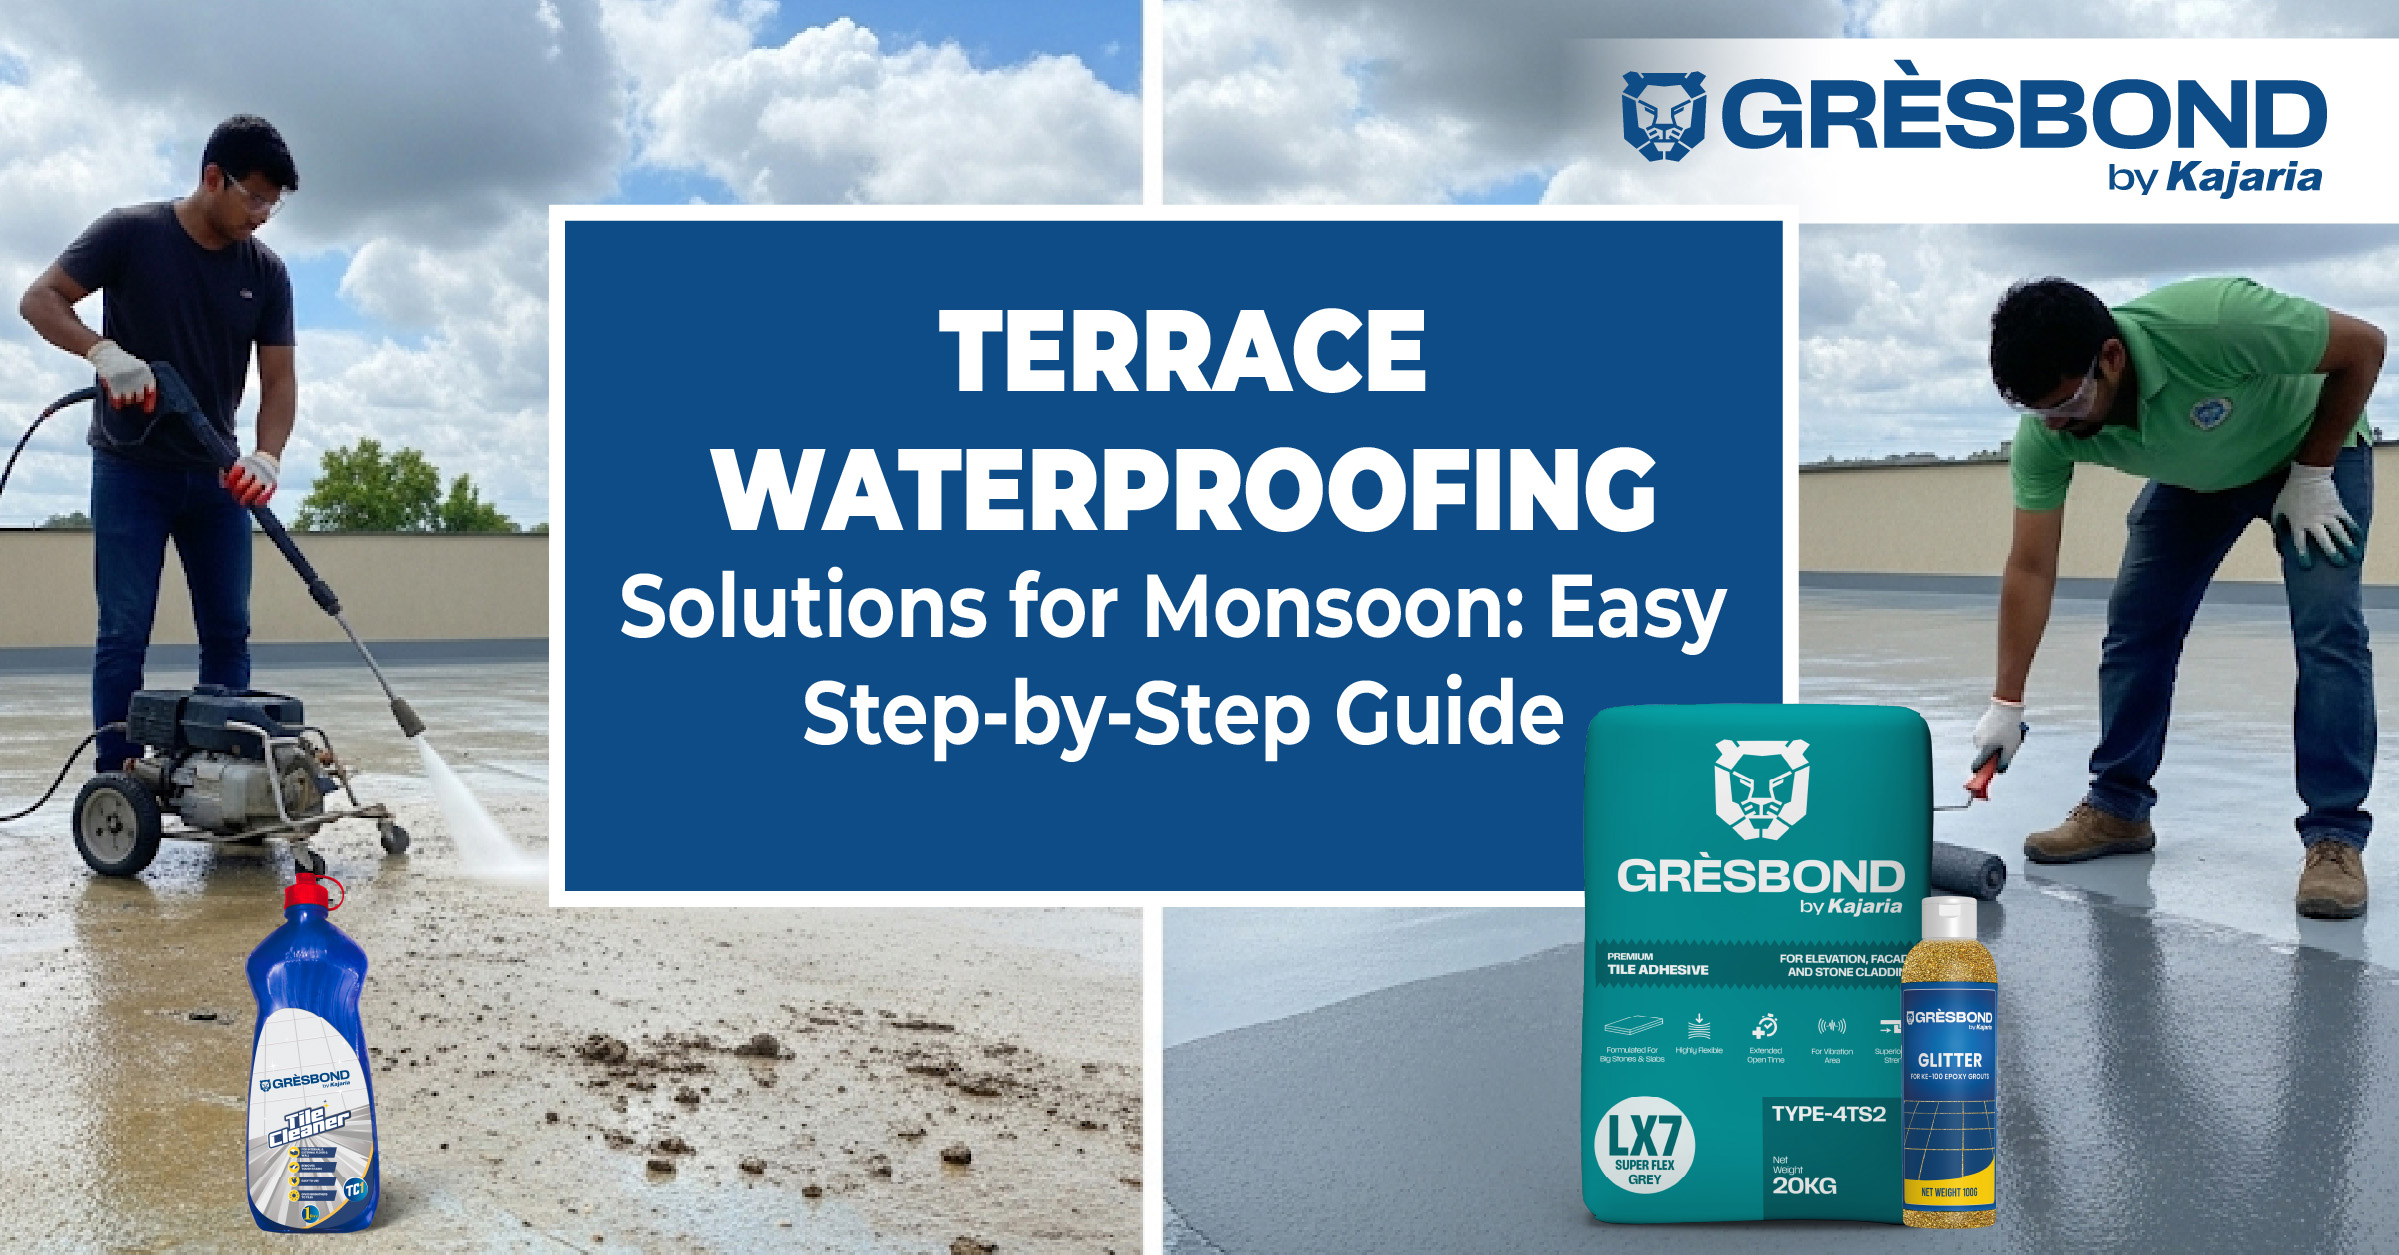
Terrace Waterproofing for Monsoon: DIY Guide
08
Aug 2025
Monsoon is a happy time—cool weather, fresh air and rain. But if your terrace is not waterproof or rain can cause leaks and damage in home. Water can come inside your rooms, ruin the paint and make the walls wet or smelly.
Don’t worry! You can stop this by doing terrace waterproofing before the rains. This blog will show you how to do it step-by-step using simple tools and materials.
Why Waterproofing is Important
Terrace is always open to sun, rain, and dust. In monsoon, water can stay on the surface. If water enters through cracks, it causes:
- Leaks in your ceiling
- Peeling paint on walls
- Bad smell and fungus
- Weak building structure
So, waterproofing helps to protect your home from water and damage.
What Causes Leaks on the Terrace?

Here are some simple reasons why your terrace may leak:
- Small cracks in the floor
- No proper slope for water to go out
- Old or broken waterproof layer
- Open gaps near pipes or drains
What Things You Need
To waterproof the terrace, you need the right products. Here is the list:
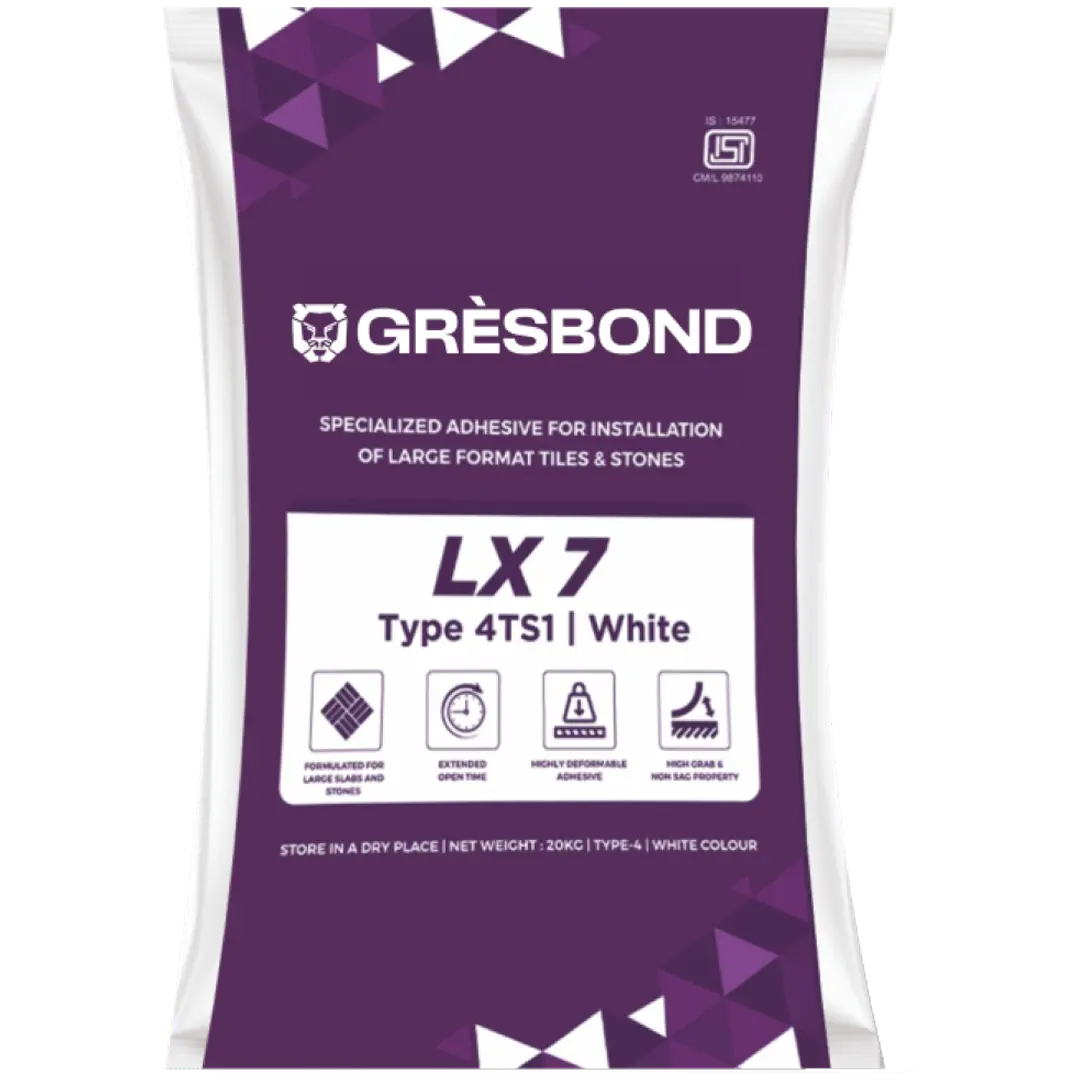
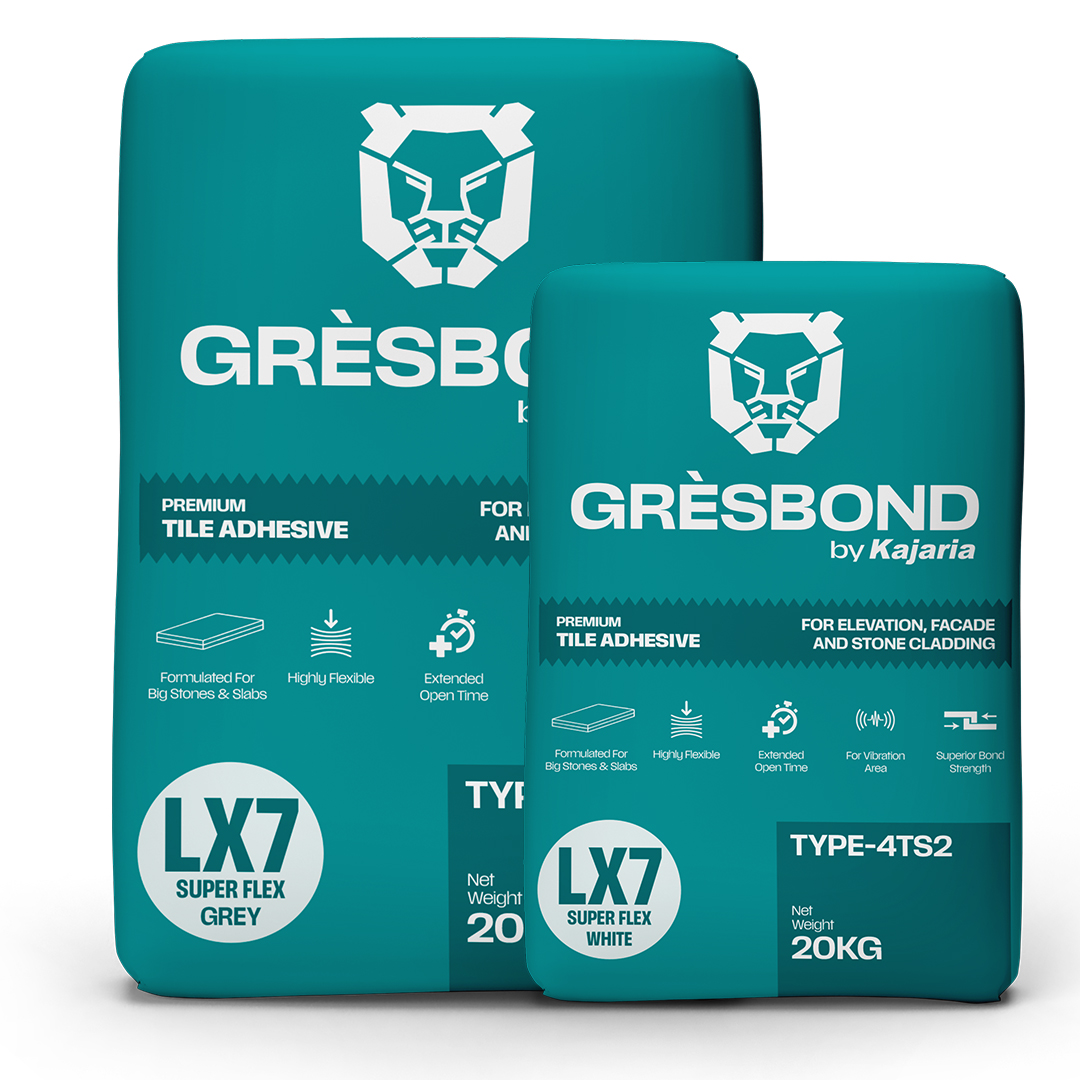
- LX-7 S1 – Main waterproof coating
- TC-1 – Waterproof sheet (extra safety)
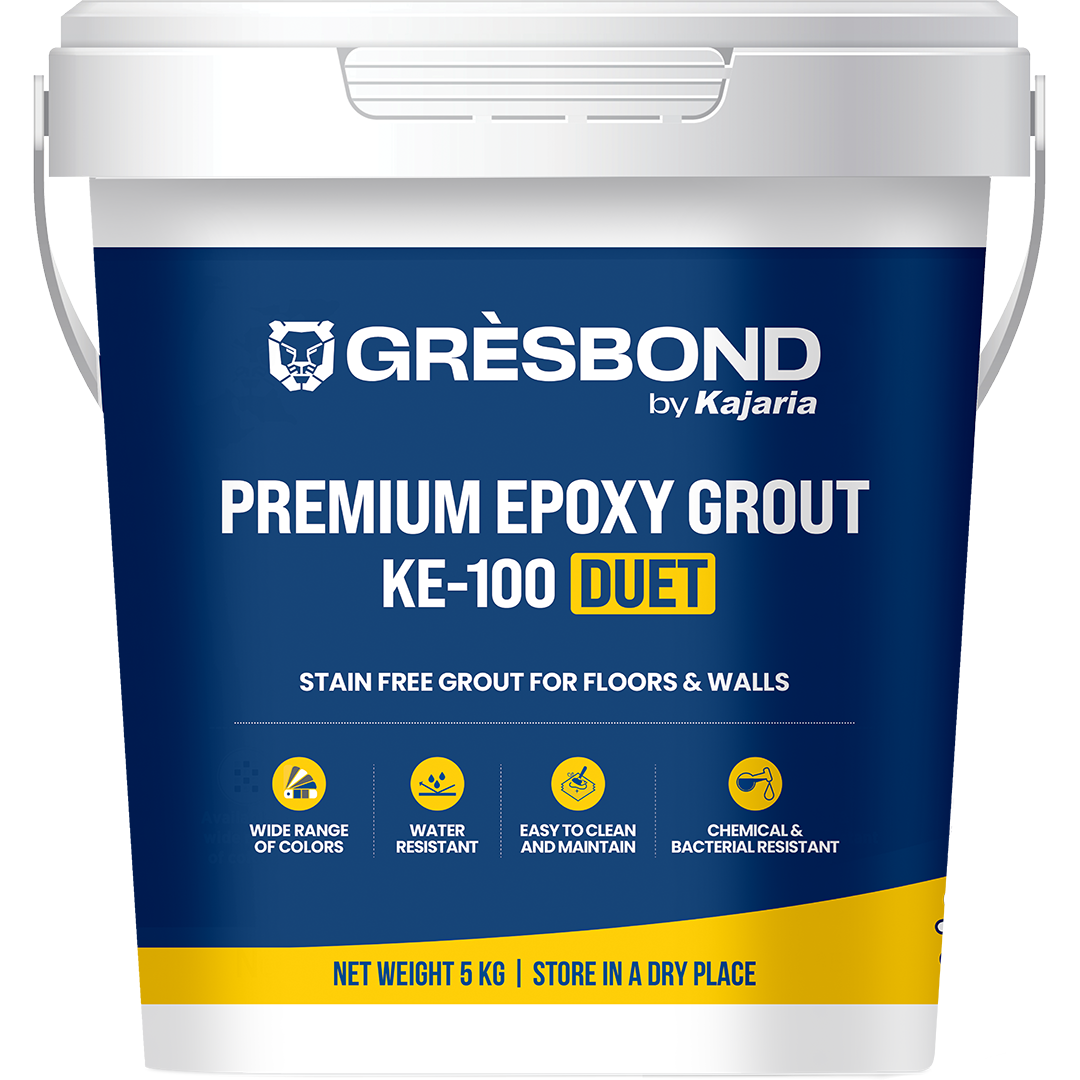
- GLITTER Epoxy Grout – For filling gaps & cracks
- ST9-1400 – Makes coating stick better
- STll-850 Mixer – For smooth mixing
- Brush, roller, bucket, gloves
You can find all these in our Catalogue. Need help? Just Contact us!
Simple Waterproofing Steps

Follow these easy steps to make your terrace safe from rain:
1. Clean the Terrace
Clean the full surface with a wire brush. Remove dust, old paint, or grass. Let it dry.
2. Fill the CracksIf you see cracks, use KE-100 GLITTER Epoxy Grout to fill them. Apply with a spatula and let it dry well.
3. Apply PrimerUse ST9-400 on the clean surface. This helps the next coating to stick better. Use brush and let it dry for 6–8 hours.
Quick Tip:- Make sure to:
- Fill all cracks
- Clean corners and edges
- Wear gloves for safety
Mix LX-7 S1 with water in a bucket. Use STll-850 Mixer to make it smooth and ready to use.
5. Apply First CoatUse a brush or roller to apply the first coat of LX-7 S1. Cover the full surface and wait 6–8 hours.
6. Apply Second CoatNow apply the second coat in the opposite direction. This makes it stronger. Let it dry fully.
7. Use Membrane SheetFor extra safety, you can use TC-1 waterproof sheet. Put it on the second coat when it’s still wet. Press gently.
8. Let It DryAfter finishing, leave the terrace to dry for 48 hours. Don’t walk or place anything on it.
Checklist for Waterproofing
Use this easy checklist to remember everything:
- Clean the terrace
- Fill cracks with KE-100 GLITTER Epoxy Grout
- Apply ST9-400 primer
- Mix LX-7 S1 with STll-850 Mixer
- Apply first and second coat
- Use TC-1 membrane (optional)
- Let it dry for 2 days
You can save this from our Catalogue or take a print.
After Waterproofing: Simple Tips
Here are 5 easy things to do after waterproofing:
- Clean the terrace once a month
- Check for new cracks before monsoon
- Make sure drains are not blocked
- Don’t drag heavy things on the terrace
- Fill small cracks quickly using KE-100 GLITTER Epoxy Grout
Final Words
Waterproofing your terrace is not hard. You just need to:
- Clean the surface
- Fill cracks
- Apply coating
- Let it dry
With the right products like LX-7 S1, TC-1, KE-100 GLITTER Epoxy Grout, and STll-850 Mixer, your terrace will be safe from water during the rainy season.
Want help or have questions? Contact our team. We’re happy to guide you.