Tile Leveling Spacers: Best Tools and Tips for DIY Perfection
gresbond
May 21, 2025
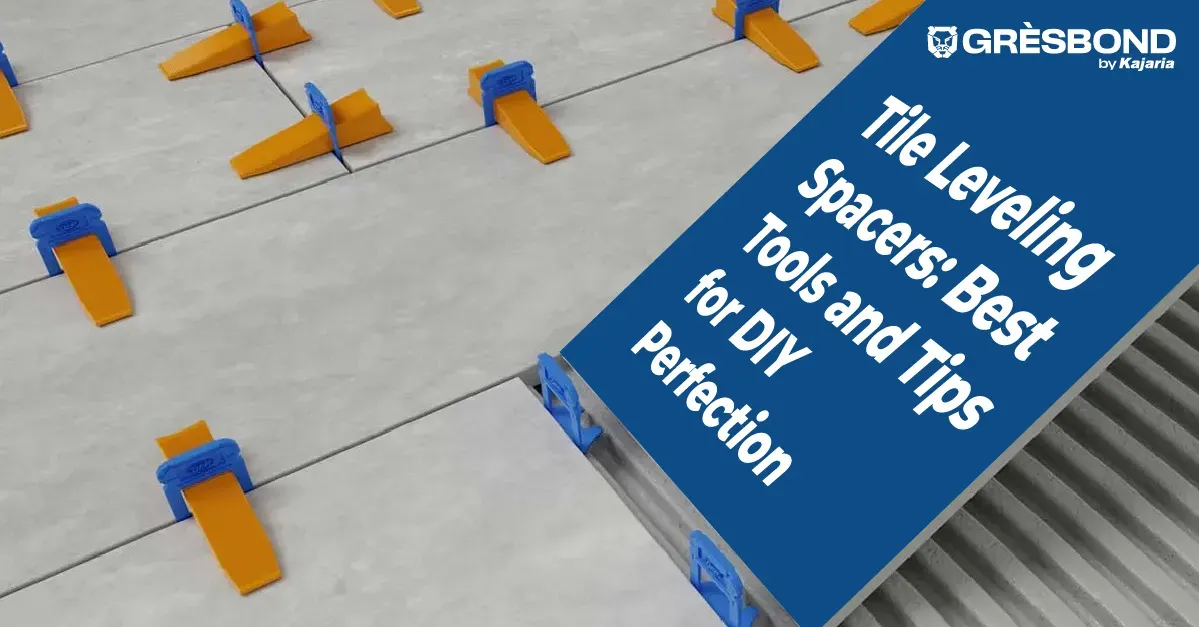
If you're planning to install tiles at home, getting that perfect finish is not always easy—especially if you're a beginner. With the right tools like tile leveling spacers, your tiles can look like a professional job.
What Are Tile Leveling Spacers?
Tile leveling spacers are small tools used during Perfect Tile Installation to maintain even spacing and prevent lippage (uneven tile heights). They keep tiles level as the adhesive dries, resulting in a flat and polished surface.
Why Use Tile Leveling Spacers?
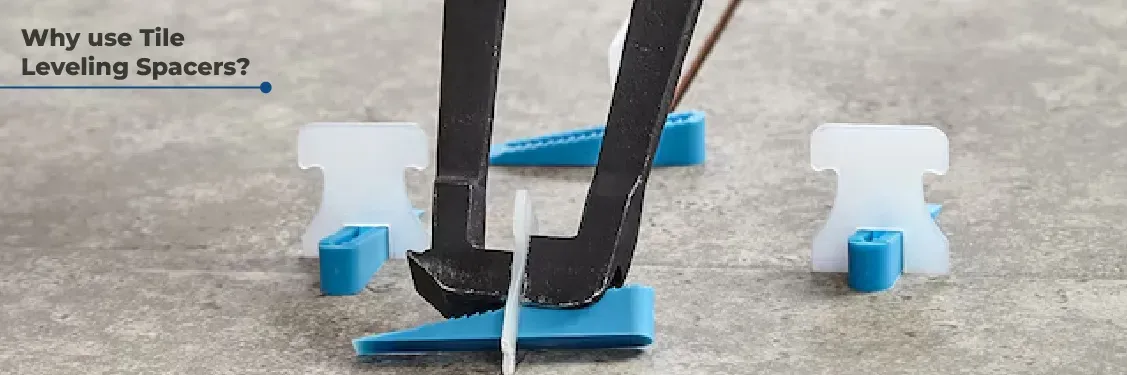
Maintain flat and even tiles
Ensure uniform spacing
Prevent tile movement while drying
Achieve professional aesthetics
Save time on post-installation corrections
Types of Tile Leveling Tools
Tile Leveling Clips: Positioned under tiles to control height
Tile Wedges: Inserted into clips to hold tiles in place; reusable
Standard Tile Spacers: Help maintain consistent gaps, not for leveling
Tile Leveling Clips vs Wedges
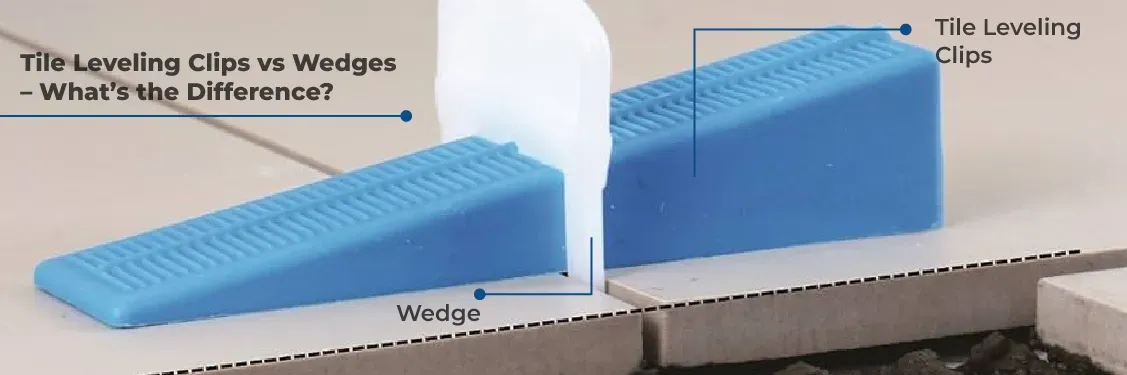
Feature | Clips | Wedges |
|---|---|---|
Purpose | Under tile to hold height | Press tile from top |
Reusable | No | Yes |
Use | One-time use | Multiple uses |
Ease of Use | Yes | Yes |
Best Tile Leveling System for DIY
Choose a system that's beginner-friendly, budget-conscious, and includes both clips and wedges. Gresbond offers reliable, strong, and easy-to-use tile leveling tools perfect for DIYers.
Must-Have Tile Installation Tools
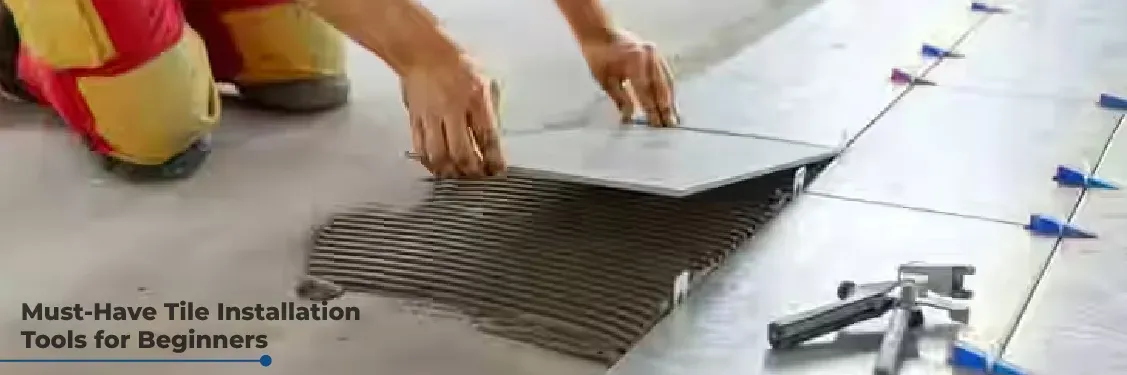
Tile Leveling System – clips + wedges
Rubber Mallet
Notched Trowel
Tile Cutter or Wet Saw
Sponge and Bucket
Measuring Tape & Chalk Line
How to Use Tile Leveling Spacers
Prepare a clean, flat surface
Spread tile adhesive with a notched trowel
Place first tile, insert clips underneath
Place next tile, insert more clips between tiles
Insert wedges into clips and tighten
Repeat process across area
Let adhesive dry (24 hrs)
Snap off clips and remove wedges
Pro Tips
Use both spacers and wedges for best results
Start from the center and check alignment often
Don’t overtighten wedges
Use a spirit level regularly
Practice on a small area first
Conclusion
Tile installation doesn’t have to be intimidating. With quality tools like tile-leveling spacers from Gresbond, even beginners can achieve a flat, clean, and professional tile job.