Grout Removal Tools Guide: Best Tools for Tile Repair & Regrouting
gresbond
May 13, 2025
When grout cracks or stains but the tiles are fine, regrouting is the fix. This guide compares manual and power grout removal tools, shows how to use a carbide grout saw step by step, and explains when each tool is the right choice.
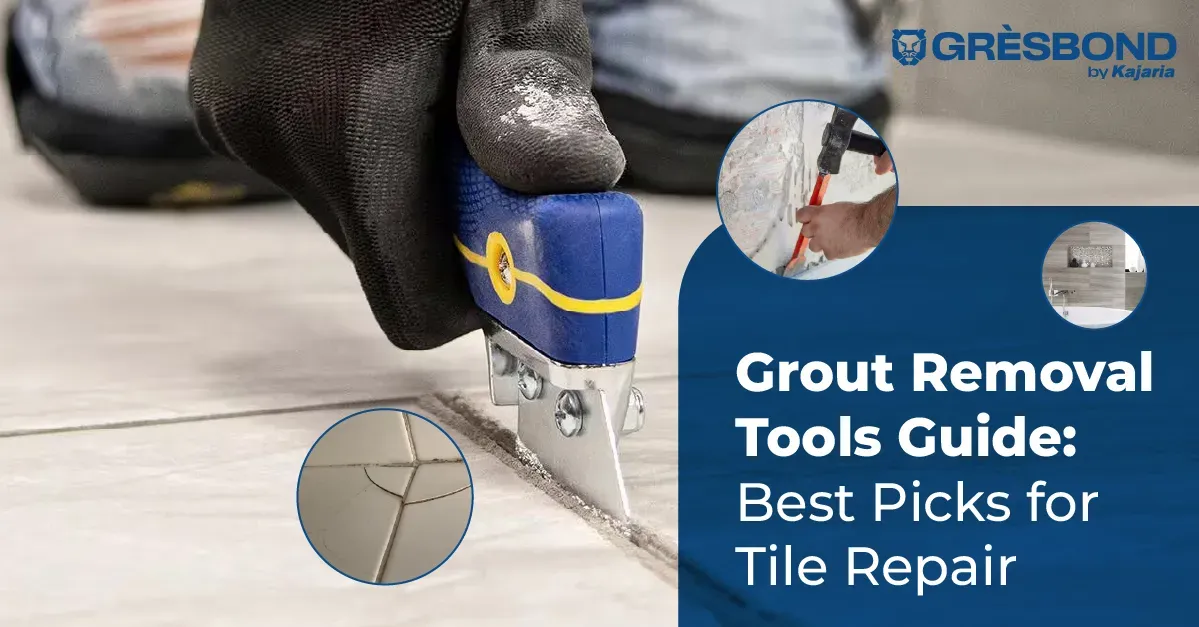
If your tiles still look good but the grout between them is cracked, stained, or falling apart, you don’t need to replace the whole tile setup. All you need is a good grout removal tool to fix it. Whether you’re doing a full renovation or a simple bathroom repair, this guide will help you choose the best grout removal tool for the job.
What is a Grout Removal Tool?
This tile tool is a scraping hand tool or a power tool to get rid of old grout between tiles. It is among the cracked tile repair and regrouting processes. Therefore, if selected wrongly, these tools could damage the tiles either intentionally or inadvertently. A good tile grout removal tool should be able to clean and clear the presence of grout between tiles easily and safely.
Why Remove Grout?
The grout is cracked, or sections are missing
Mold and mildew are invading
For regrouting to get a fresher, cleaner look
If replacing one or several tiles
If you will have to enlarge joints for expansions or refilling
With proper removal of the old grout, the tile finish can be kept clean and really lasting.
Top Grout Removal Tools to Consider
1. Carbide Grout Saw – A Must-Have Manual Tool
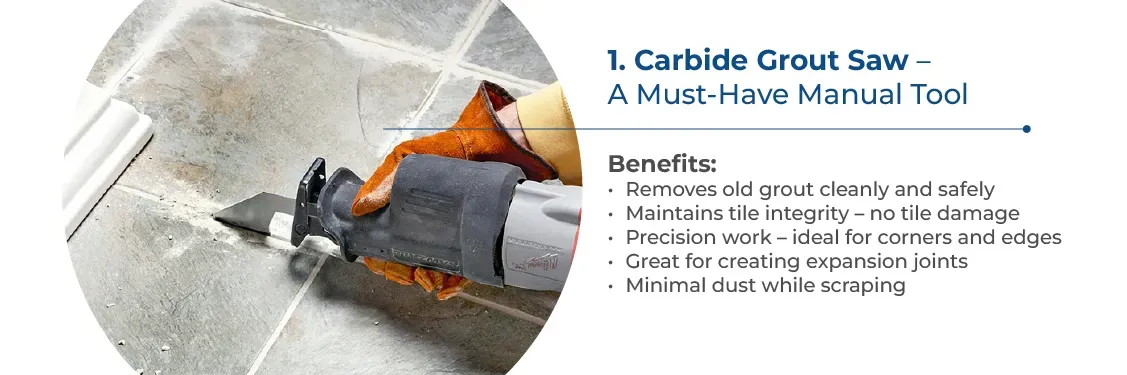
The carbide tile grout saw is a hand tool best for minor repairs or detailed tile jobs. It has a tungsten carbide tip, hard and sharp enough to scrape grout.
Specifications: Tungsten carbide cutting edge, Non-slip and comfortable grip, Weighs 89 gm, Sizes: 1–4 mm
Benefits: Clean removal, maintains tile integrity, ideal for corners, minimal dust
2. Oscillating Multi-Tool with Grout Blade
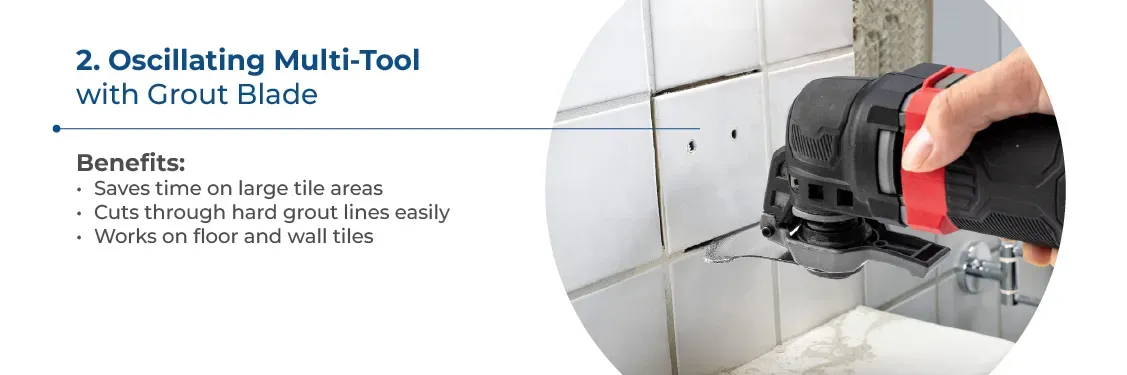
Great for bigger jobs or tougher grout. Comes with carbide/diamond blades.
Features: High-speed motor, interchangeable blades
Benefits: Time-saving, powerful, works on floors/walls — but needs careful handling
3. Rotary Tool (Like a Dremel) with Grout Removal Bit
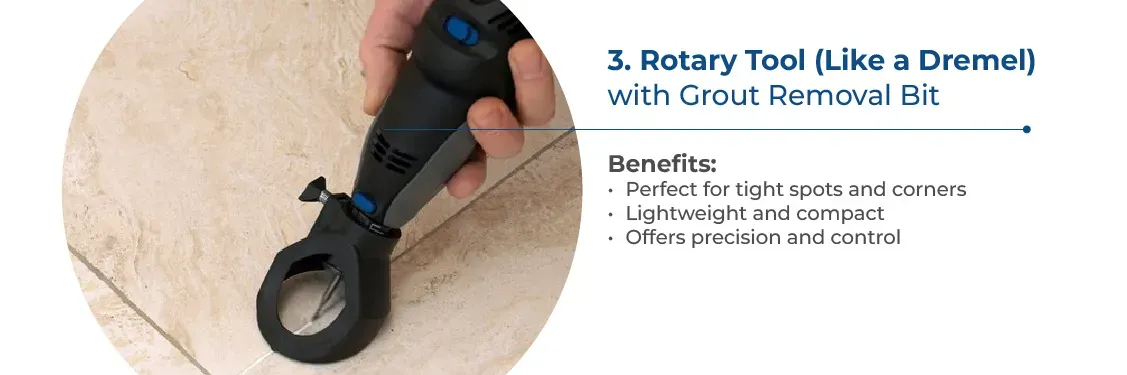
Great for grout in corners and narrow spaces with various attachments.
Benefits: Precision, compact, lightweight — ideal for light-medium work
4. Grout Removal Knife
Manual tool similar to a utility knife with carbide blade. Ideal for light or final cleanup work.
How to Use a Carbide Tile Grout Saw – Step-by-Step
Wear safety gear: goggles and dust masks
Mark grout lines
Scrape gently along joints
Use slow strokes to reduce dust
Vacuum dust and debris regularly
Your tiles are now ready for fresh grout.
Mixing and Applying Adhesive – Quick Tips
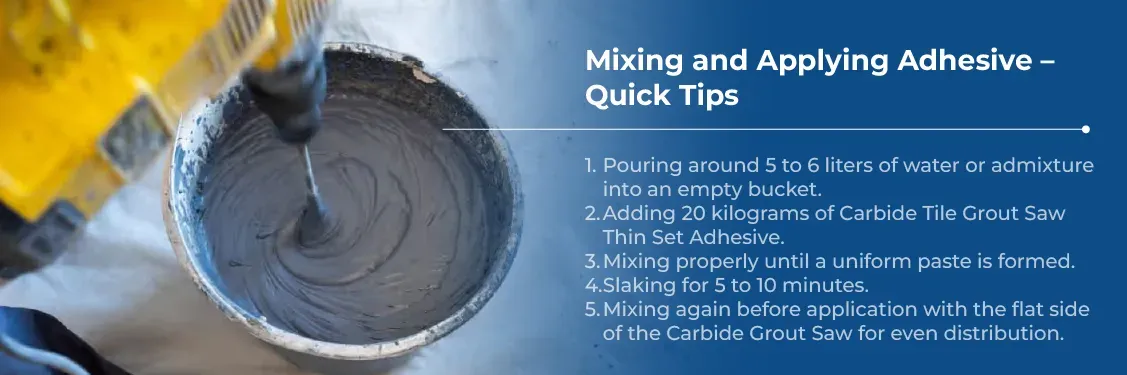
5–6 liters of water/admixture in a bucket
Add 20 kg of adhesive powder
Mix thoroughly until a smooth paste
Let it slake for 5–10 minutes
Remix before applying with flat side of grout saw
When to Use a Tile Grout Saw – And When Not To
When to Use:
To remove damaged grout
Before regrouting or expansion
On delicate tile surfaces
When Not to Use:
On very hard/concrete grout (use power tools)
On very deep grout lines
On loose tiles
Why the Right Grout Tool Matters
The best grout removal tool ensures speed, precision, and protection of your tiles. The wrong tool can cause:
Broken/chipped tiles
Uneven grout lines
Excess dust
Poor finish
Conclusion
Proper grout removal is key for any successful tile repair job. Use carbide saws for precision or power tools for speed — choose based on your project’s size and your skill level. Patience and proper tools are key to professional-looking results.
Frequently Asked Questions
Take the old grout out to a good depth, ideally most of the tile thickness, so the new grout has enough joint to grip. Clear the joint sides of loose material, then vacuum the dust. Thin skim coats over old grout fail quickly because there is nothing for the new grout to bond to.
A hand-held carbide grout saw. It scrapes only the joint, it is easy to control in corners, and there is no spinning blade that can skate across a polished face. Power tools are faster, but one slip with an oscillating blade will scratch or chip a glossy vitrified tile.
Epoxy grout is much harder than cement grout, so a hand saw is slow going. An oscillating multi-tool with a carbide or diamond grout blade is the practical option; work slowly, keep the blade centred in the joint and clear dust often. Cured epoxy cannot be softened with water, so mechanical removal is the only route.
Vacuum every joint, wipe the tile edges with a damp cloth and let the joints dry. Check that no tile is loose or hollow; if one is, re-fix it with a suitable adhesive such as Gresbond VX-1 before you grout. Then fill the joints with KE-100 epoxy grout for wet areas, or Premium Unsanded Grout with KGA-01 admix for narrow dry joints.
Use slow, steady strokes with a hand saw, hold a vacuum nozzle near the blade if you are using a power tool, and lightly mist the joint with water when working on cement grout. Wear a dust mask and goggles either way; grout dust is fine and abrasive.
Still have questions? Contact our technical team